
Wedding Dessert Table Essentials: DIY Setup Details That Look Expensive
Wedding Dessert Table Essentials: DIY Setup Details That Look Expensive
By zainzari • Published October 2026
📌 Save
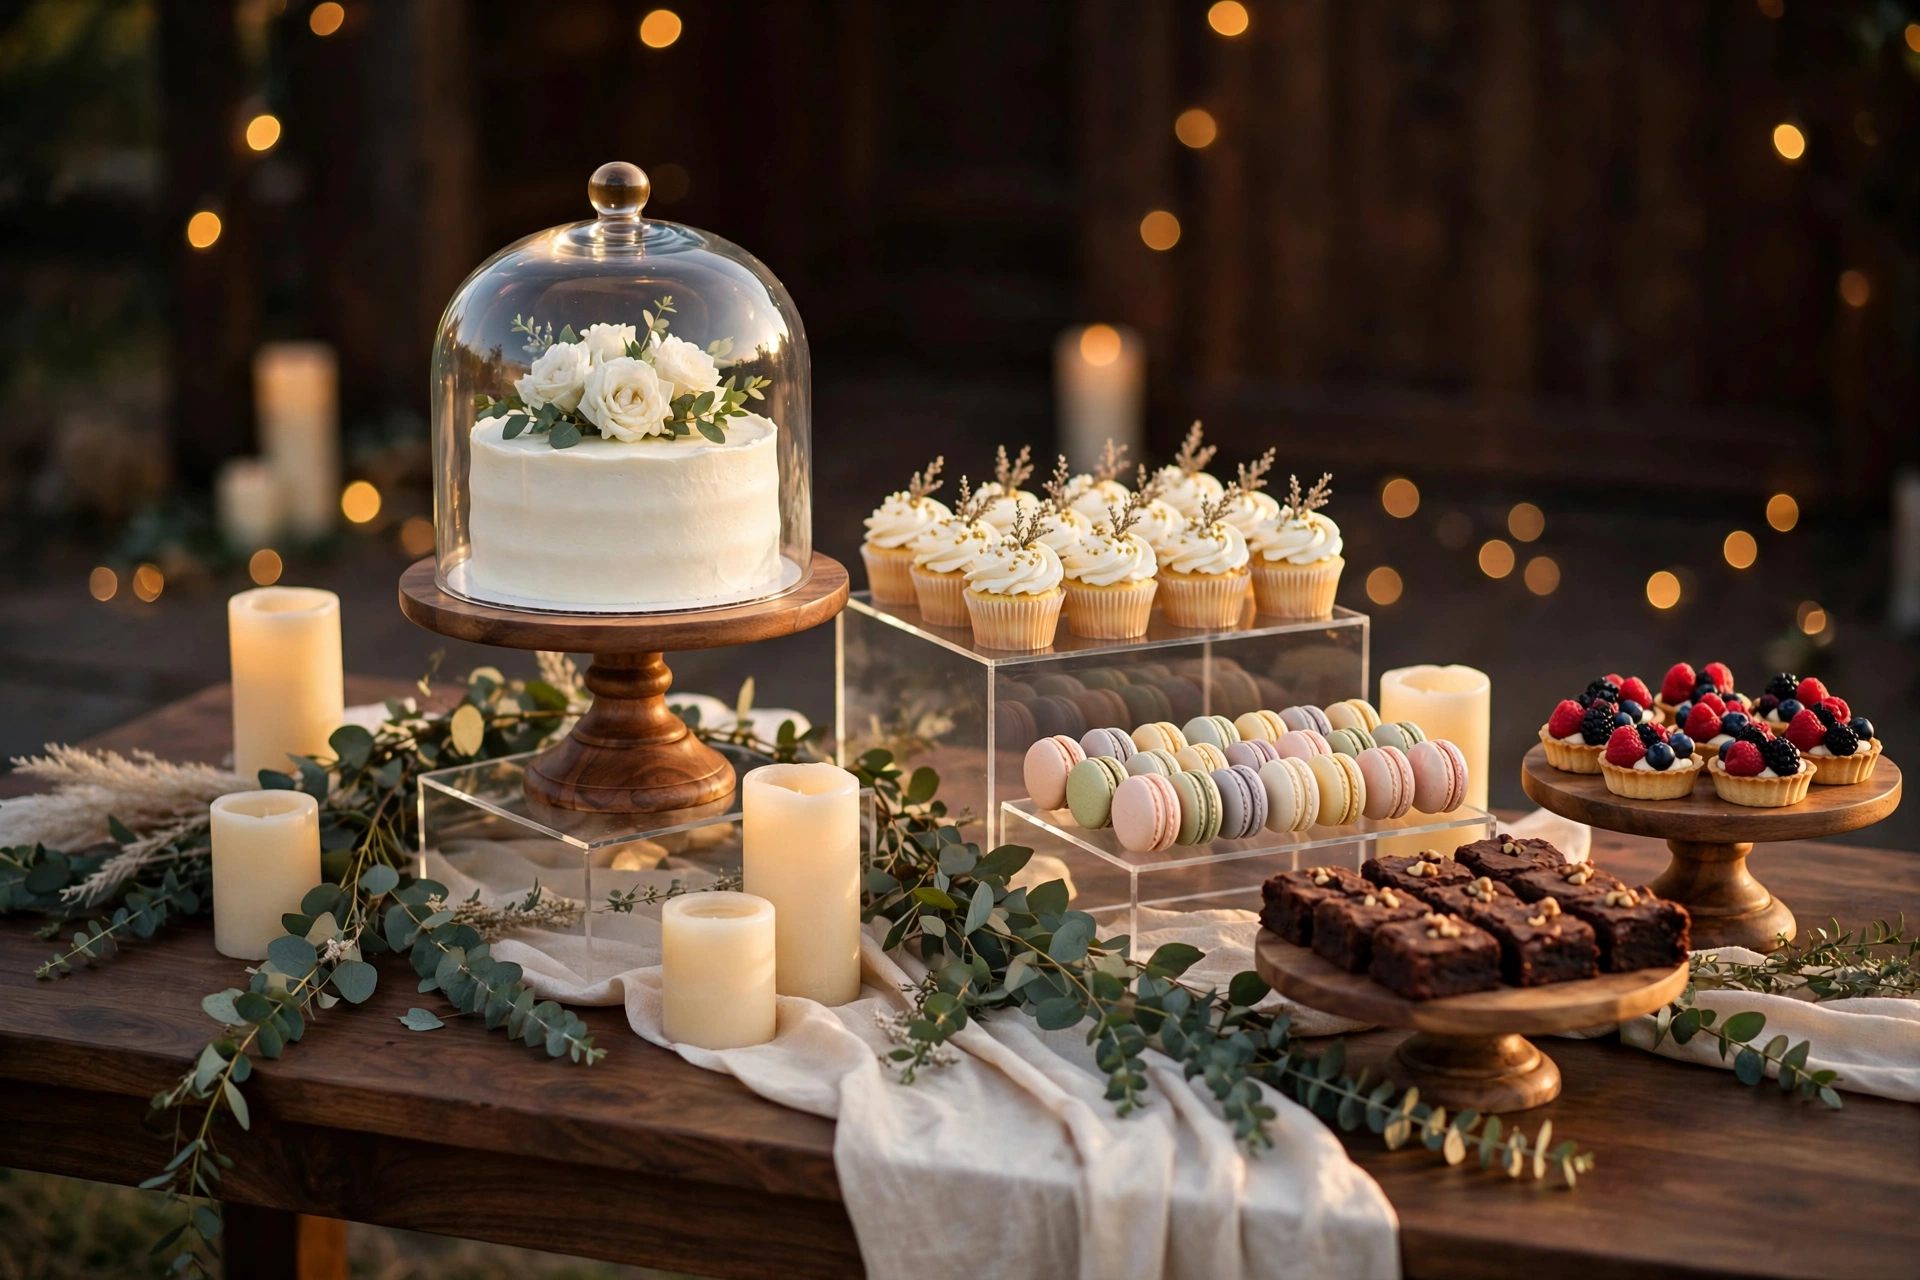
Short on time? The secrets behind a wedding dessert table that looks expensive are clear acrylic risers for height, warm wood stands for texture, candlelight at three heights, neutral linens, and one tight color story. Height and glow read as luxury — the desserts themselves matter less than how you stage them.
Clear Acrylic Risers for Instant Height
📌 Save
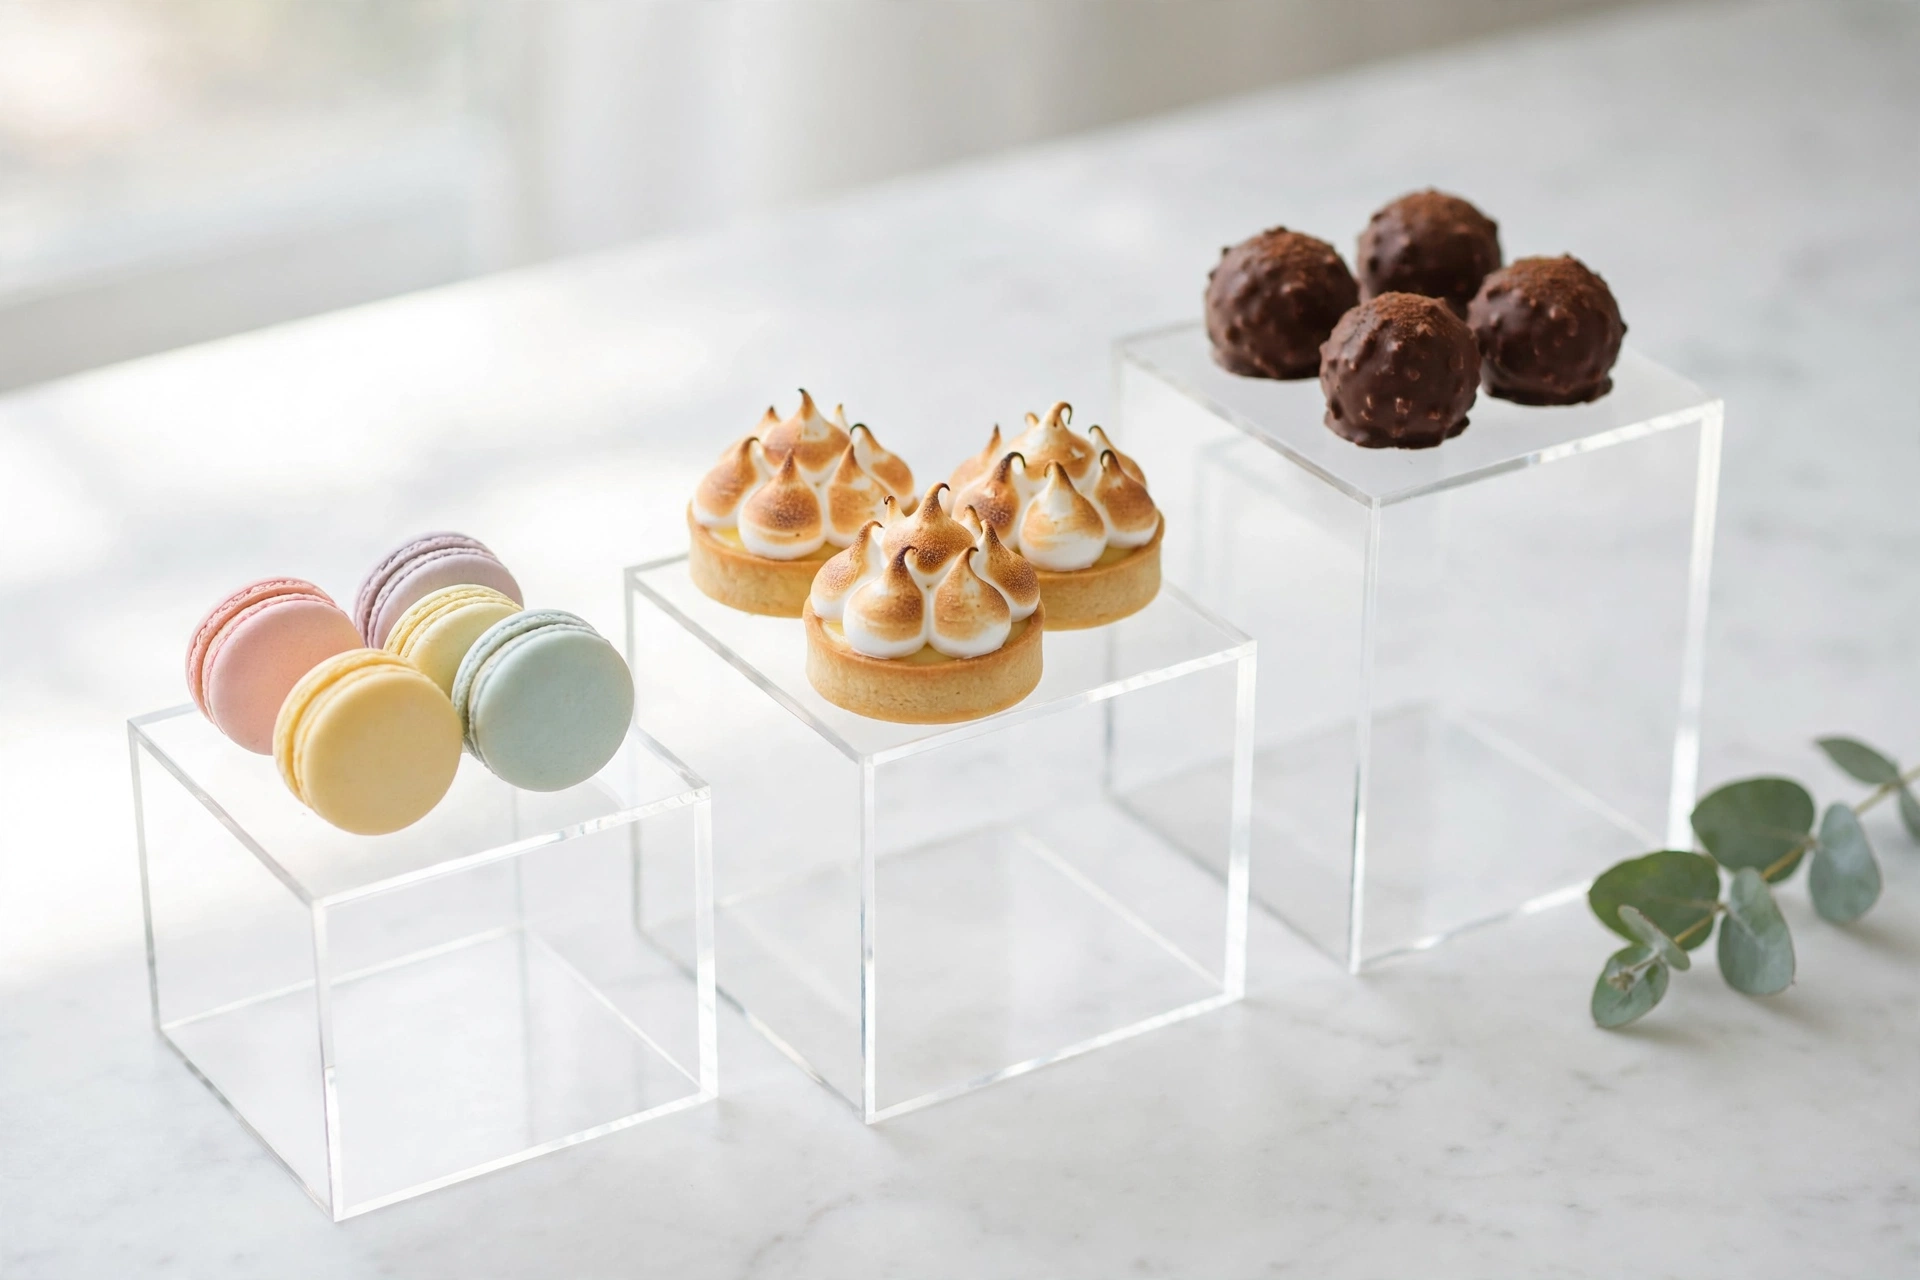
If you buy one thing for your dessert table, make it clear acrylic risers — they add instant height without visually cluttering the display.
Acrylic is the stylist’s secret weapon because it disappears: desserts appear to float at different levels while the eye travels straight to the sweets. A set of three cube risers (4, 6, and 8 inches) costs less than a single bakery cake and transforms a flat spread into a layered display. They work with every color story, photograph beautifully, and stack flat for storage or resale after the wedding.
Warm Wood Stands as the Foundation
📌 Save
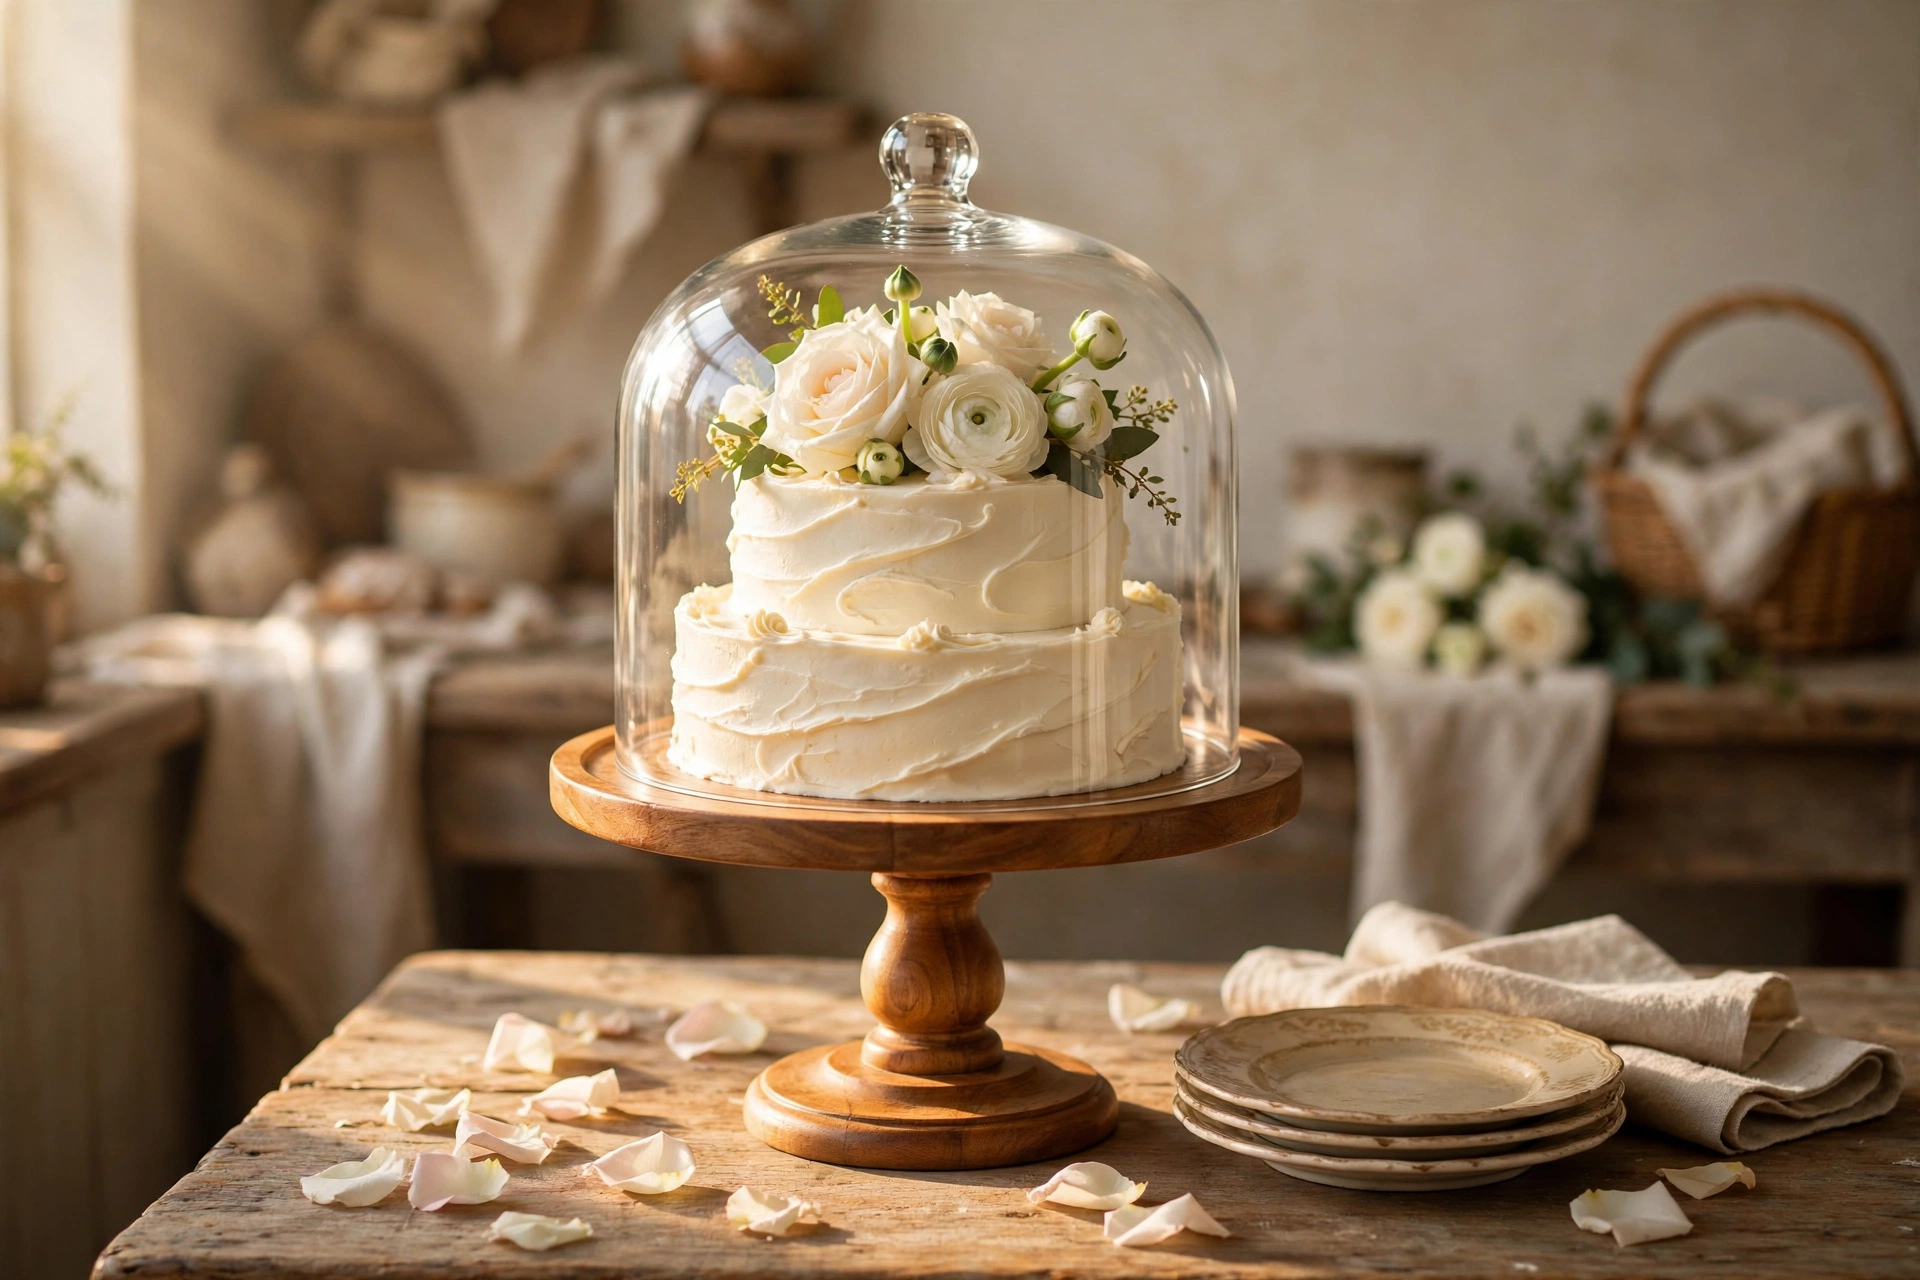
Pair the modern acrylic with warm turned-wood stands — the contrast of sleek and rustic is exactly what high-end stylists charge for.
Wood brings the warmth that acrylic lacks: honey-toned pedestals, mango-wood boards, and turned cake stands ground the display and make it feel collected rather than purchased as a set. Thrift stores are full of solid-wood stands for a few dollars each, and a quick sand and food-safe oil makes them look boutique. Use wood for your hero pieces (the cake, the largest platters) and acrylic for the smaller bites.
The Statement Cake Under Glass
Every expensive-looking table has one hero — and a simple cake under a glass cloche is the most photogenic hero there is.
The cloche does three jobs at once: it adds a full foot of vertical drama, it makes an ordinary buttercream cake look like a patisserie treasure, and it keeps the cake fresh until cutting time. Top the cake with fresh roses or ranunculus, set it on your tallest wood stand, and position it at the table’s visual center. Guests’ eyes land there first, and everything else becomes the supporting cast.
Neutral Linens That Disappear Beautifully
The most luxurious tables use linens you barely notice — cream, ivory, or warm greige that lets the desserts and candlelight do the talking.
A busy patterned cloth fights your display for attention; a soft neutral runner recedes and makes every dessert pop. Choose a natural fabric with visible texture — washed linen or raw gauze — and let it puddle slightly at the table’s edge for that effortless drape. For 2026, the trending move is layering: a full ivory cloth with a narrower gauze runner down the center adds depth for almost no cost.
Candlelight at Three Heights
📌 Save
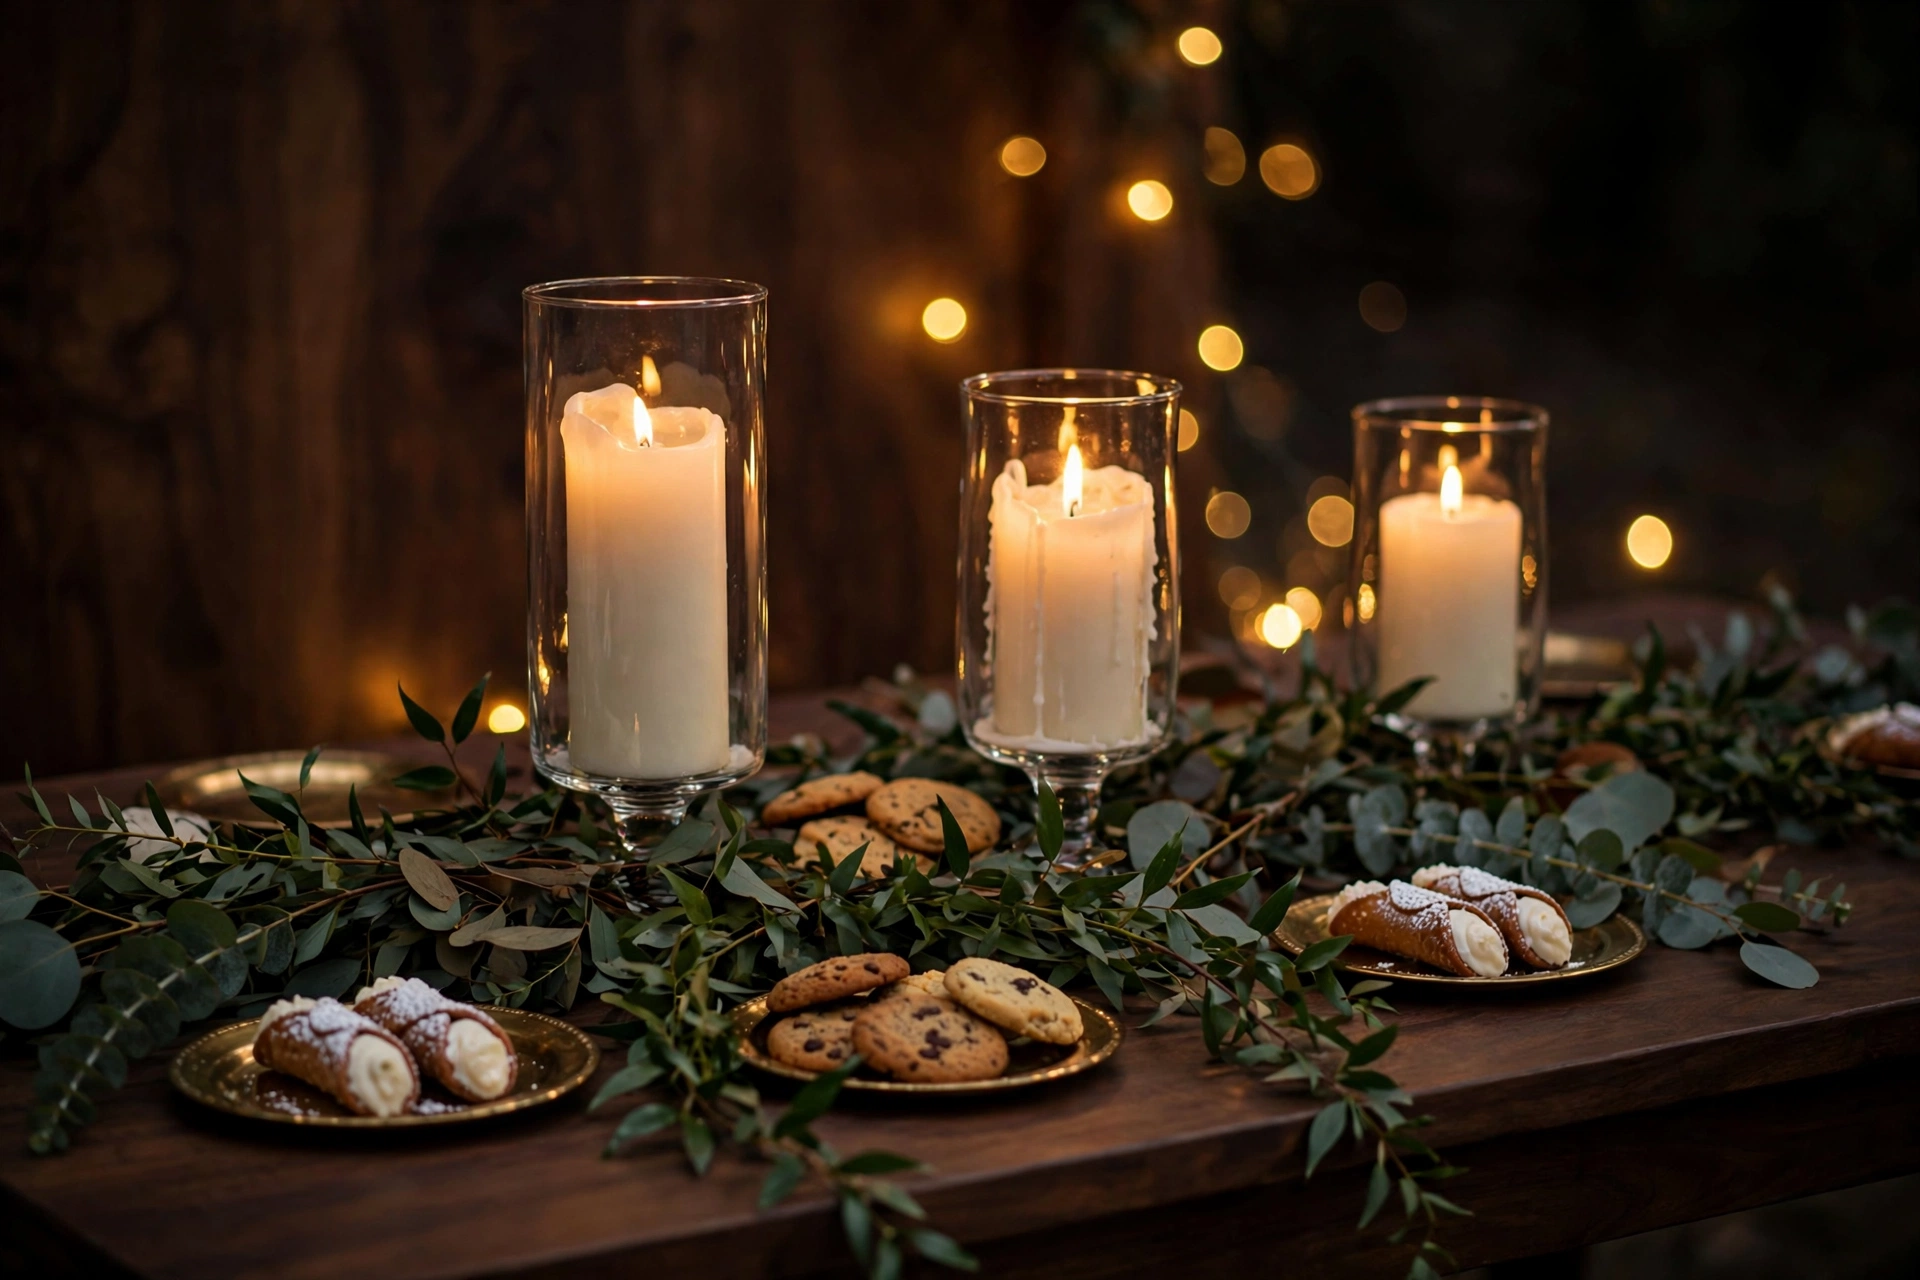
Nothing says luxury faster than real flame — cluster pillar candles in glass hurricanes at low, medium, and tall heights among the desserts.
Candlelight flatters everything: it warms skin tones in photos, makes frosting glow, and adds the vertical rhythm a flat table lacks. Use unscented pillars (scented candles near food are a classic mistake), vary the heights by at least 4 inches between groupings, and tuck small votives into any gap that looks empty. For outdoor receptions, LED pillars inside real glass hurricanes give the same glow without the wind anxiety.
Trailing Greenery for Texture
A $15 bunch of eucalyptus, artfully trailed, fills gaps better than $100 of extra desserts ever could.
Greenery is the great equalizer of dessert tables: it softens hard edges, fills the awkward spaces between stands, and adds the organic texture that makes a display feel abundant. Eucalyptus, ruscus, and Italian pittosporum all last hours out of water and photograph beautifully. Weave one long garland in an S-curve down the table’s center, then tuck sprigs around individual stands — never in stiff, separate bunches.
The Rule of Three Heights
Professional stylists build every table on three levels — tabletop, mid risers (4–8″), and a hero at 12–18″ — and the eye reads those layers as expensive.
Here is the formula: place your hero cake or tallest stand first (the 12–18″ anchor), then arrange mid-level risers in a loose triangle around it, then fill the tabletop with low platters, votives, and greenery. Step back after every third item and squint — if you see three distinct horizontal bands, you are done. If everything sits at one level, add a riser before you add another dessert.
Cluster, Don’t Scatter
Sparse tables look budget; abundant tables look expensive — and abundance comes from clustering items tightly, not from buying more.
Group each dessert type into one generous cluster rather than spreading pieces across the table: a full platter of macarons reads as luxurious, while six macarons dotted around reads as leftovers. Desserts should nearly touch their neighbors. The same quantity of sweets looks twice as lavish when it is grouped — this single habit separates styled tables from sad ones.
One Metallic Accent, Never Three
A single metallic — brushed gold, aged brass, or copper — whispers luxury; three metallics fighting each other scream craft store.
Pick one metal and repeat it in small doses: brass-rimmed plates, a gold cake server, copper candle holders. The repetition is what makes it look intentional and high-end. Mixing gold chargers with silver stands and copper lanterns, on the other hand, reads as a clearance-aisle accident no matter how much you spent.
Vary the Vessel Shapes
Round platters, square risers, footed bowls, and rectangular boards together create visual rhythm — ten identical round plates create visual boredom.
The eye loves contrast: pair a round wood board with square acrylic risers, add a footed compote bowl for height, and finish with a low rectangular tray. Each shape change is a little moment of interest that keeps guests looking. Borrow from your kitchen and your friends’ cabinets — nobody will know the compote bowl is vintage Pyrex, because the mix is what makes it look curated.
Fresh Florals as Fillers
You don’t need a florist — a few grocery-store blooms pulled apart and tucked low around the stands add the finished, expensive feel.
Buy two or three bunches of whatever looks fresh (roses, ranunculus, lisianthus), strip the leaves, and cut the stems short. Tuck single blooms and small clusters at the base of stands and between platters — never tall arrangements that compete with the desserts. White and blush blooms disappear into any color story, which is why stylists reach for them first.
A Backdrop That Glows
The table is only half the photo — what glows behind it determines whether the whole scene looks magical or merely set up.
A string of warm fairy lights, a draped gauze curtain, or even a dark wood wall with candlelight reflecting off it gives your dessert table depth in every photo. The cheapest version: copper-wire fairy lights ($8 a strand) pinned in loose swags on the wall or fence behind the table. In evening photos, that bokeh glow is what guests remember — and what makes the table look like it cost ten times more.
Boutique-Style Label Cards
Hand-lettered tent cards naming each dessert are the detail that makes guests say “this feels like a real patisserie.”
Labels cost almost nothing and deliver outsized polish: small kraft or cream cards, a gold pen, and the dessert’s name in your best handwriting (or a free calligraphy font printed at home). “Torched Lemon Meringue Tartlets” sounds infinitely more luxurious than an unlabeled tart — naming elevates. Add one larger card with the table’s title, like “The Dessert Table,” in a small frame.
The Hero Piece Rule
One hero, never two — a single showstopper gives the eye somewhere to land, while two heroes just argue with each other.
Choose the tallest, most dramatic element (the cloched cake, a towering macaron stack, a dramatic floral piece) and give it the prime position and the most height. Everything else should sit visibly lower and simpler. Tables with two competing centerpieces always look busy; tables with one clear star look designed. If you can’t decide which piece is the hero, the table is telling you it has too many stars.
Edit Ruthlessly
The final essential isn’t something you add — it’s the discipline to remove the three things that don’t belong.
Stylists always do a final edit: step back, identify the three weakest or most off-theme items, and take them away. That extra platter that doesn’t match, the fourth candle height that breaks the rhythm, the favor bags crowding the edge — removing them is what creates the breathing room luxury needs. An edited table with twelve perfect elements always outshines a crowded table with twenty.
The DIY Setup Timeline: When to Style What
Timing is the invisible essential — even a perfect design falls flat if the frosting melts before photos. Work backwards from guest arrival:
| When | What to do | Why |
|---|---|---|
| Night before | Iron linens, charge fairy lights, pack a styling kit | Morning-you will thank night-before-you |
| 3 hours before | Table, linens, backdrop, fairy lights | The big shapes first, while the venue is empty |
| 2 hours before | Stands, risers, candles (unlit), greenery, florals, labels | Full styling minus anything perishable |
| 60–90 min before | Desserts go out, final edit, photograph | Fresh sweets, time to fix what the camera reveals |
| 20 min before | Light every candle | Full flames for the first guest photos |
Assign one trusted person as “table guardian” — someone who straightens, relights, and tidies the display through the evening.
Dessert Table Setup: Budget Breakdown
| Item | Typical cost | Source | Notes |
|---|---|---|---|
| Acrylic riser set (3) | $18–$35 | Online / craft store | Reusable forever — the best value in this list |
| Wood stands & boards | $0–$40 | Thrift / borrow / own kitchen | Sand + food-safe oil refreshes any find |
| Neutral linen + runner | $15–$30 | Online / rental | Renting a quality linen beats buying cheap |
| Candles & hurricanes | $20–$45 | Dollar store / IKEA | Glass hurricanes are worth it; candles can be cheap |
| Greenery + blooms | $15–$35 | Grocery / market | Eucalyptus + 2–3 fresh bunches |
| Fairy lights (2 strands) | $12–$20 | Online | Copper wire, warm white, battery pack |
| Label cards + pen | $5–$10 | Craft store | Kraft cards + gold pen = boutique look |
| Total setup | $60–$180 | Desserts budgeted separately |
Renting stands and linens instead of buying can cut the total in half — and most rental companies deliver.
Key takeaways
- Height is the #1 luxury signal — build three levels with acrylic risers and wood stands before buying more desserts.
- Pair modern acrylic with warm wood: the contrast is what high-end stylists charge for.
- Candlelight at three heights + a glowing backdrop does more for “expensive” than any single decor purchase.
- Cluster desserts tightly, keep one metallic accent, and vary vessel shapes for visual rhythm.
- Edit ruthlessly at the end — removing three weak items beats adding three more.
Frequently asked questions
How do I make a DIY wedding dessert table look expensive?
Build height with clear acrylic risers and wood stands, use neutral linens, add candlelight at three heights, and keep one tight color story. Guests read height, glow, and restraint as luxury — none of it requires a big budget.
What are the essential supplies for a wedding dessert table setup?
The essentials: risers at three heights (acrylic cubes, wood stands, cake pedestals), a neutral linen, pillar candles and votives, trailing greenery, small label cards, and one metallic accent. Rent the stands if buying feels wasteful.
How high should a dessert table display be?
Aim for three clear levels: tabletop, mid risers at 4 to 8 inches, and a hero piece at 12 to 18 inches. Anything taller than about 18 inches starts blocking guest sightlines and photographs awkwardly.
Can I use acrylic risers and wood stands together?
Yes — that mix is exactly what makes a table look designer-styled. Clear acrylic keeps small items visible and modern, while warm wood adds rustic-chic texture. Keep both in the same neutral color story so they read as intentional.
How much does a DIY dessert table setup cost?
A full DIY setup typically runs $60 to $180: thrifted or rented stands ($20–$60), a linen ($15–$30), candles and greenery ($25–$50), and label cards ($5–$10). The desserts themselves are a separate budget.
When should I set up the dessert table on the wedding day?
Style everything except the desserts 2 to 3 hours before guests arrive — linens, stands, candles, greenery, signage. Add the actual desserts 60 to 90 minutes before the reception so they look fresh and hold up in warmth.
What is the biggest mistake in dessert table styling?
Flatness. A single-level spread of desserts on a bare table always looks budget, no matter how good the sweets are. Height is the one detail that instantly reads as expensive — add risers before you add more desserts.
How do I light a dessert table for evening receptions?
Layer three light sources: pillar candles at varying heights on the table, votives tucked between desserts, and a warm glow behind (fairy lights or a lit backdrop). Avoid overhead-only lighting — it flattens everything.
2 Comments
Comments are closed.