
150 Best DIY Rustic Wedding Ideas
By zainzari • Published April 2026 • Updated October 9, 2026
 📌 Save
The 150 best DIY rustic wedding ideas for 2027 fall into 15 project categories: wooden welcome signage, mason jar centerpieces, burlap and lace accents, barn ceremony décor, wildflower bouquets, rustic cake displays, DIY photo booths, string-light canopies, wooden ceremony arches, guest book alternatives, edible favors, wood-slice table numbers, lantern aisle décor, rustic drink stations and sparkler send-offs. Start big builds 6–9 months out, save 70–90% versus renting on signage and centerpieces, and skip DIY for structural, electrical or food-safety-critical projects.
Rustic weddings and DIY were made for each other. The whole aesthetic — weathered wood, wildflowers, mason jars, candlelight — rewards the handmade touch; a slightly imperfect hand-painted sign looks more authentic than a perfect printed one. And the savings are real: couples routinely cut their décor budget by half or more while ending up with a wedding that feels more personal than anything a rental catalog could deliver.
This guide organizes 150 DIY rustic wedding ideas into 15 project categories for 2027, each with materials, costs, timelines and honest difficulty notes. Whether you’re a seasoned crafter or someone whose last DIY was assembling flat-pack furniture, there’s a lane here for you — start with the easy wins, recruit your crew for the big builds, and enjoy making your wedding with your own two hands.
At a Glance: DIY Rustic Projects
| Category | Key Materials | Cost per Table | Time Needed |
|---|---|---|---|
| Welcome Signage | Pallet wood, paint, stencils | $15–$40/sign | 1 weekend |
| Mason Jar Centerpieces | Jars, wildflowers, twine, candles | $8–$20 | 1–2 evenings |
| Burlap & Lace | Burlap rolls, lace trim | $5–$12 | 1 evening |
| Barn Ceremony Decor | Drapes, hay bales, lanterns | $50–$150/zone | 2–3 days |
| Wildflower Bouquets | Market flowers, ribbon | $10–$25/bouquet | Day-before |
| Cake Display | Wood slice, greenery, stand | $20–$50 | 1 evening |
| Photo Booth | Wood frame, backdrop, props | $40–$100 | 1 weekend |
| String-Light Canopy | Café lights, poles/wires | $100–$300/zone | 1 day + crew |
| Ceremony Arch | Lumber, drapes, florals | $80–$200 | 1–2 weekends |
| Guest Book Alt. | Wood hearts, frame, pens | $25–$60 | 1 evening |
| Edible Favors | Honey jars, tags, twine | $2–$5/guest | 2–3 evenings |
| Wood-Slice Numbers | Wood slices, paint pens | $3–$8 | 1 evening |
| Lantern Aisle | Lanterns, LED candles | $30–$80/aisle | Setup day |
| Drink Station | Galvanized tub, dispensers | $60–$150 | 1 day |
| Sparkler Send-Off | Long sparklers, buckets | $30–$80 | 1 hour |
Costs are 2027 DIY estimates versus 70–90% savings over renting or buying equivalent décor. “Per table” assumes 8–10 guest tables for most categories.
Wooden Welcome Signage
 📌 Save
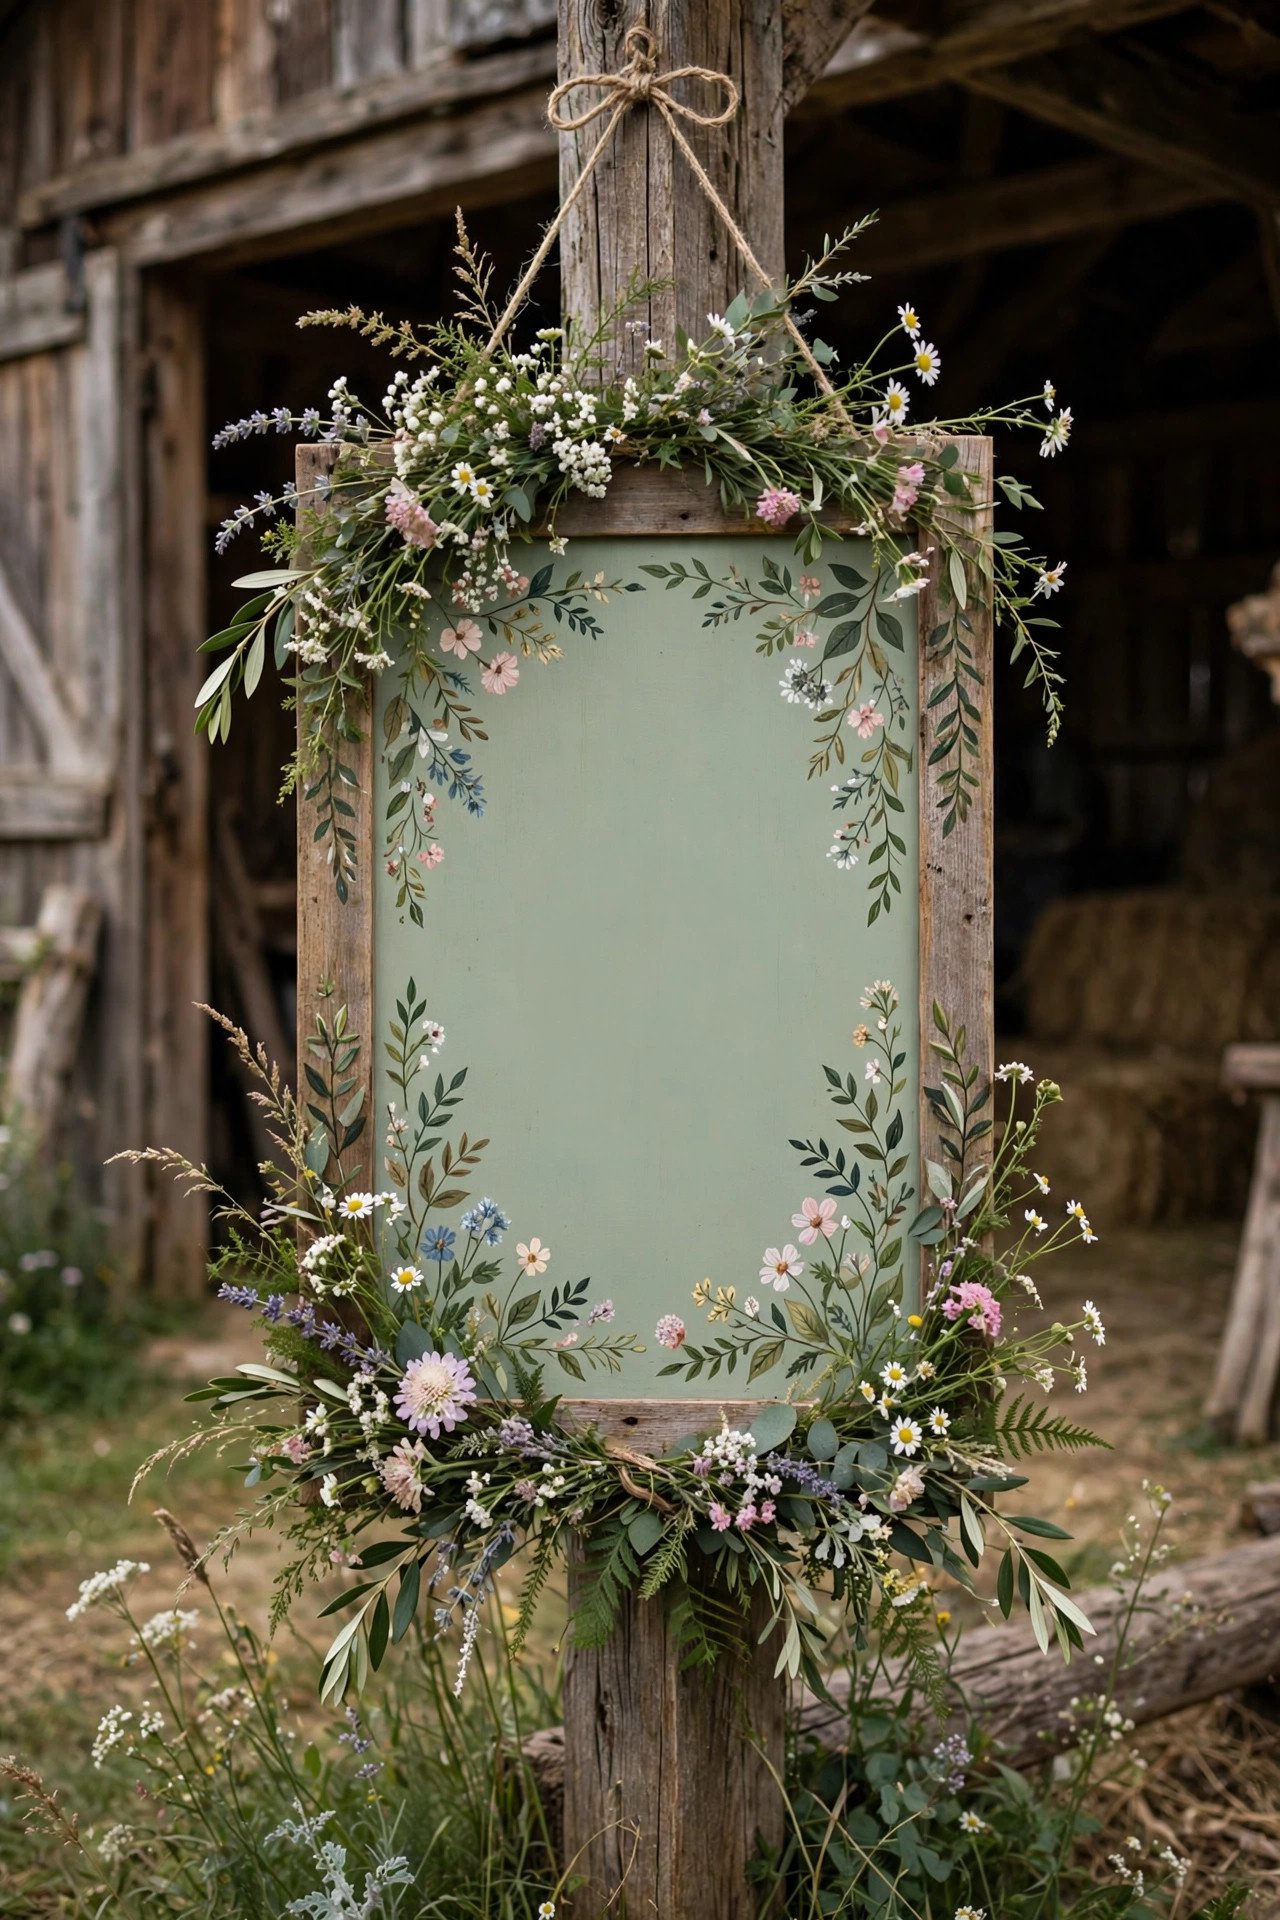
Hand-paint welcome, directional and order-of-events signs on pallet wood or plywood — the highest-impact, lowest-skill rustic DIY.
Wooden signage is the gateway rustic DIY: one pallet (free from many businesses), sandpaper, white or black paint, and lettering stencils or a projected design to trace. Welcome signs, “pick a seat not a side” boards, bar menus, directional arrows to the ceremony — each takes an evening, costs almost nothing, and looks authentically rustic in a way printed signs never do. Slightly wobbly hand-lettering is a feature, not a bug.
Seal outdoor signs with clear polyurethane, mount them on simple easels or stakes, and make a full sign list early so you’re not painting at midnight the week of. One weekend of sign-making can replace $500+ in rented or printed signage.
Read next: Dollar Tree Wedding Decoration Ideas
Mason Jar Centerpieces
 📌 Save
Cluster mason jars with wildflowers, candles and twine down each table — charming, cheap and endlessly customizable.
Mason jar centerpieces endure because the formula is foolproof: jars in mixed sizes (thrift stores sell them for under a dollar), wildflowers or market blooms, tea lights or votives, twine or lace around the necks, arranged on a wood slice or burlap runner. Three jars of varying heights per table beats one big arrangement — it looks abundant and costs a fraction of florist centerpieces.
Collect jars for months (ask friends, check resale groups), and buy flowers 1–2 days before the wedding. Tint some jars with glass paint in your palette for variety, and add height with a few tall branches or eucalyptus stems. At $8–$20 per table versus $75+ from a florist, this single DIY can save over a thousand dollars.
Read next: 12 Budget Wedding Plans That Look Expensive
Burlap & Lace Accents
 📌 Save
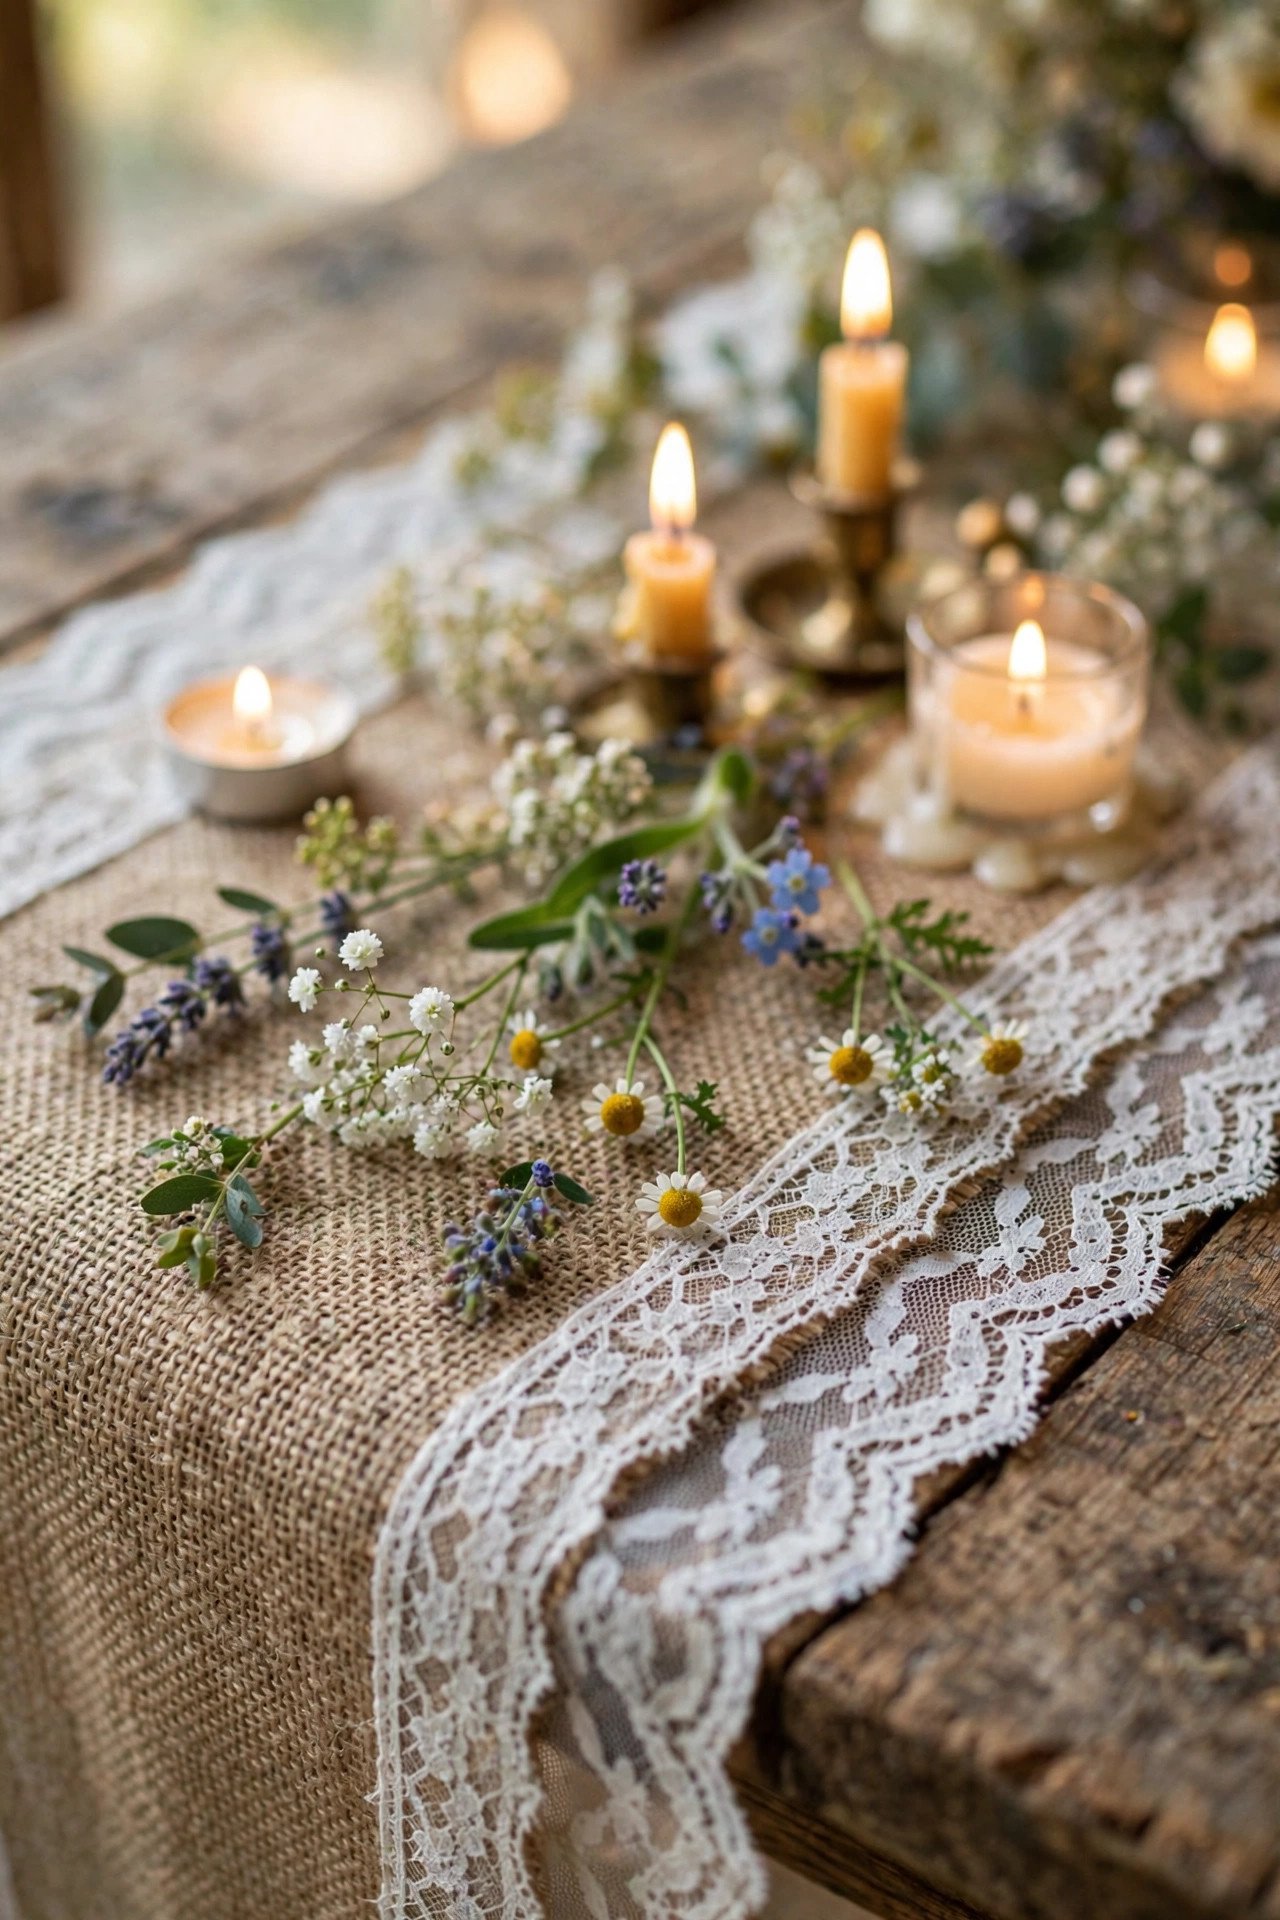
Layer burlap runners with lace overlays, wrap jars and wrap chair backs — instant rustic texture for pennies per table.
Burlap and lace is rustic wedding shorthand: the rough natural fiber against delicate lace creates the contrast the whole aesthetic is built on. Buy burlap by the roll (it’s astonishingly cheap), cut runners to table length, and lay a lace overlay or lace-trimmed strips down the center. Wrap mason jars, tie chair sashes, make bunting — one roll covers a surprising amount of wedding.
Keep it as an accent, not a flood: burlap everywhere reads craft-fair, while burlap in three or four considered spots reads chic. Pair with plenty of candlelight and greenery to keep the texture from feeling flat, and pre-cut everything at home — fraying burlap at the venue is nobody’s idea of fun.
Read next: Dollar Tree Wedding Decoration Ideas
Barn Ceremony Decor
 📌 Save
Dress a barn ceremony space with draped fabric, hay-bale seating accents, lanterns and greenery — enhancing, not covering, the venue’s character.
Barn venues do half your decorating for you — weathered wood, soaring beams, golden light. Your DIY job is framing: drape sheer fabric or string lights along the beams, line the entrance with lanterns, dress hay bales with quilts or cushions for lounge seating, and hang a simple greenery garland where the ceremony backdrop will be. Less is genuinely more here; the barn is the décor.
Confirm every attachment method with the venue (most barns ban nails and staples — use removable hooks, zip ties and draping), and plan for the barn’s quirks: uneven floors for seating, limited power for lights, and dramatic temperature swings. A few well-placed DIY touches beat a truckload of stuff fighting the space.
Read next: 12 Budget Wedding Plans That Look Expensive
Wildflower Bouquets
 📌 Save
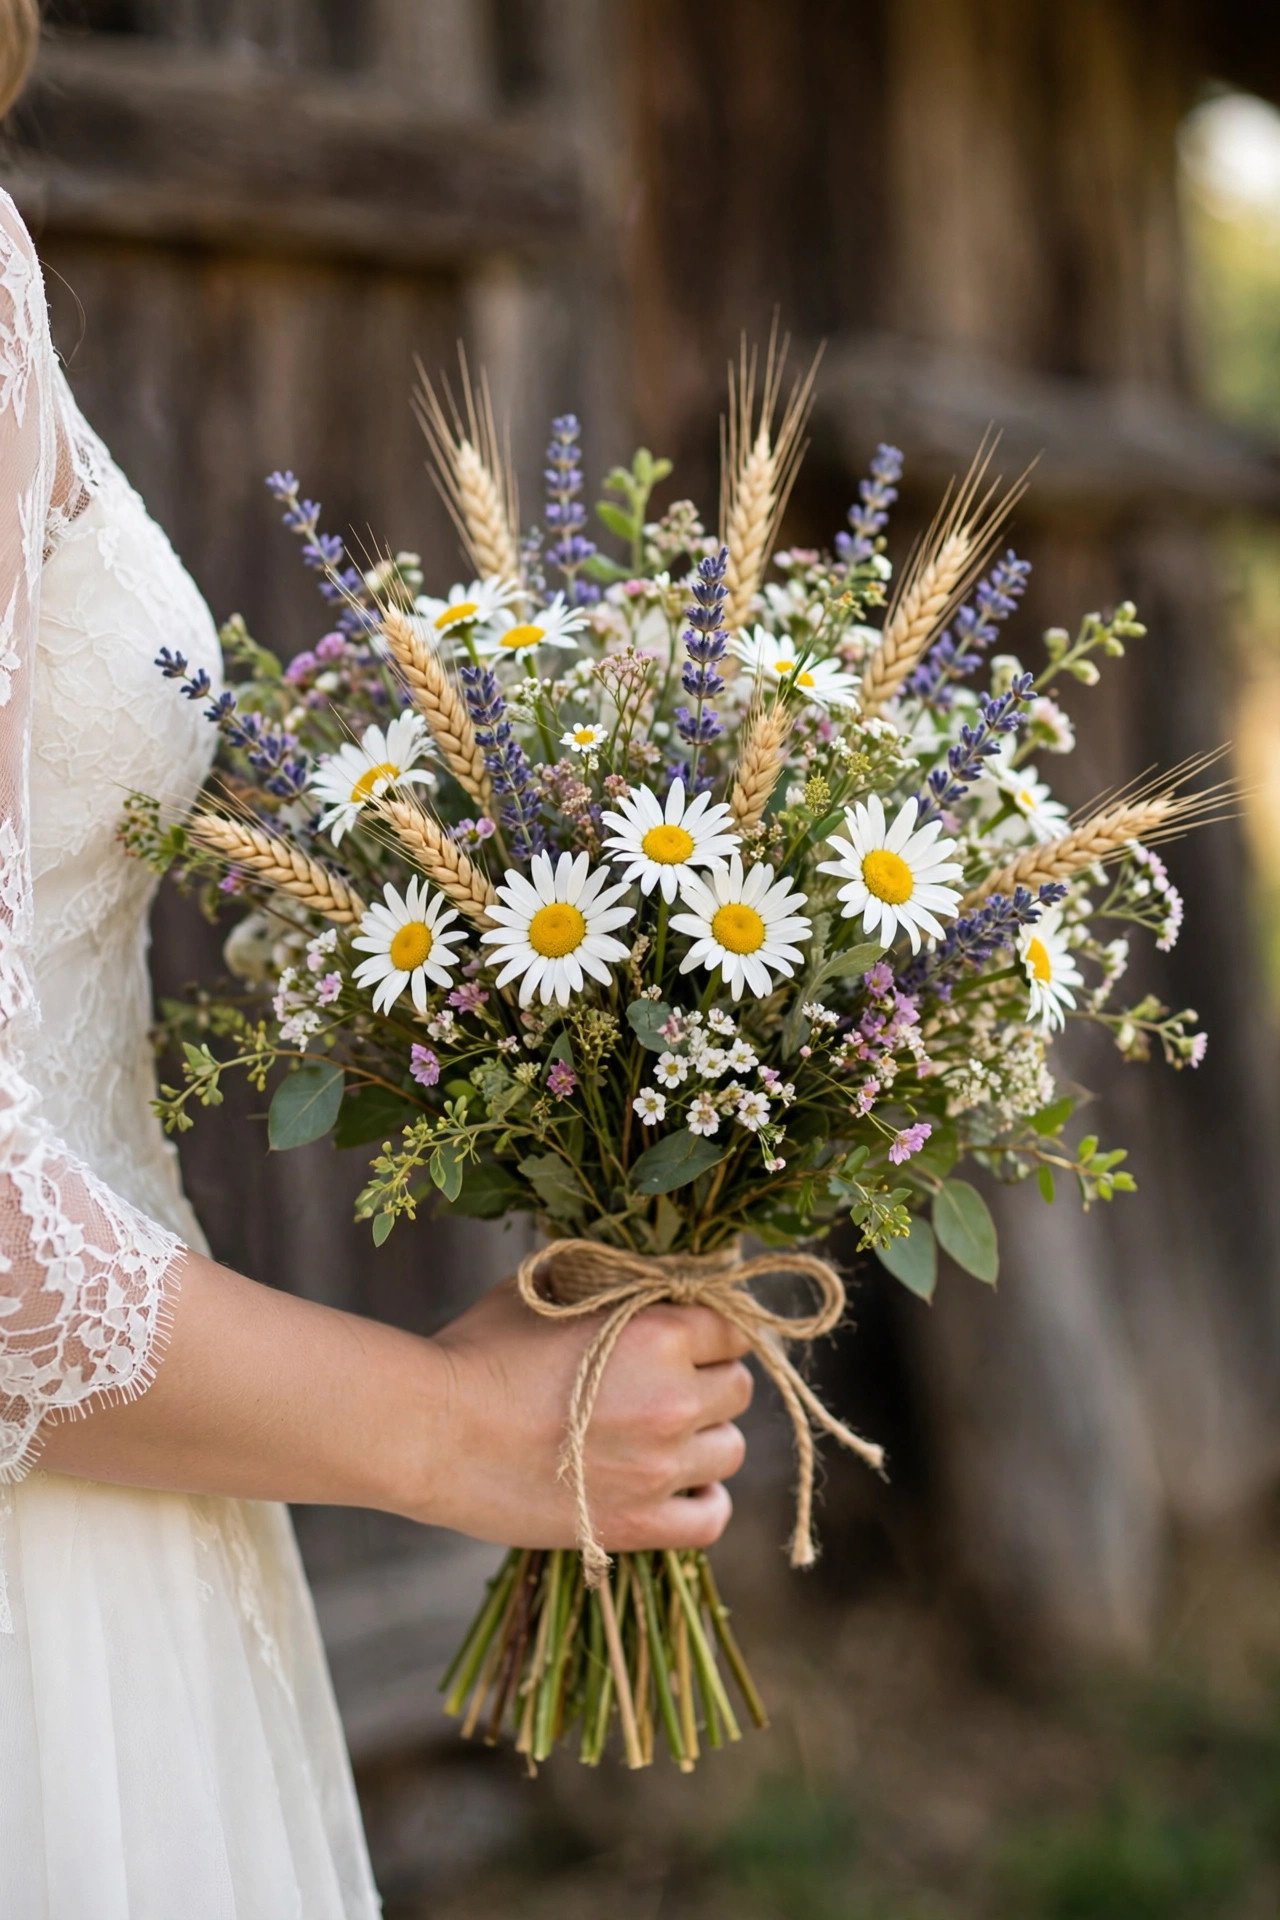
Assemble loose, garden-gathered wildflower bouquets the day before — the forgiving style that flatters beginners.
Wildflower bouquets are the most beginner-friendly floral DIY because imperfection is the aesthetic: loose, asymmetrical, just-gathered. Buy seasonal market flowers 1–2 days before (daisies, cosmos, Queen Anne’s lace, solidago, plus greenery), condition them overnight, then spiral-stem them into a loose dome, tie with ribbon or twine, and trim. No foam, no wiring, no floristry degree required.
Do a practice bouquet a month ahead with grocery-store flowers — you’ll learn stem handling and discover your style. On the wedding week, recruit two helpers and an assembly line: one strips leaves, one builds, one ties and trims. Keep bouquets in water in a cool dark room overnight, and they’ll be perfect by morning.
Rustic Cake Display
 📌 Save
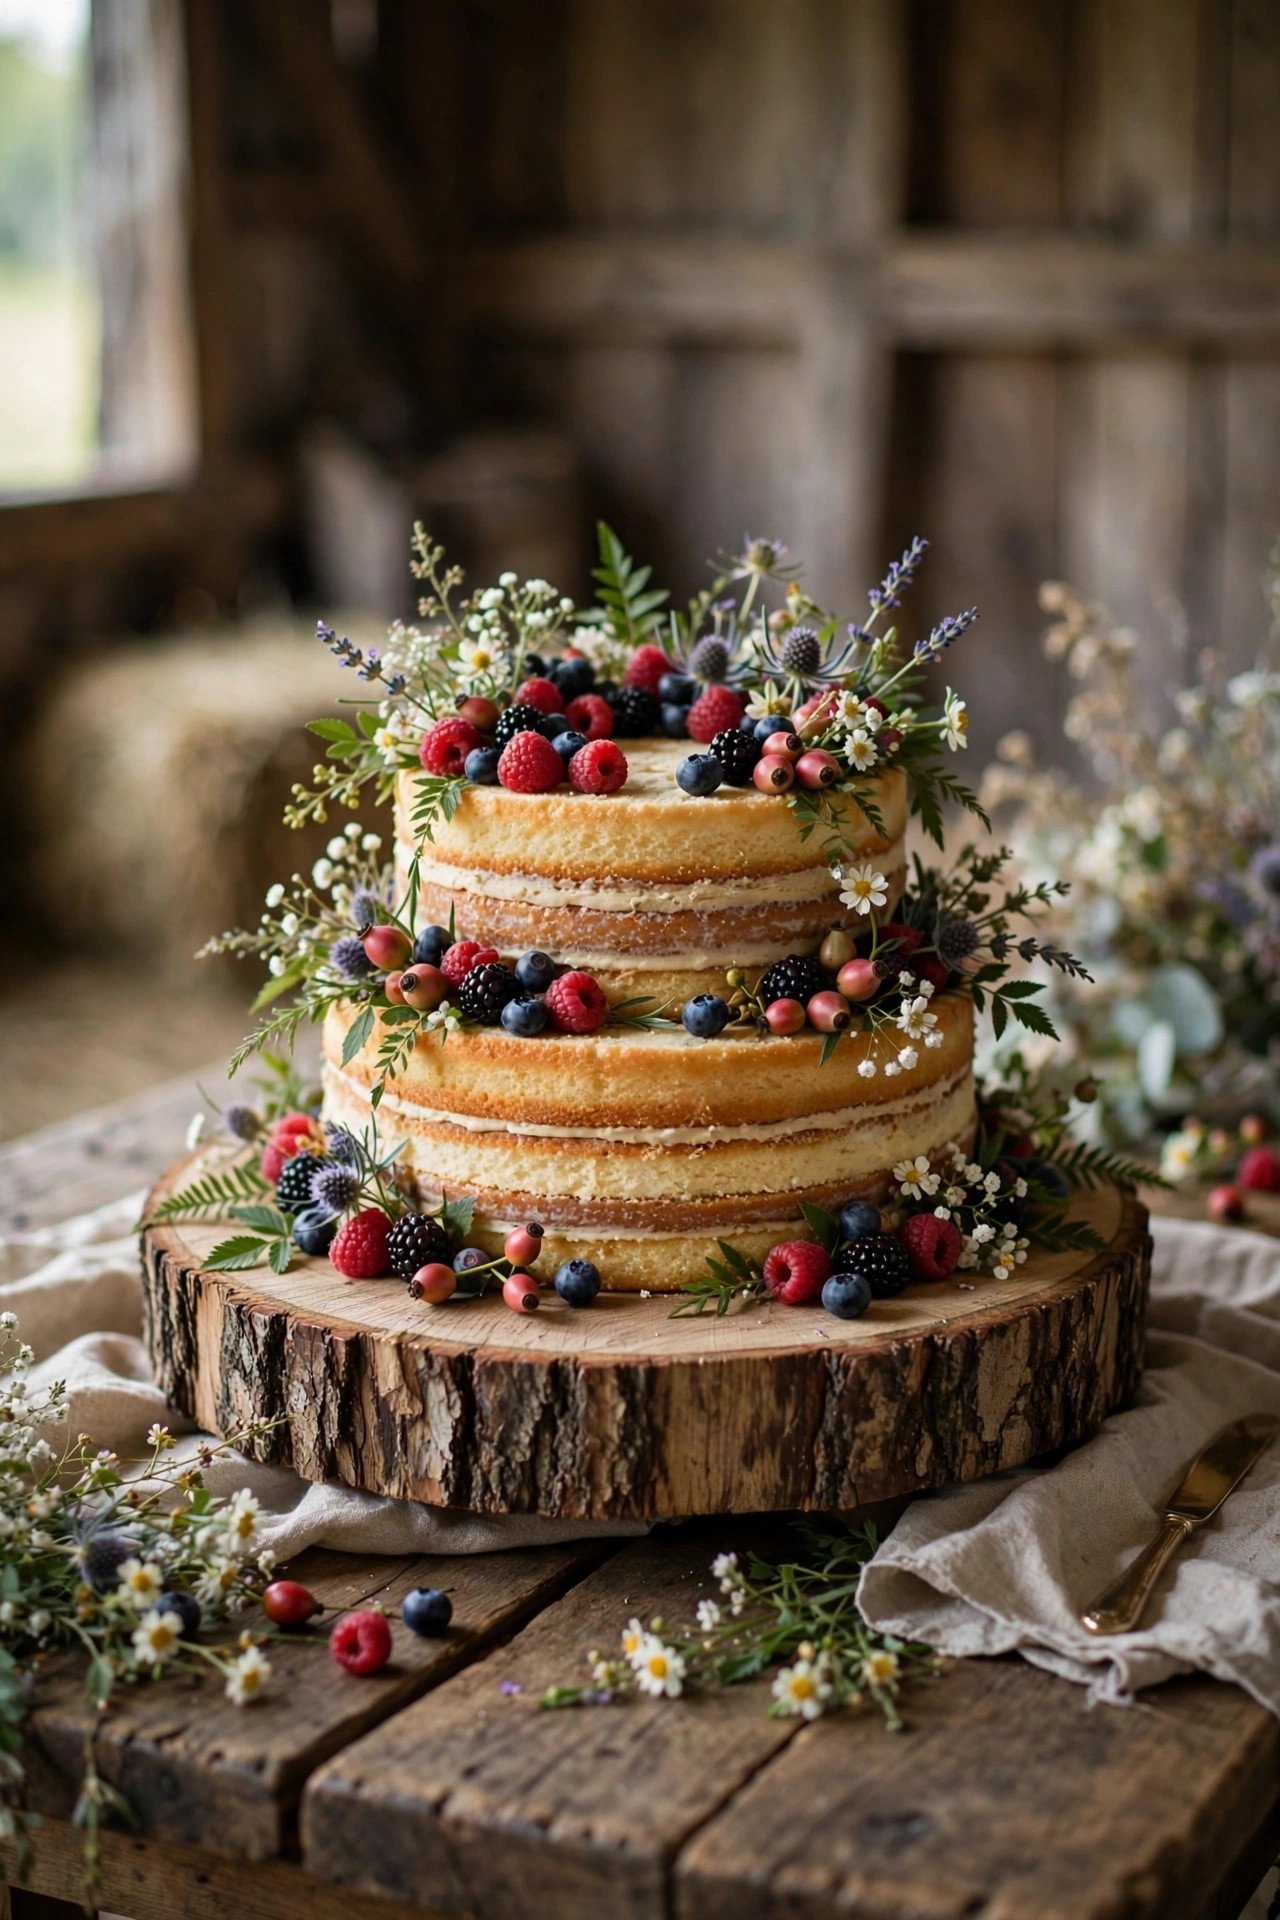
Style the cake table with a wood-slice stand, trailing greenery and candles — a display that makes even a simple cake look stunning.
You don’t need to bake the cake to DIY its display — and the display is half the visual impact. A large wood slice or rustic crate as the stand, eucalyptus trailing around the base, scattered petals, pillar candles at varying heights and a simple cake topper: that’s a styled dessert moment for under $50. The naked or semi-naked cake trend was practically invented for this look.
Coordinate with your baker on size (the stand must fit the cake board with margin), keep the display away from sun and heat, and add the greenery the day of so it stays fresh. A small framed sign with the cake flavors turns the table into an experience, not just a dessert queue.
Read next: 10 Ways to Get Freebies for Your Wedding
DIY Photo Booth
 📌 Save
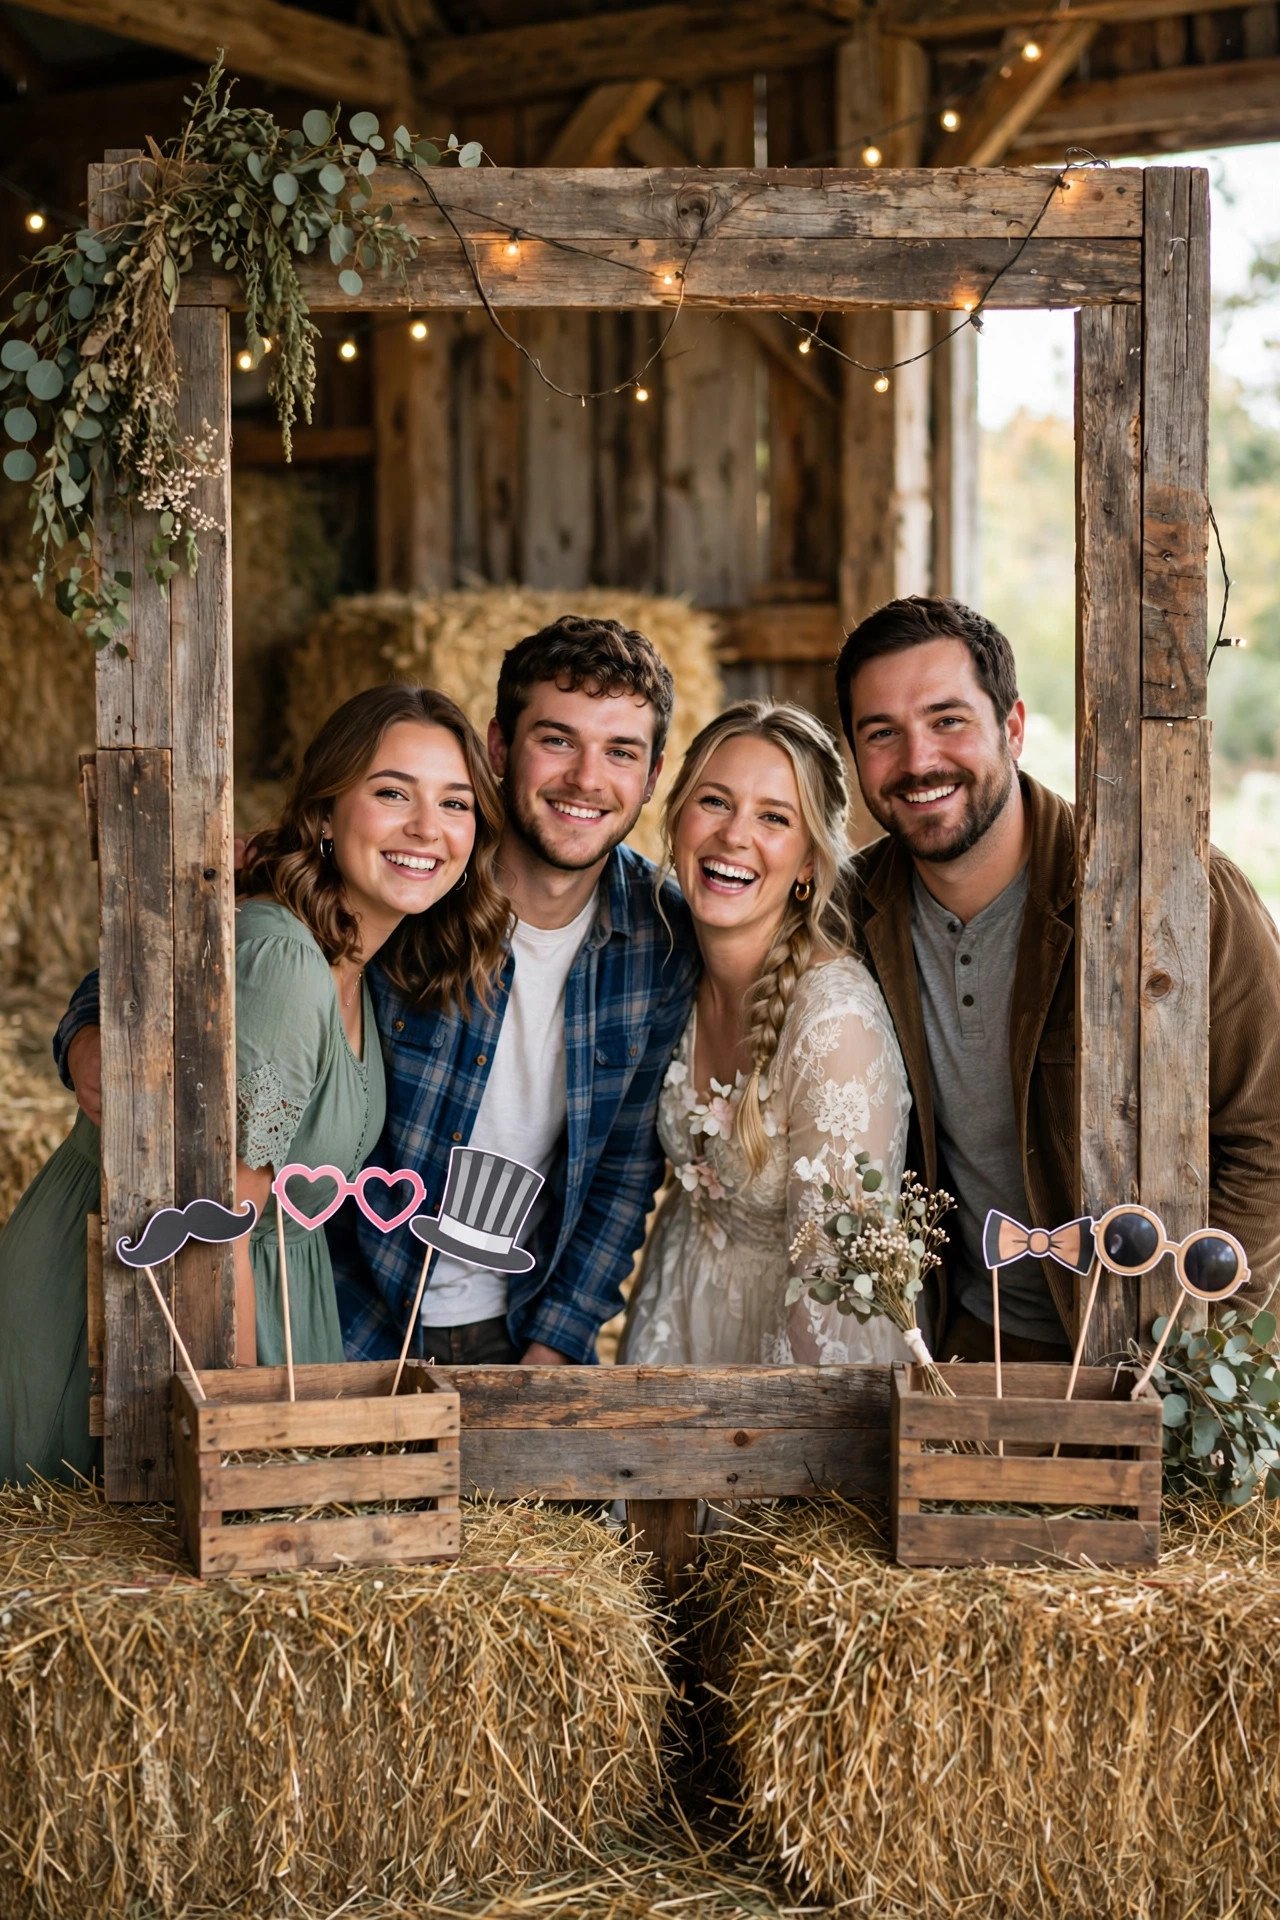
Build a photo booth from a large wooden frame, a simple backdrop and handmade props — entertainment and décor in one.
A DIY photo booth needs just three things: a frame (an old window frame, a wooden arch, or PVC draped in fabric), a backdrop (burlap curtains, a flower wall, or a greenery hoop), and props on sticks (mustaches, speech bubbles with inside jokes, mini chalkboards). Add a tripod, a phone with a bluetooth remote, and a hashtag sign — total cost under $100, versus $800+ for a rental booth.
Light it well: place the booth facing natural light or add two simple LED panels, because bad lighting kills even the best backdrop. Station it away from the dance floor speakers and the food line, and assign no attendant — self-serve booths with clear instructions get more use than awkwardly supervised ones.
Read next: 45 Wedding Photo Ideas to Save Memories
String-Light Canopy
 📌 Save
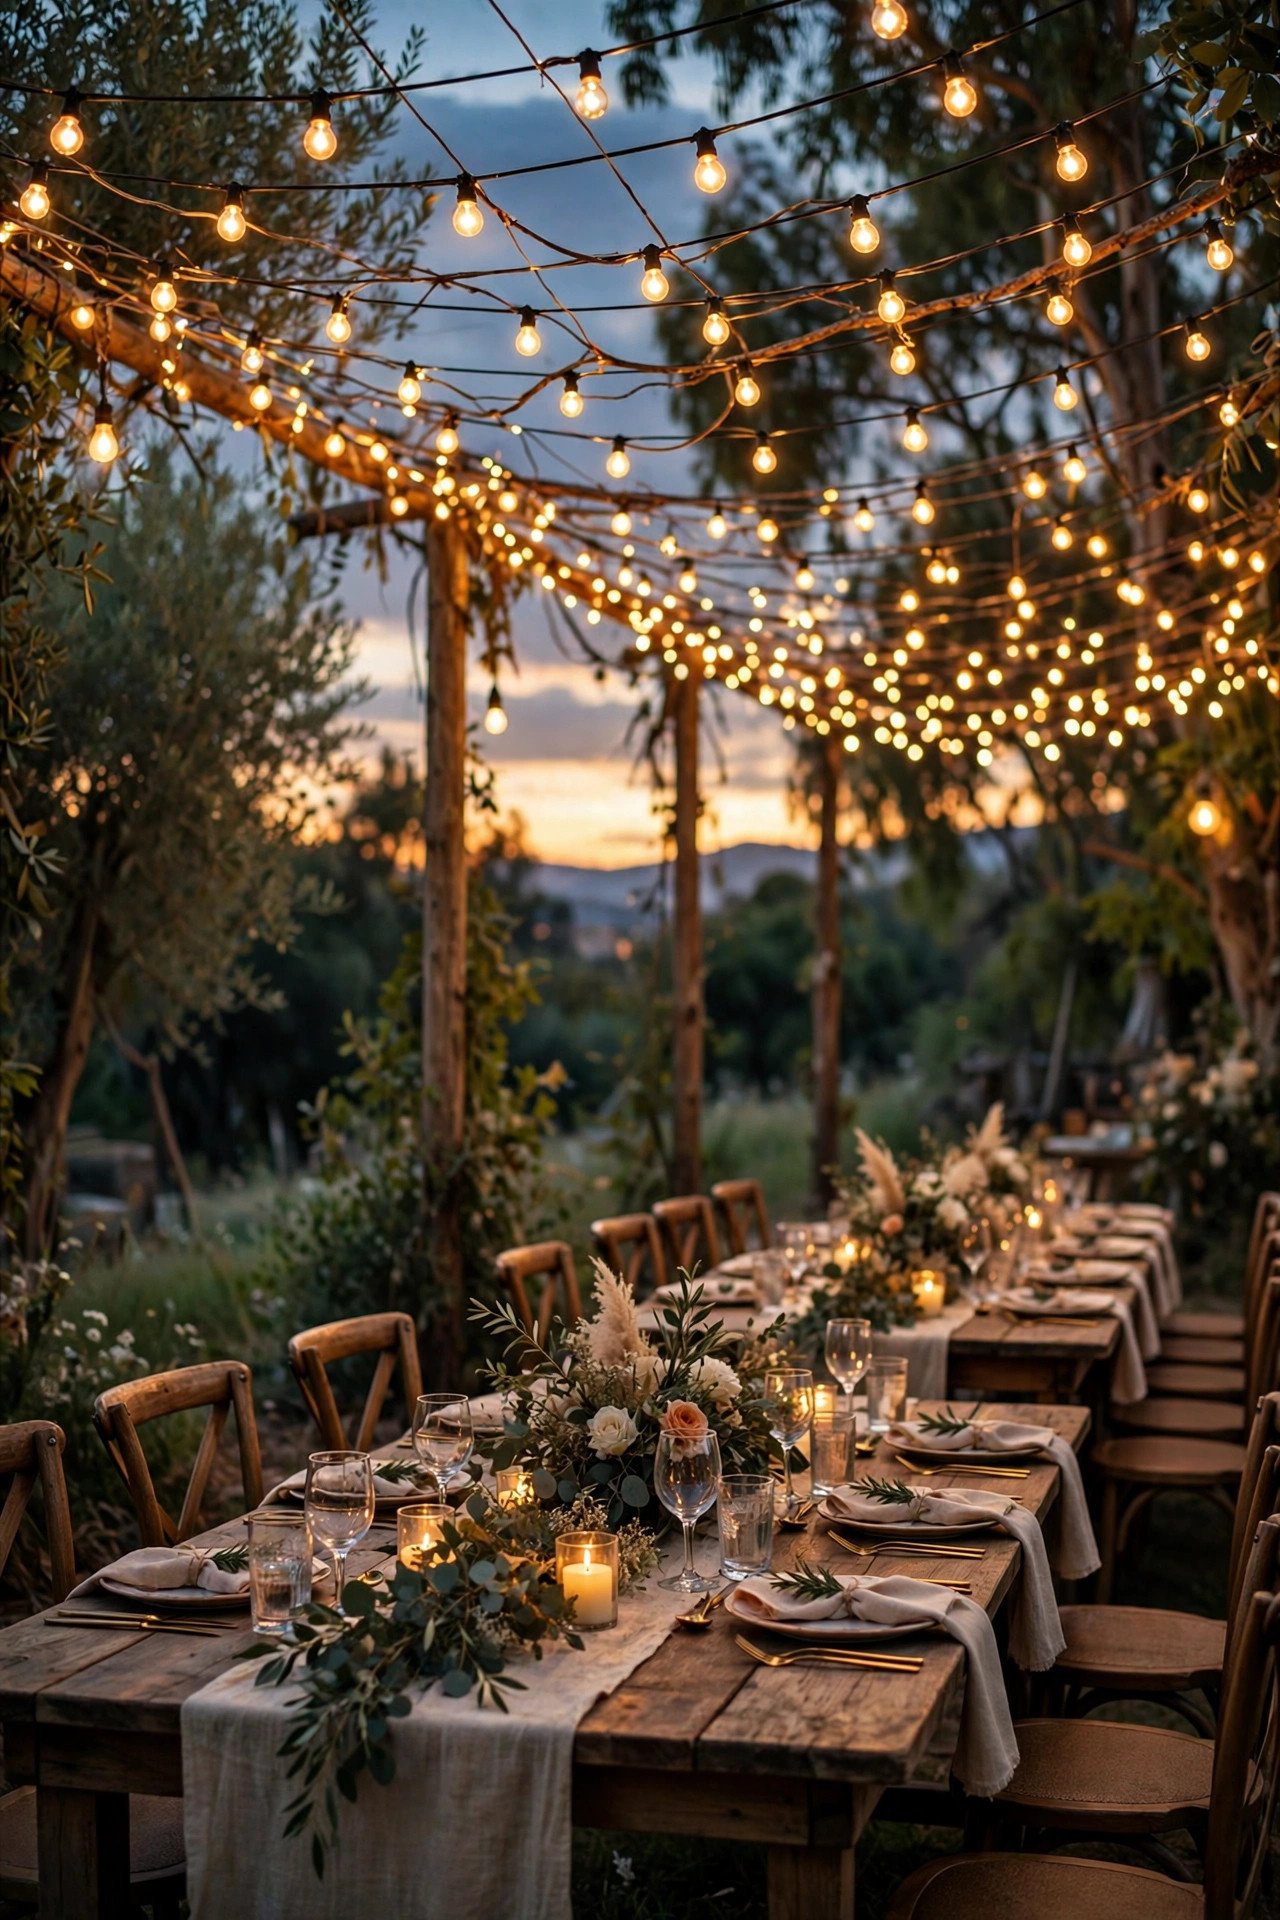
Hang café string lights in swooping canopies over the reception — the single most transformative rustic DIY.
Ask any wedding photographer: string lights are magic. A canopy of warm café lights turns an ordinary backyard, barn or tent into something cinematic after dark. The DIY is straightforward — commercial-grade string lights, a guide wire or poles for support, and a crew for hanging day — but the effect rivals décor costing ten times more. Buy, don’t rent: purchased lights cost little more than one rental and you can resell them after.
Safety is non-negotiable: use outdoor-rated lights, keep all connections off the ground and dry, never overload circuits, and have the venue’s electrician or an experienced hand check the plan. Hang them in gentle swags rather than taut lines — swags look romantic and handle wind better.
Read next: 25 Elegant Indoor Wedding Reception Ideas
Wooden Ceremony Arch
 📌 Save
Build a wooden arch from lumber or branches, then drape it with fabric and greenery — a $150 build replacing a $600 rental.
The ceremony arch frames your vows and every photo of them, making it the highest-visibility DIY on this list. A simple four-post or hexagonal arch from 4×4 lumber, secured with brackets and weighted or staked bases, takes a weekend with basic tools. Dress it asymmetrically — fabric swagged on one side, greenery and a few blooms clustered at the top corner — for the modern rustic look.
Structural honesty matters: this is the one DIY where “good enough” isn’t. It must stand firm in wind with people beneath it — overbuild the base, test it fully assembled before the wedding, and confirm placement with your venue. If power tools aren’t your thing, recruit the handy friend now, not the week before.
Read next: 12 Budget Wedding Plans That Look Expensive
Guest Book Alternatives
 📌 Save
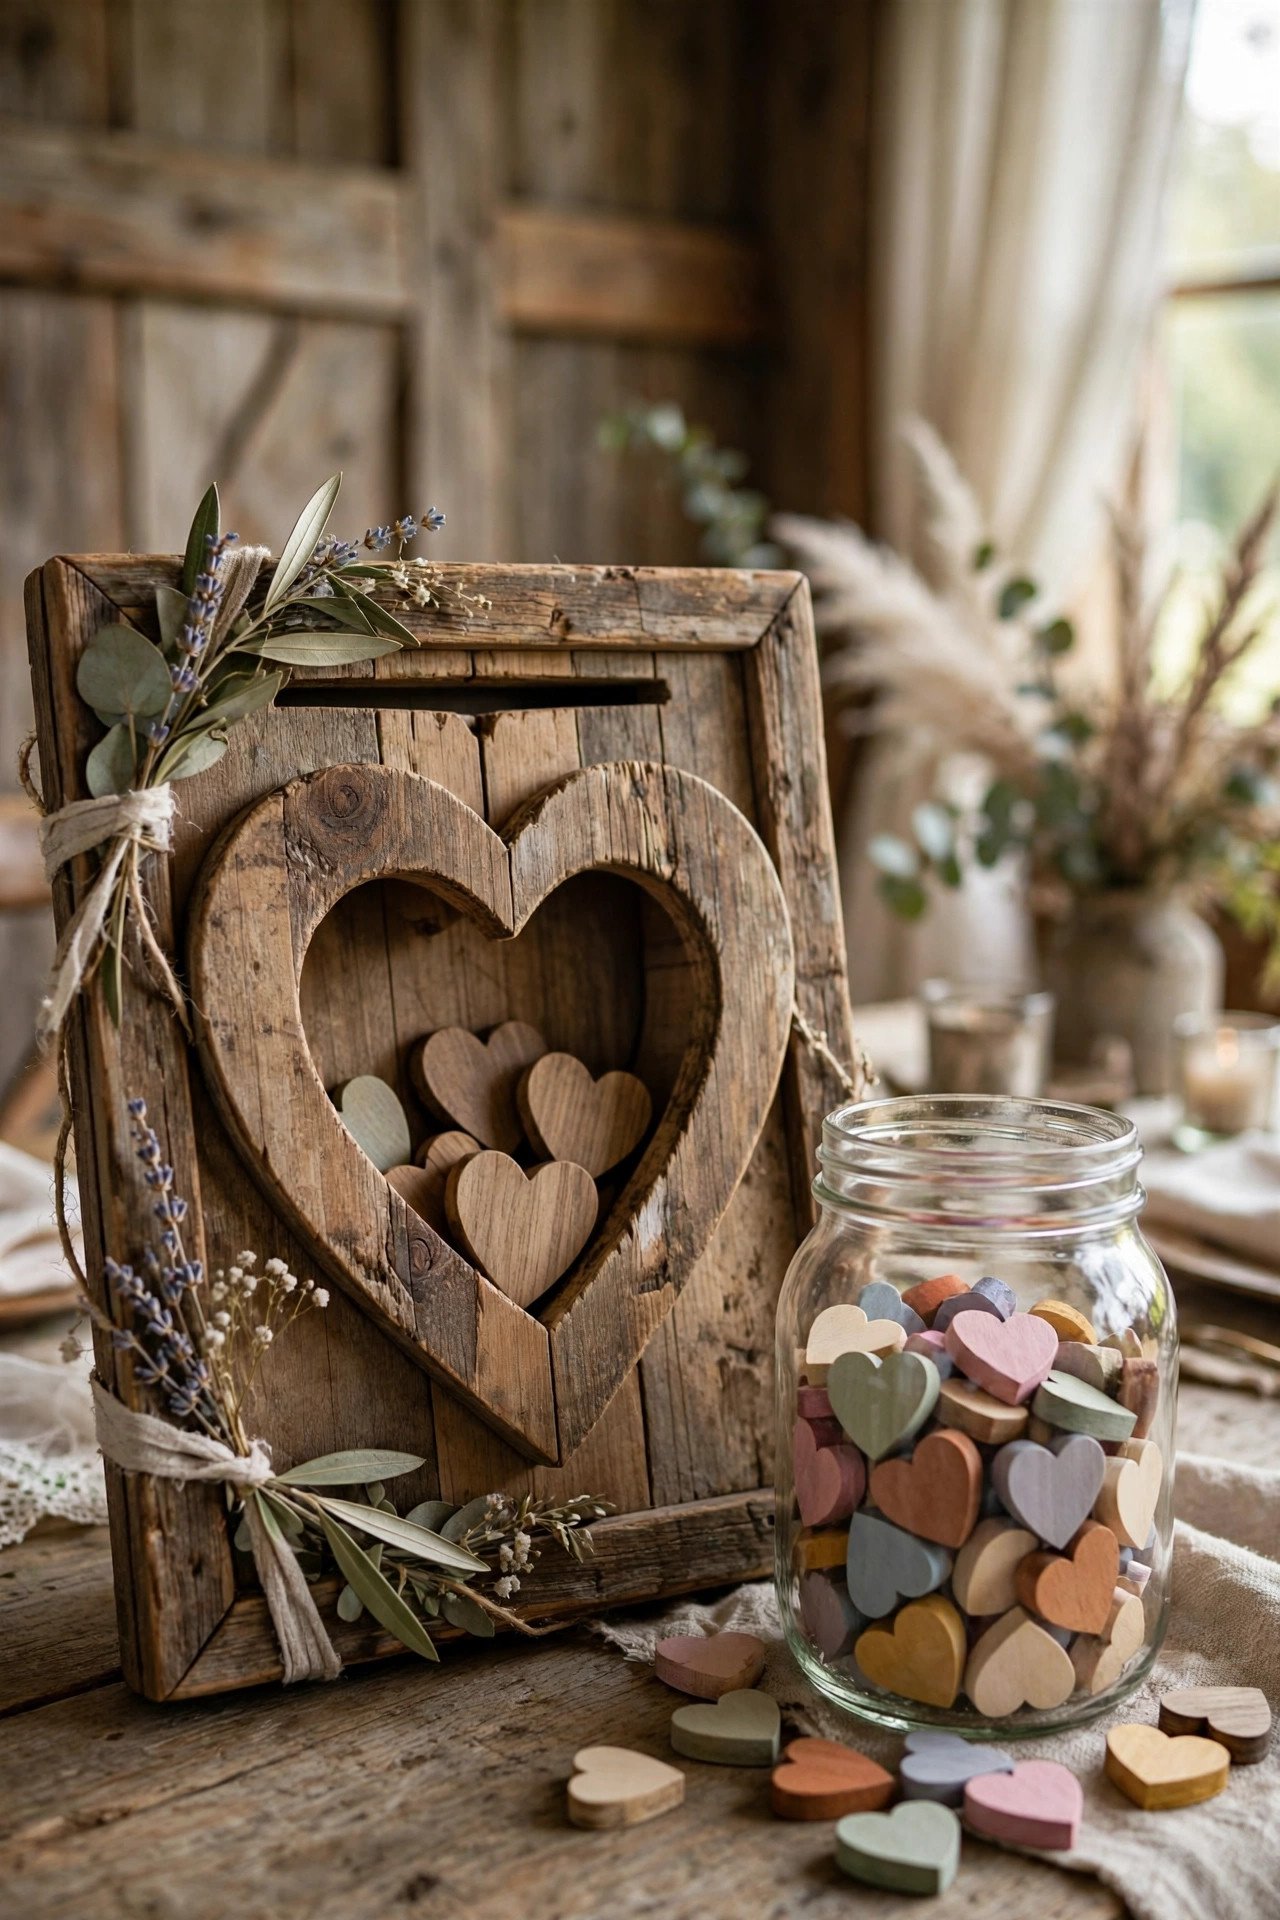
Make a wooden heart-drop box, thumbprint tree or advice-jar guest book — interactive, displayable, and far more fun than a book.
Traditional guest books get signed by half the guests and shelved forever; rustic alternatives get used and displayed. Top DIY picks: a shadow box where guests drop signed wooden hearts, a thumbprint-tree print where each guest adds a leaf-print with their name, or “advice for the newlyweds” cards in a vintage suitcase. Each takes an evening to make and becomes wall-worthy art.
Whatever you choose, make participation obvious: a clear instruction sign, pens that actually work (test them), and placement where there’s a natural lull — near the bar or guest book table at the entrance. Assign one outgoing friend to seed the first few entries; momentum does the rest.
Read next: 10 Ways to Get Freebies for Your Wedding
Edible Favors
 📌 Save
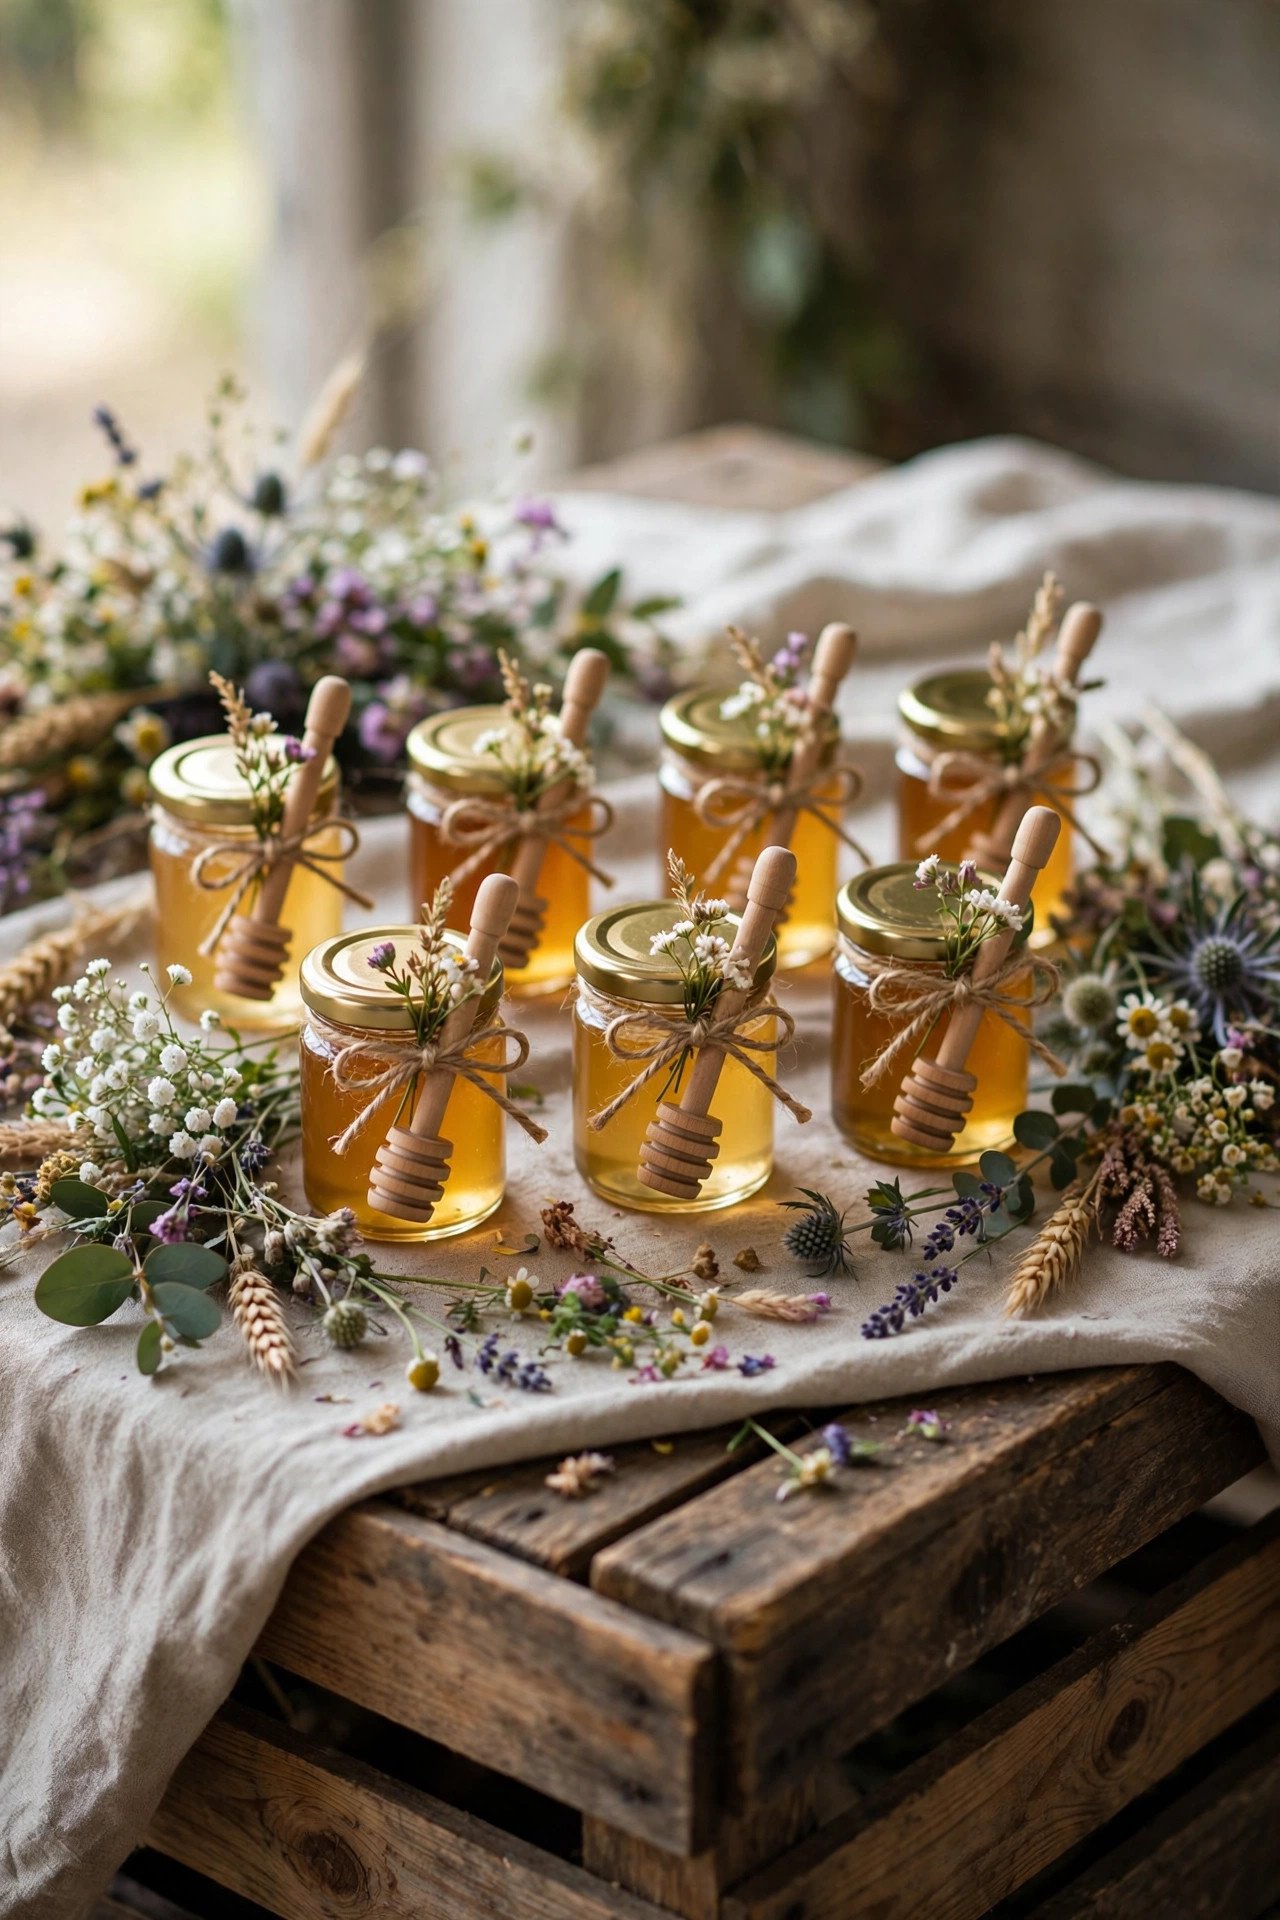
Jar local honey, bake cookies or mix custom tea blends — edible favors get taken, not abandoned on the table.
The data on wedding favors is brutal: non-edible favors get left behind; edible ones disappear. Rustic edible favors practically make themselves: mini honey jars with dipper sticks, homemade jam, baked cookies in kraft bags, custom tea or hot cocoa mixes, or local maple syrup. Buy in bulk, assemble over a few evenings with your wedding party, and finish with twine and a personalized tag.
Keep it food-safe: use proper canning practices for anything perishable, label ingredients for allergy awareness, and check cottage-food rules if you’re selling-scale baking. One favor per guest (not per couple) at $2–$5 each beats a $8 trinket nobody wants, every time.
Read next: Dollar Tree Wedding Decoration Ideas
Wood-Slice Table Numbers
 📌 Save
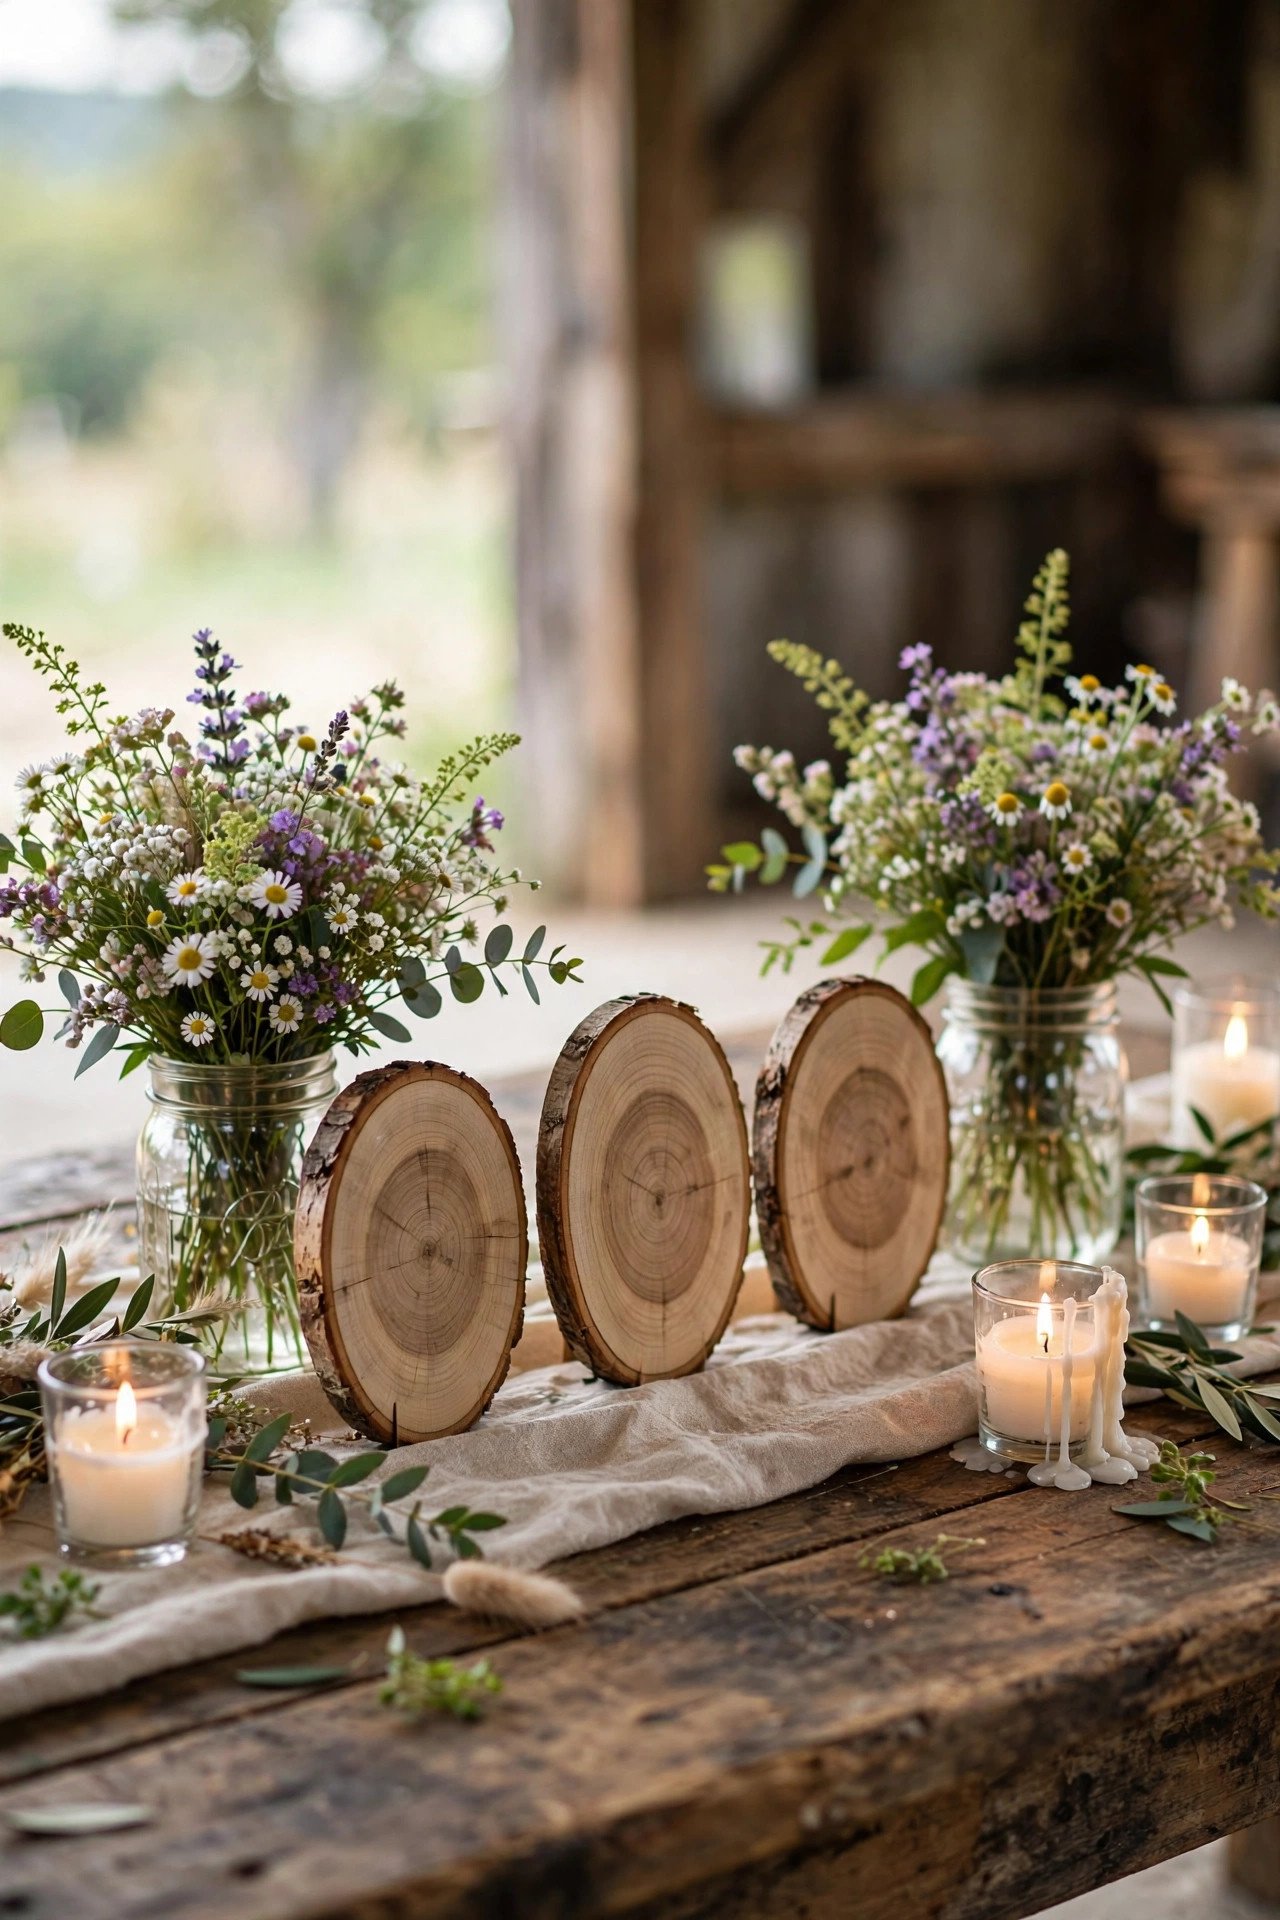
Paint or wood-burn table numbers onto log slices — the 30-minute DIY that looks like you hired a stylist.
Wood-slice table numbers might be the best effort-to-impact ratio in all of wedding DIY: buy pre-cut slices online or from a lumber yard, write numbers with a white or gold paint pen (or wood-burn for extra credit), prop each on a mini easel or lean it against the centerpiece. An evening’s work, a few dollars per table, and they photograph beautifully against the florals.
Match the numbering style to your signage for cohesion — same font vibe, same pen color — and seal slices lightly if the venue is humid (raw wood can spot). Buy 2–3 extras; slices crack, pens slip, and spares save the day.
Read next: 12 Budget Wedding Plans That Look Expensive
Lantern Aisle Decor
 📌 Save
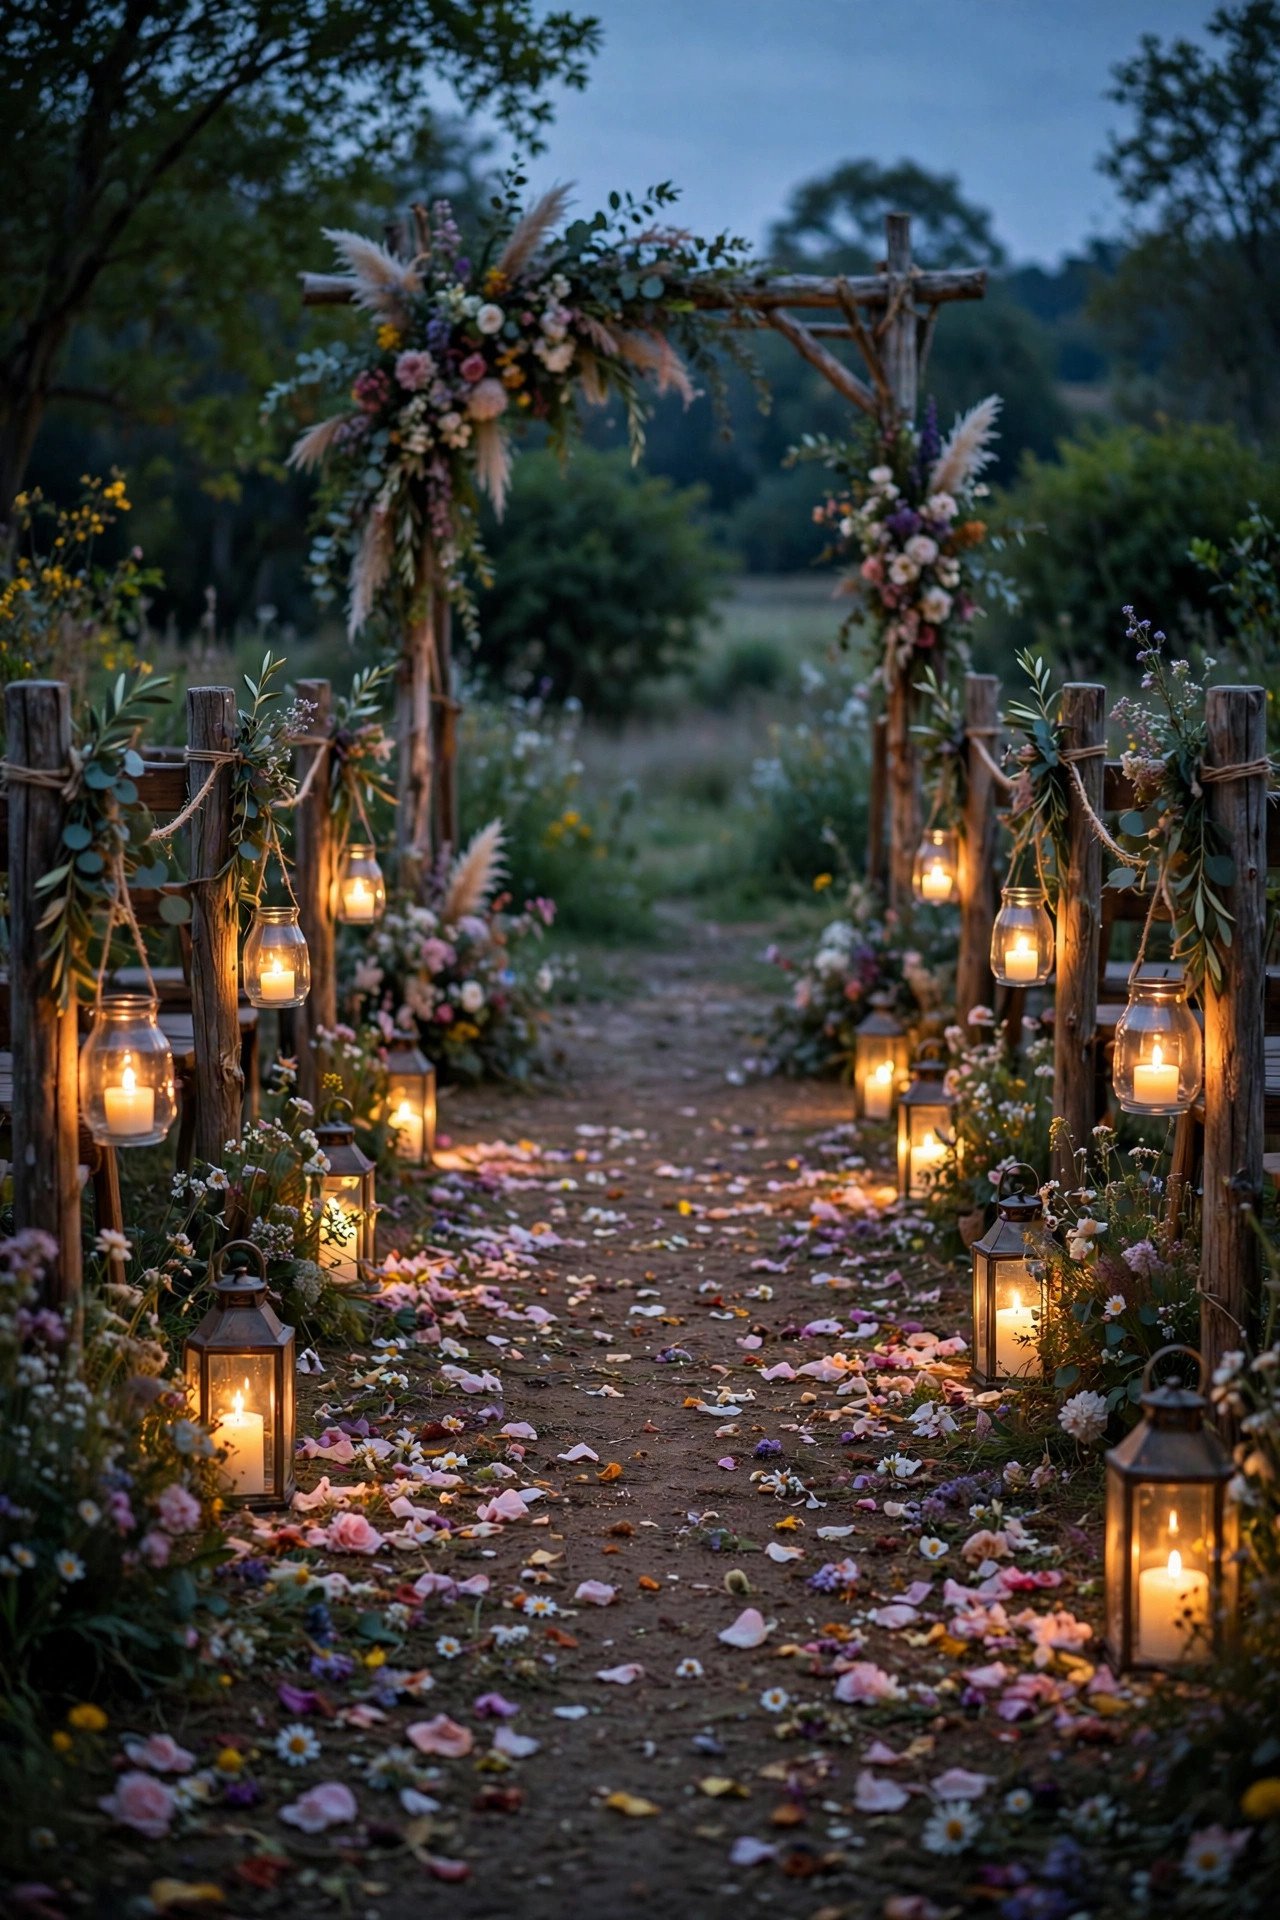
Line the ceremony aisle with lanterns and LED candles — a glowing path that’s pure magic at dusk ceremonies.
Lanterns are the rustic decorator’s secret weapon: thrift stores and resale groups are full of them, they work indoors and out, and a row of glowing lanterns transforms an aisle instantly. Mix sizes and styles for a collected look, use LED candles (most venues ban real flames near fabric and florals), and cluster them asymmetrically — odd numbers, varying heights — rather than in a rigid line.
Plan the flip: after the ceremony, have your crew move the lanterns to the reception — lining the dance floor, the cake table or the entrance path. Décor that works twice is décor that earns its trunk space. And confirm dusk timing: lanterns need dim light to glow, so they’re wasted at a 2 PM ceremony.
Read next: 25 Elegant Indoor Wedding Reception Ideas
Rustic Drink Station
 📌 Save
Build a drink station from a galvanized tub, glass dispensers and a wooden crate stand — lemonade, iced tea and infused water, styled.
A rustic drink station solves a real logistics problem (thirsty guests during cocktail hour and dancing) while doubling as décor. The build is simple: a galvanized tub or wooden crate as the base, 2–3 glass dispensers with lemonade, iced tea and cucumber-mint water, a bucket of ice, stacks of cups and a chalkboard menu. Infused waters — strawberry-basil, cucumber-mint, citrus-rosemary — look gorgeous and cost almost nothing.
Assign refills to someone specific (dispensers empty fast), keep it in the shade (sun + lemonade = sad), and add a small trash bin nearby for cups. For evening events, swap in hot cocoa or mulled cider dispensers — the station works year-round with a seasonal menu.
Read next: 6 Pretty Tea Party Drink Ideas
Sparkler Send-Off
 📌 Save
Organize a sparkler send-off with long-burning sparklers, sand buckets and a clear plan — the unforgettable final photo.
A sparkler send-off is the exclamation point on a rustic wedding: guests line the exit path, sparklers lit, the couple runs through a tunnel of golden light while the photographer captures magic. The DIY is all in the planning — buy 20-inch sparklers (they burn ~2 minutes, unlike the 30-second short ones), display them in sand-filled buckets with a “take one” sign, and station lighters every few guests.
Coordinate ruthlessly: confirm sparklers are legal at your venue and in your area, appoint two “sparkler captains” to manage lighting and used-sparkler collection (a second sand bucket for extinguished ones — safety first), and brief your photographer on the exact exit path and timing. Done right, it’s the photo you’ll frame.
Read next: 45 Wedding Photo Ideas to Save Memories
Frequently Asked Questions
How far in advance should I start DIY rustic wedding projects?
Start 6–9 months out for big builds like signage, arches and ceremony structures; 3–4 months for centerpieces, favors and paper goods; 1–2 weeks for anything with fresh flowers or food. Tackle one category per weekend, and finish everything at least a week before the wedding — the final week is for emergencies, not crafting.
What rustic DIY wedding projects save the most money?
Signage, centerpieces, favors, table numbers and ceremony arches save the most — typically 70–90% versus buying or renting. Hand-painted wood signs replace $200+ rentals; mason jar centerpieces replace $75+ florist arrangements. Skip DIY where professionals matter: photography, catering and large floral installations.
Which rustic DIYs should beginners skip?
Skip anything structural or electrical: hanging heavy installations, wiring overhead string lights, building load-bearing arches, and large floral foam work. Also skip baking your own wedding cake unless you’re experienced. Beginners should own décor, signage, favors and simple arrangements — and hire out the rest.
How do I transport DIY rustic wedding decor to the venue?
Pack by setup zone in lidded plastic bins (not cardboard), pad fragile items with linens, recruit a crew with a large vehicle, deliver the day before when possible, and bring a labeled photo of each finished arrangement so helpers can recreate your vision exactly.
Where do I source cheap rustic wedding materials?
Facebook Marketplace and wedding resale groups for used décor, thrift stores for mason jars and lanterns, lumber yards for wood, dollar stores for candles and burlap, and farmers’ markets for wildflowers. And ask family first — someone always has a barn full of exactly what you need.
✨ Key Takeaways
- 150 ideas organized into 15 categories — start big builds 6–9 months out, finish everything a week before.
- Signage, mason jar centerpieces and favors save 70–90% versus renting — the highest-ROI DIYs.
- Skip DIY for structural, electrical and food-safety-critical projects — hire those out.
- Source from resale groups, thrift stores and family barns before buying anything new.
- Design every piece to work twice (ceremony → reception) and photograph your setups for the crew.
Final Thoughts
There’s something no rental company can deliver: a wedding built by the people who love you. Every hand-painted sign, every jar of wildflowers, every sparkler placed with care carries a story your guests can feel. These 150 ideas aren’t about perfection — rustic DIY is at its best slightly imperfect. They’re about making your wedding unmistakably, unforgettably yours. So gather your crew, cue up the playlist, and start building.






2 Comments