
6 Things Every Bride Should Do Before Putting On Her Wedding Dress
By zainzari • Published April 2026 • Updated October 9, 2026
 📌 Save
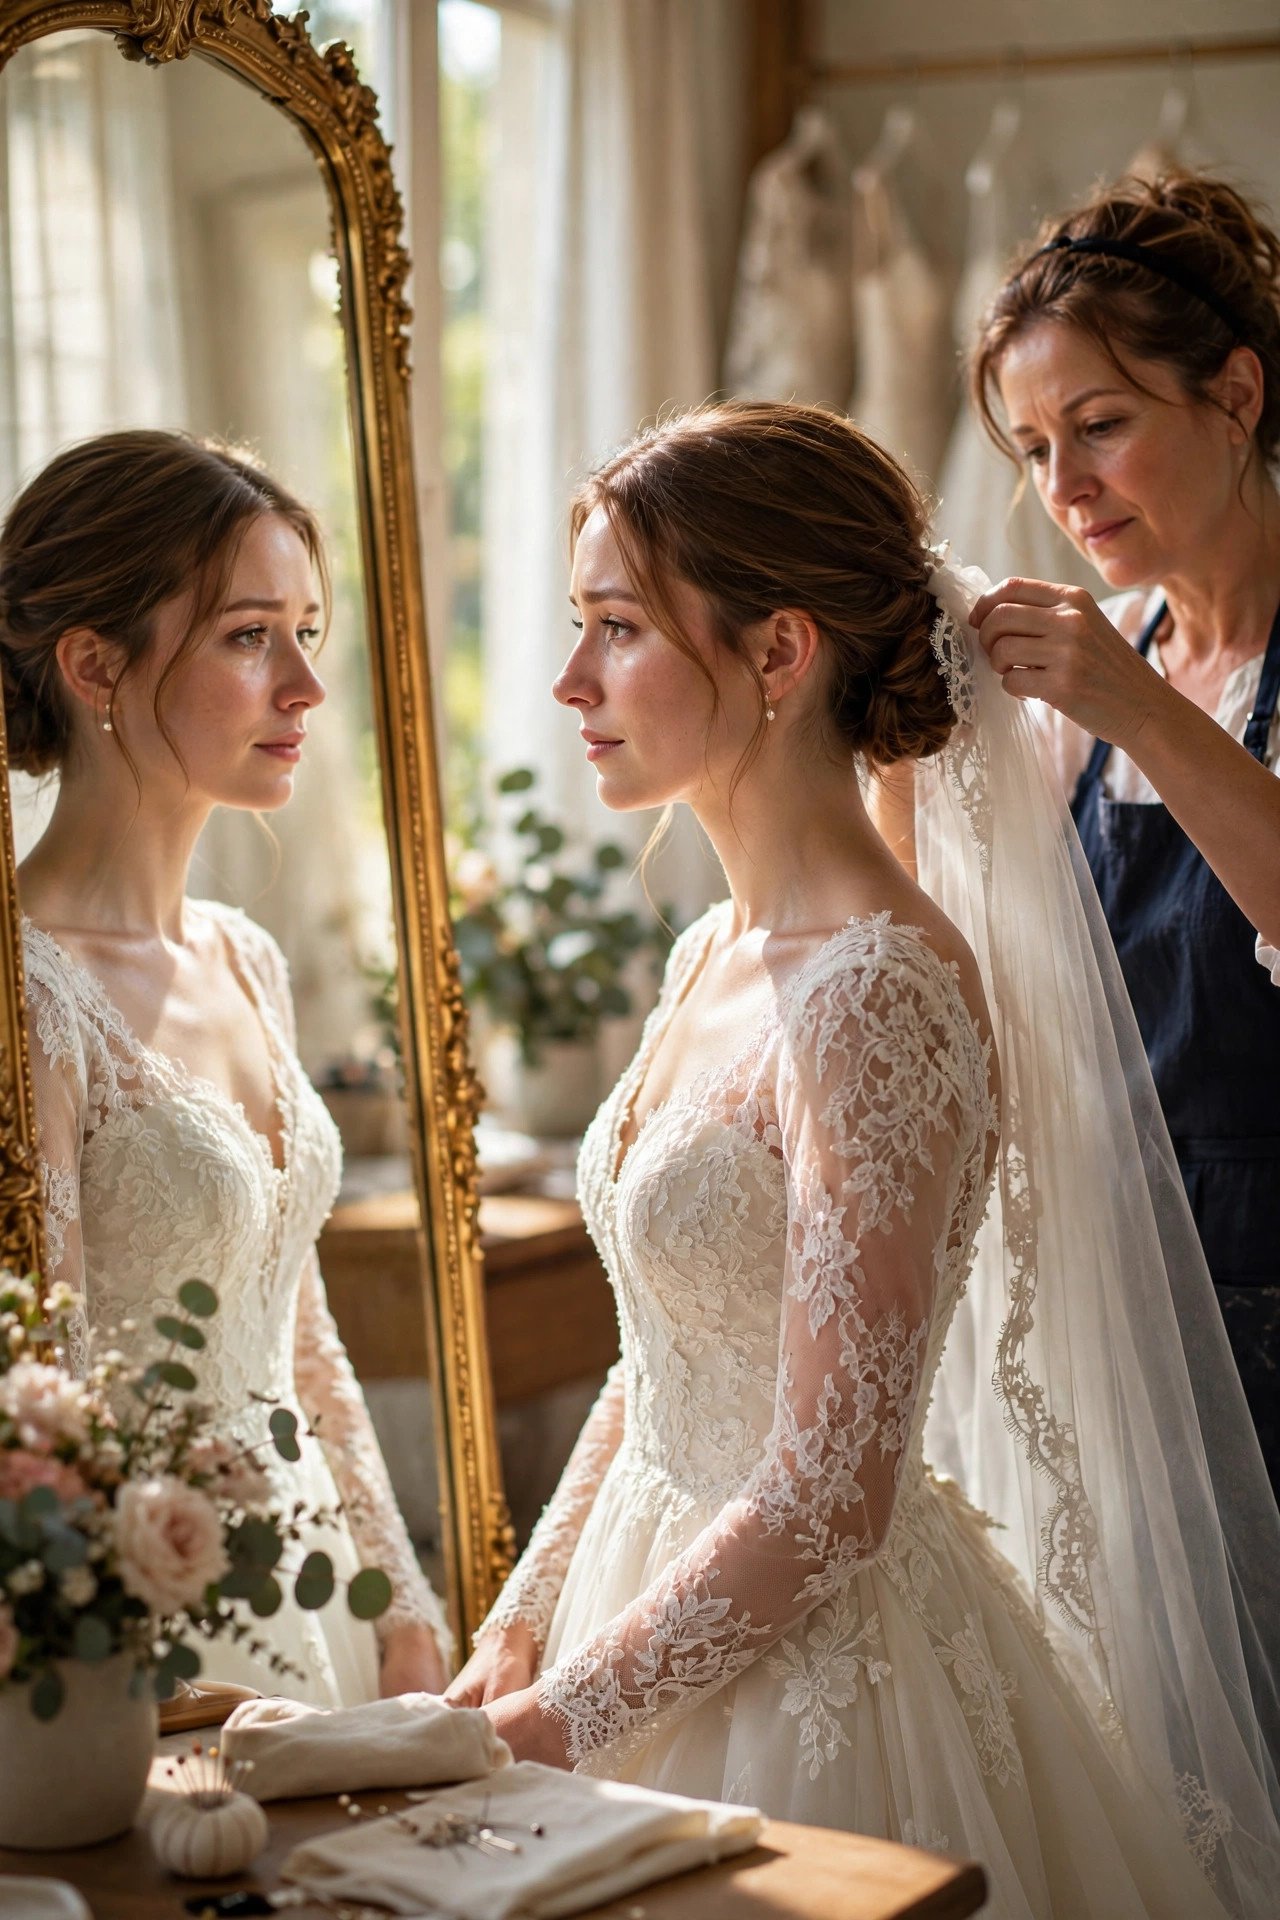
Before you put on your wedding dress, work through six dress-specific tasks: complete your final fitting 2–3 weeks out (bringing your exact shoes and undergarments), lock in an alterations timeline, steam and store the gown properly, pack a dress emergency kit, learn and rehearse the bustle, and build a realistic day-of dressing timeline with two designated helpers. These steps prevent the most common dress-day disasters — from hem mishaps to train tangles.
Your wedding dress is the most photographed garment you’ll ever wear — and the one most likely to cause last-minute panic. Not because anything is wrong with it, but because most brides leave the dress logistics to the wedding morning, when there’s no time left to fix anything. A loose button, a wrinkled train, a bustle nobody knows how to fasten: all preventable with a little advance planning.
This guide covers the 6 dress-focused tasks every 2027 bride should complete before she puts on her gown — from the final fitting to the day-of timeline. Think of it as insurance for the most important outfit of your life.
At a Glance: Dress Prep Schedule
| Task | Do It When | Who Helps | Time Needed |
|---|---|---|---|
| Final fitting | 2–3 weeks before | You + seamstress | 45–60 min |
| Alterations timeline | 3–4 months before | Seamstress | 2–3 appointments |
| Steaming & storage | 1–2 days before | Steamer or stylist | 30–60 min |
| Emergency kit | Week before | Maid of honor holds it | 20 min to pack |
| Bustle practice | At final fitting | Seamstress teaches helper | 10 min |
| Day-of timeline | Week before | Coordinator + 2 helpers | 30 min to plan |
Start alterations 3–4 months out — rush alterations cost more and stress everyone out. Everything on this list is calmer when it’s not last-minute.
Final Fitting Checklist
 📌 Save
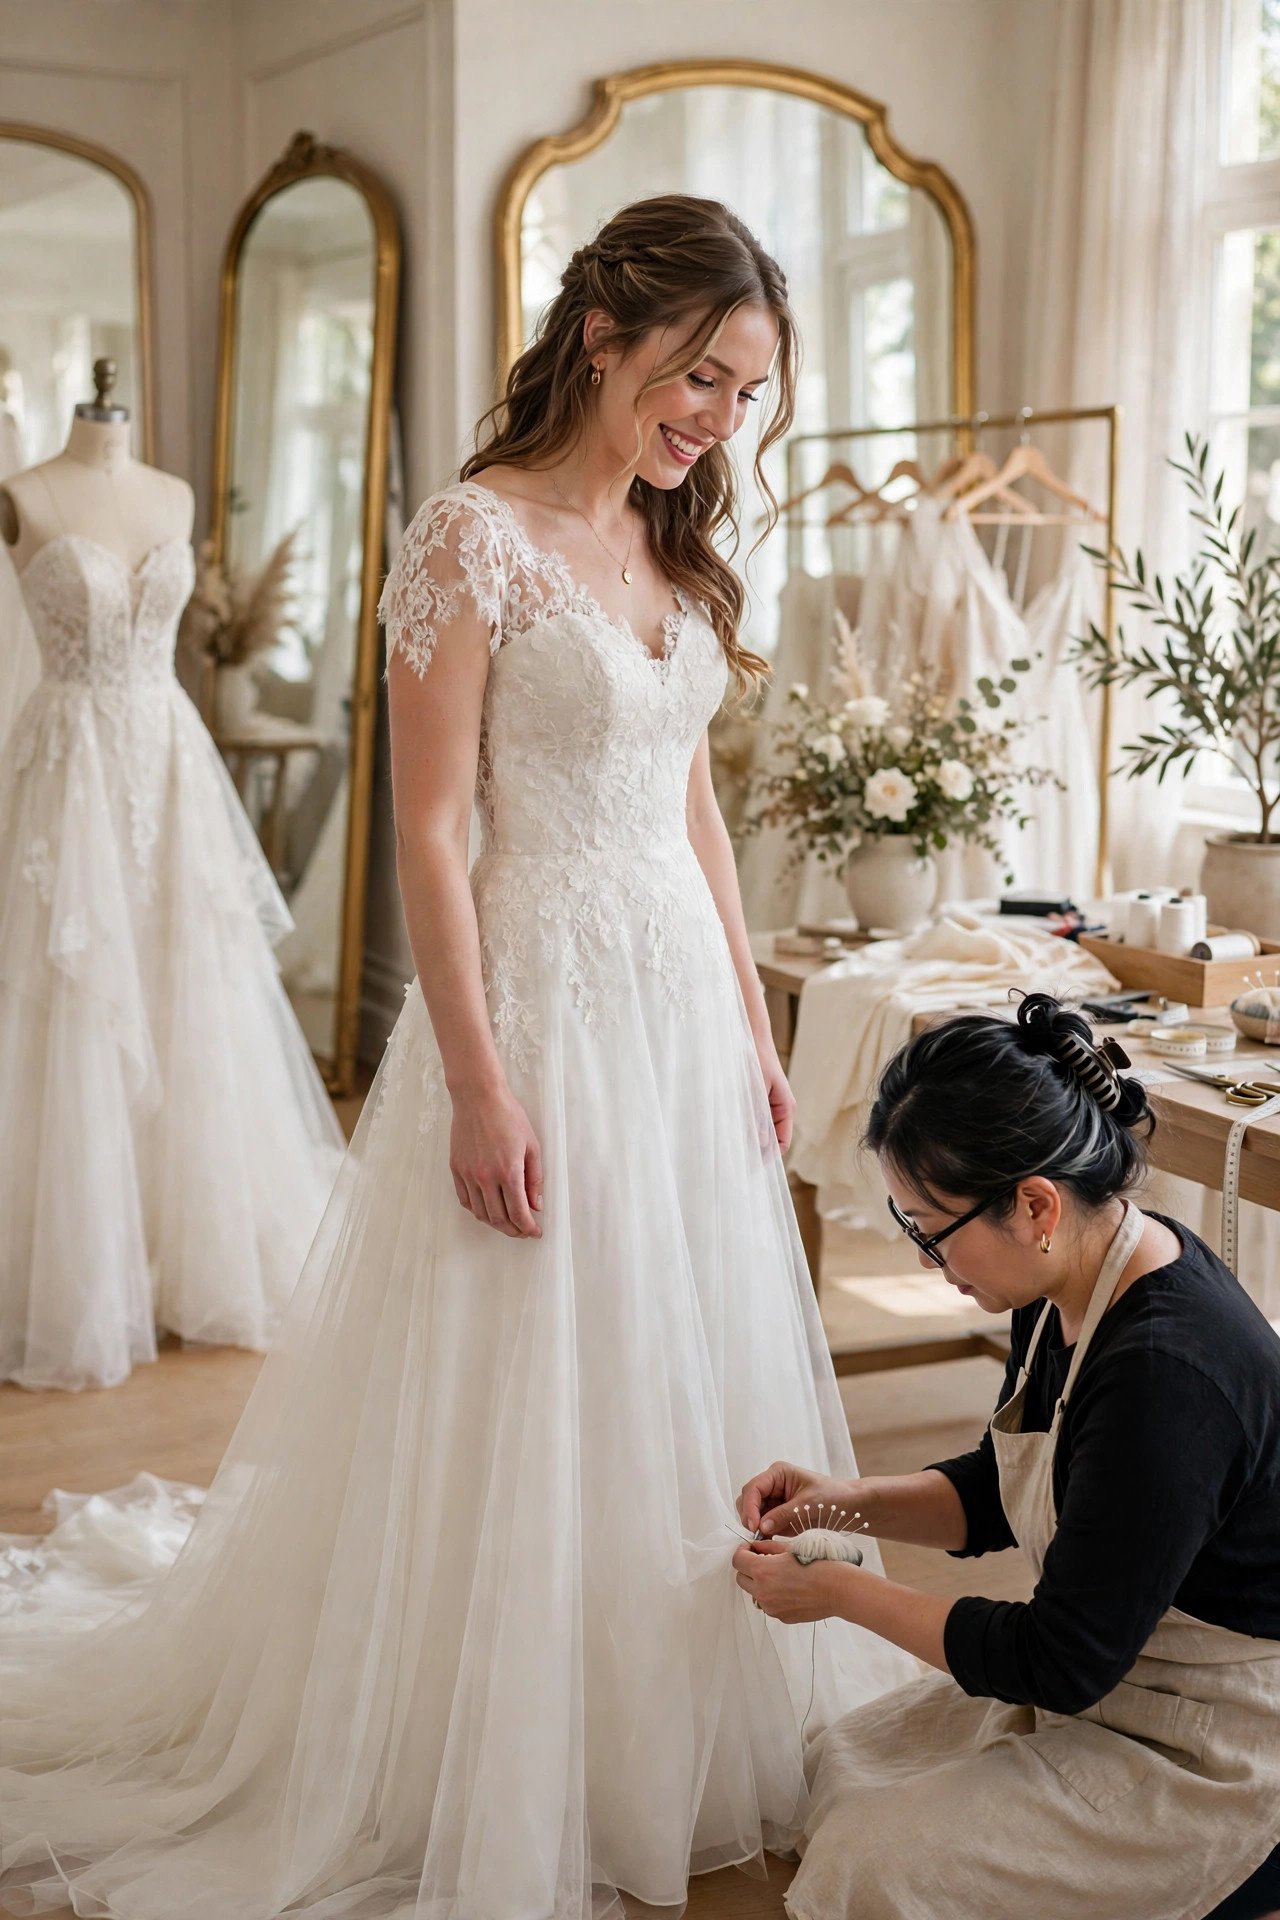
Arrive at your final fitting with your exact wedding-day shoes, undergarments and accessories — fit decisions made in the wrong shoes are worthless.
Your final fitting, usually 2–3 weeks before the wedding, is the last chance to catch problems while there’s still time to fix them. Bring everything you’ll wear: the actual shoes (heel height changes the hem), your chosen undergarments or shapewear, and your veil or hairpiece if it attaches to the dress. Move like it’s the wedding day — sit down, raise your arms, walk, hug someone. If anything pinches, gaps or rides up, say so now; “it’ll be fine” is how brides end up miserable by dinner.
Use this appointment as a full systems check: confirm the bustle works, check that buttons and hooks are all secure, and have your seamstress show your designated helper exactly how to fasten everything. Take photos and a short video of the bustle process — on the wedding day, nobody will remember the verbal instructions.
Read next: Wedding Hair With Veil Ideas & Inspiration
Alterations Timeline
 📌 Save
Book your seamstress 3–4 months before the wedding: first fitting for major changes, second for refinements, final for the perfect finish.
Almost no wedding dress fits perfectly off the rack — even made-to-measure gowns usually need tweaks. A standard alterations timeline has three appointments: the first (3–4 months out) for major work like taking in the bodice or hemming, the second (6–8 weeks out) to check those changes and refine, and the final (2–3 weeks out) for last adjustments. Complex work — restructuring a bodice, adding sleeves, changing a neckline — needs even more lead time, so discuss your wishlist at the very first appointment.
Ask upfront about costs and what’s included: hemming, taking in seams and adding a bustle are standard, but extras like custom changes or rush fees add up fast. Get the total in writing. And never skip the seamstress’s advice about your body and the dress’s construction — she knows what the fabric will allow better than any Pinterest board.
Read next: Ultimate Wedding Planning Checklist
Steaming & Safe Storage
 📌 Save
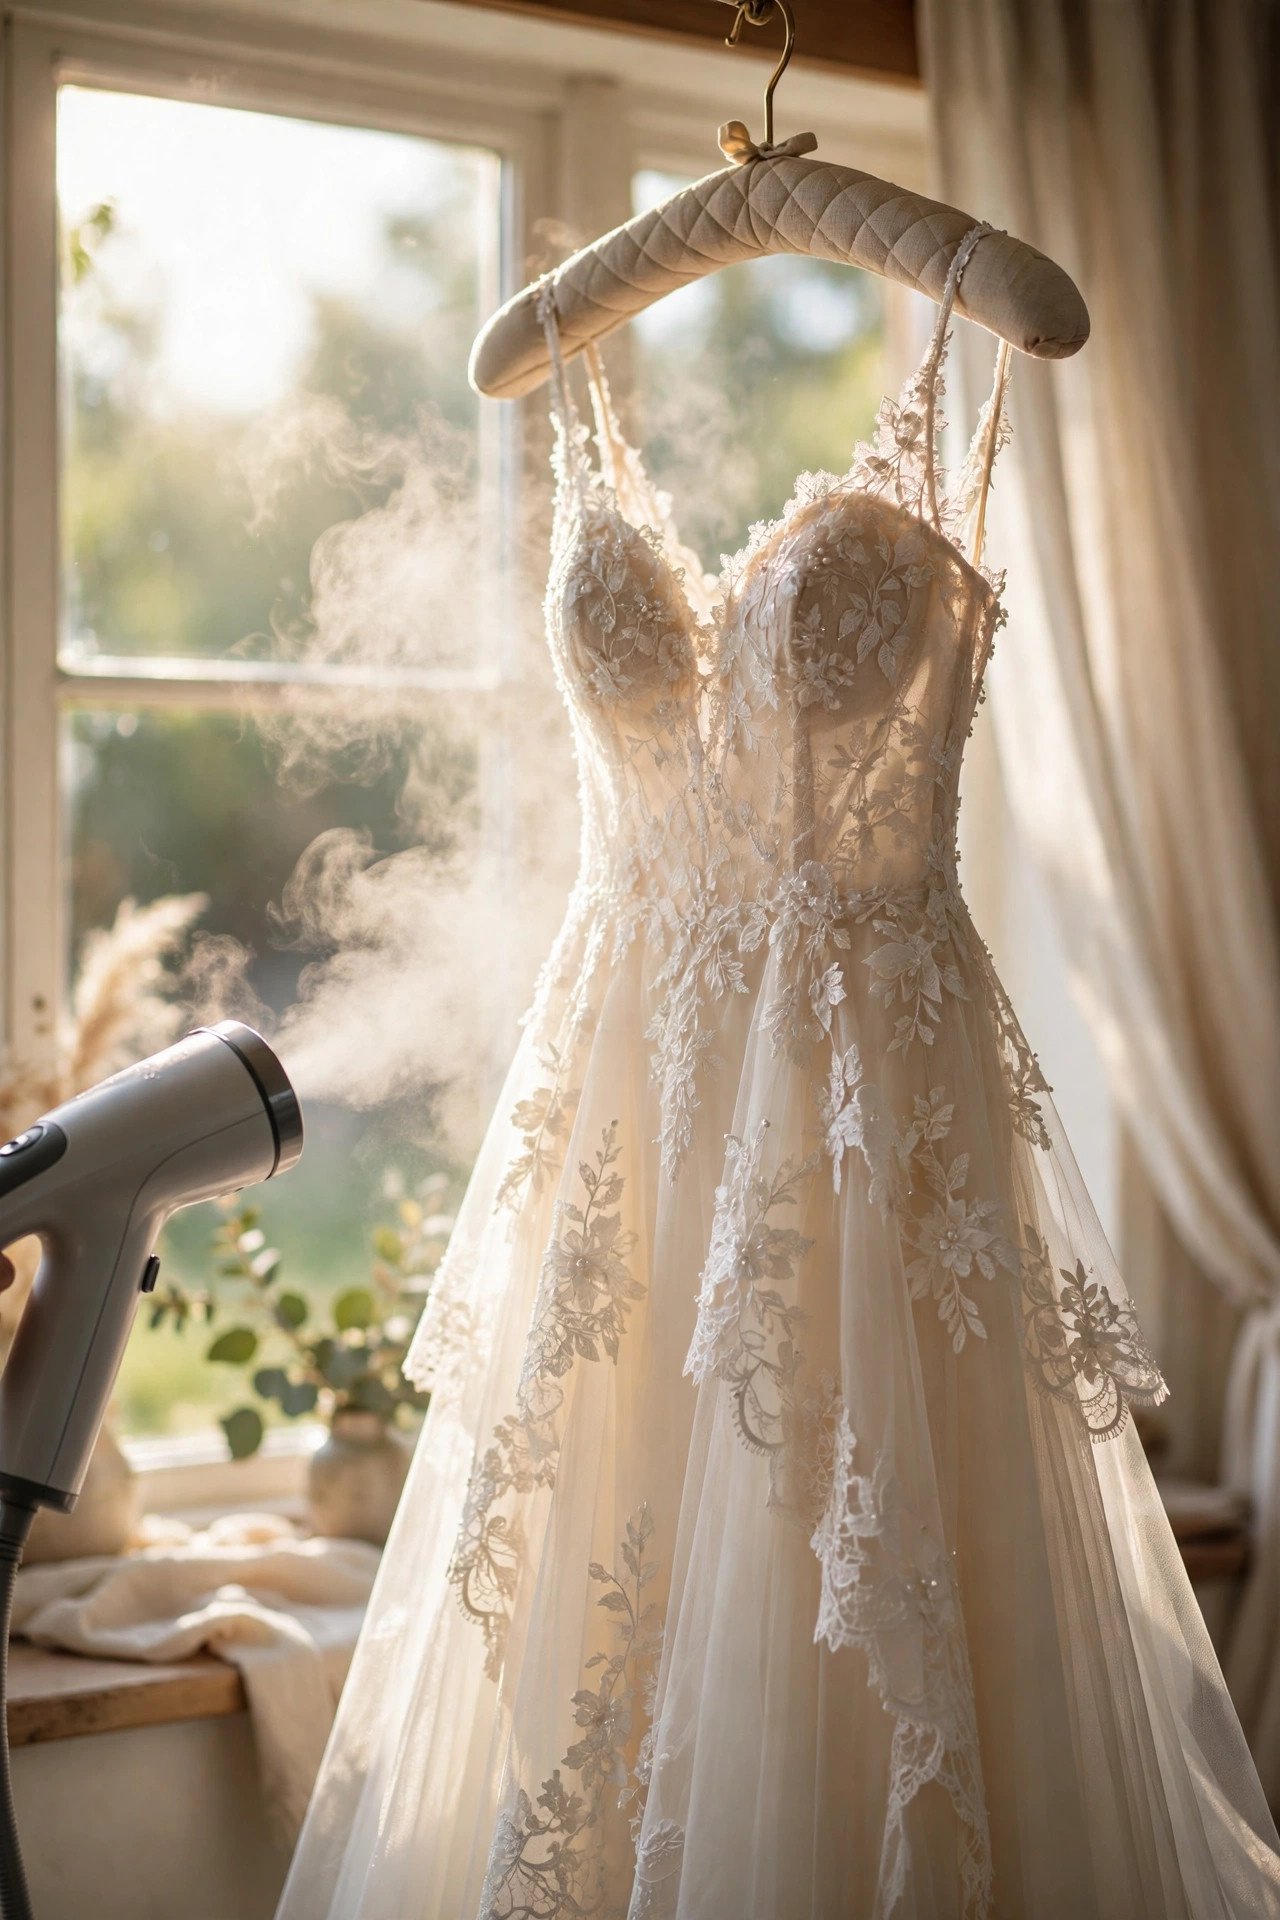
Steam the dress 1–2 days before the wedding (never the morning of), then store it hanging high in a breathable garment bag.
Even a dress that left the salon pristine will wrinkle in transit — folded in a car, hung in a closet, jostled by well-meaning hands. A handheld steamer used 1–2 days before the wedding smooths everything out; steaming the morning of adds stress you don’t need. Work from the top down, keep the steamer head a few inches from delicate fabrics like silk and tulle, and never press an iron directly onto the dress. If the fabric is very delicate, hire a professional steamer — many salons offer it.
For storage, hang the gown on a padded hanger inside a breathable garment bag — never sealed plastic, which traps moisture and can yellow fabric. Choose a cool, dark, smoke-free room, hang it high enough that the hem clears the floor, and declare the area off-limits to pets, food, drinks and makeup until the wedding morning.
The Dress Emergency Kit
 📌 Save
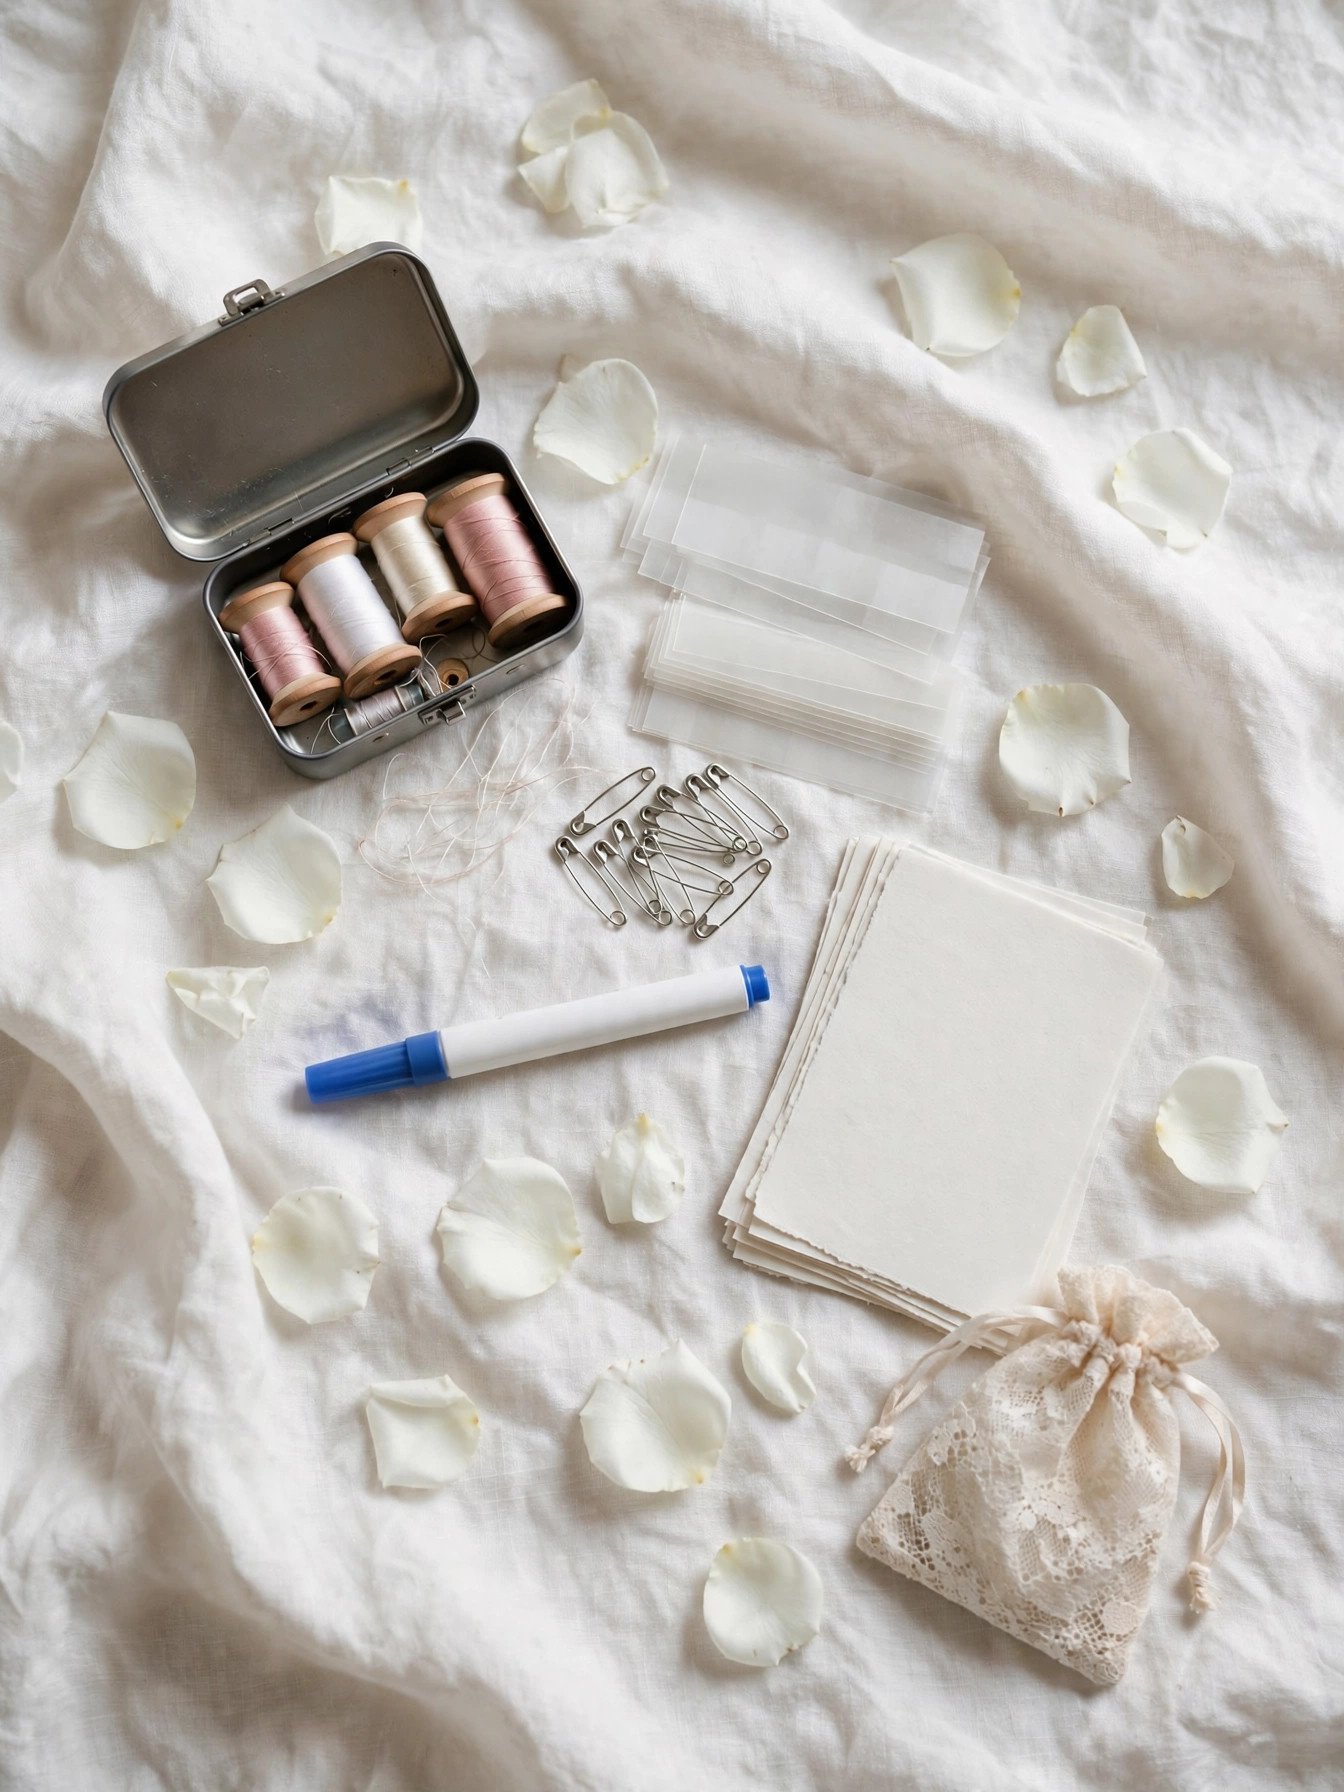
Pack fashion tape, a mini sewing kit, safety pins, a stain pen, a lint roller and blotting papers — and hand the kit to your maid of honor, not your future self.
Dress emergencies are small, fast and inevitable: a popped button, a gaping neckline, a lipstick smudge, a snagged thread. A dedicated dress kit handles all of them in under a minute. The essentials: fashion tape (for necklines and straps), a mini sewing kit with white/ivory thread, safety pins in two sizes, a stain-removal pen, a lint roller, blotting papers, clear nail polish for stocking or lace snags, and small scissors. Add pain-relief balm and blister pads if your shoes are new.
The critical move: give the kit to your maid of honor or coordinator the week before, and tell her where it lives all day. A kit packed in your bridal suite — or worse, still in your Amazon cart — helps no one. Do a two-minute drill at the rehearsal: show her the fashion tape and the stain pen so she’s not reading instructions mid-crisis.
Read next: 9 Heartwarming Ways to Surprise the Bride on Her Big Day
Bustle & Bathroom Plan
 📌 Save
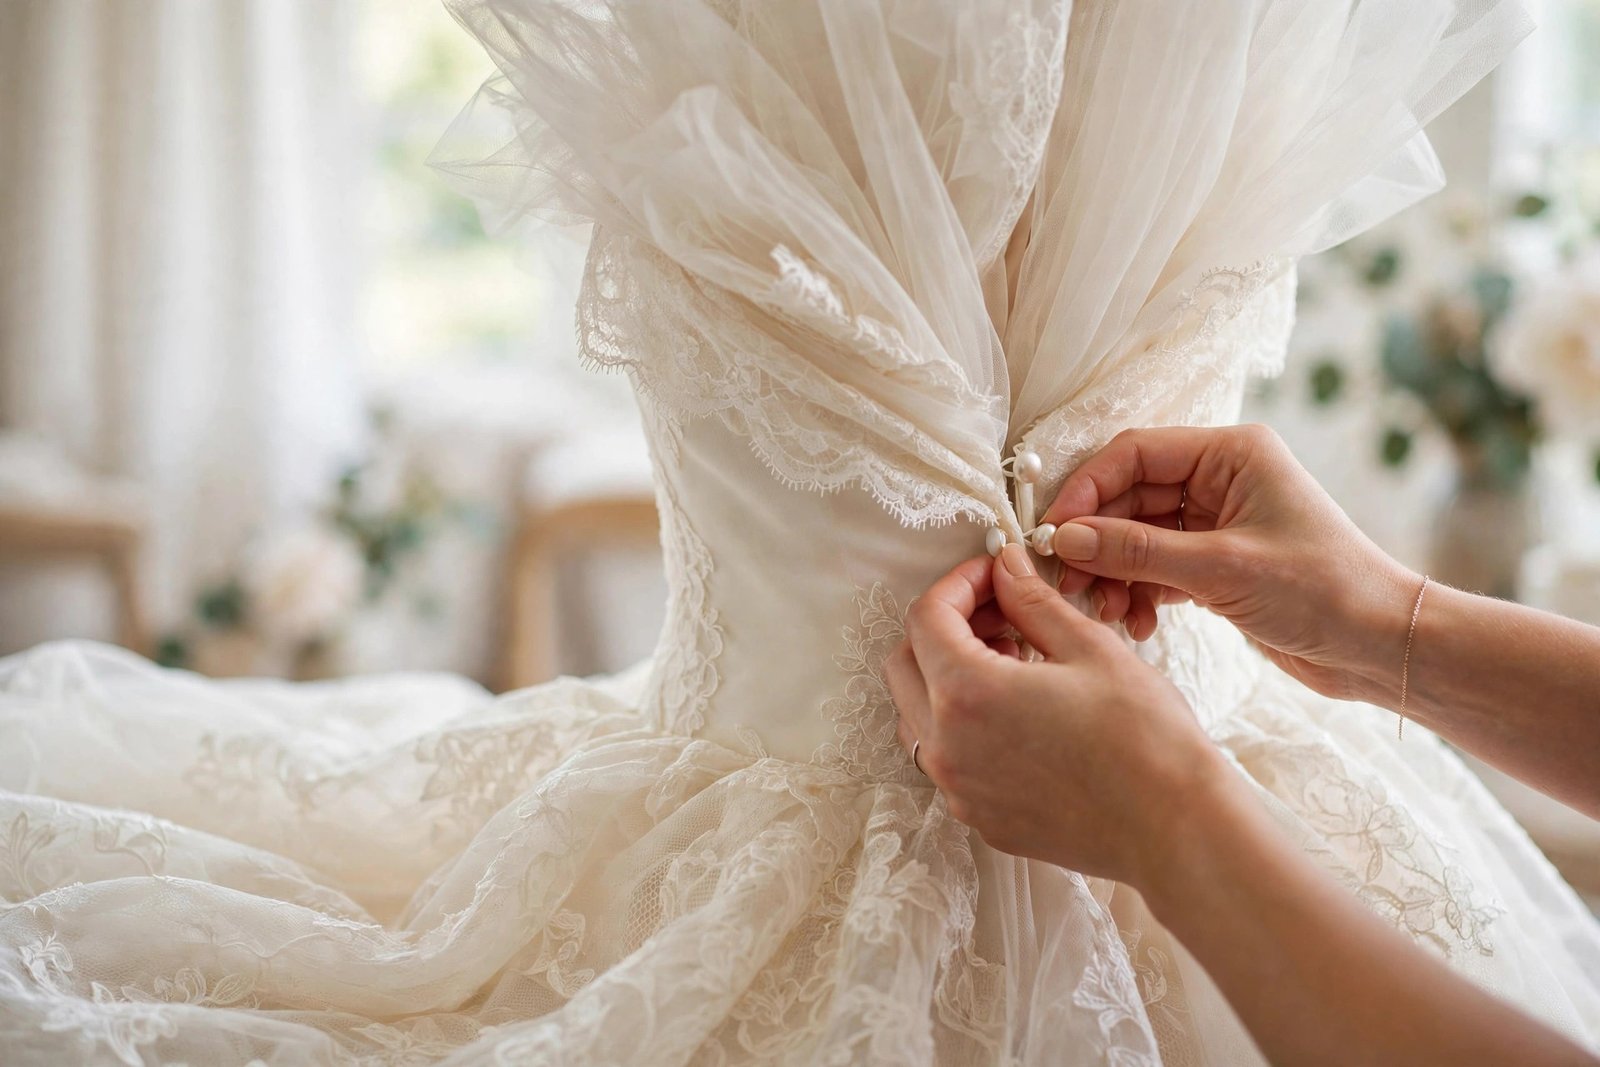
Have your seamstress create the bustle during alterations, then make your helper practice fastening it twice — with a video for reference.
The bustle — the hooks, buttons or ribbons that lift your train off the floor after the ceremony — is the most commonly fumbled part of wedding-day dressing. There are two main types: over-bustles, where the train folds up and buttons over the skirt, and under-bustles, where it tucks beneath. Your seamstress will recommend the style that suits your dress, and she should build it during alterations, not as an afterthought.
The real task is the handoff: bring your designated helper to the final fitting, have the seamstress demonstrate the bustle slowly, then make the helper do it herself — twice. Film the whole thing on a phone. Also plan the bathroom logistics now: practice using the restroom in the gown (straddling it backwards is the classic technique, or recruit your helper), because discovering this at the venue is nobody’s idea of fun.
Day-Of Dress Timeline
 📌 Save
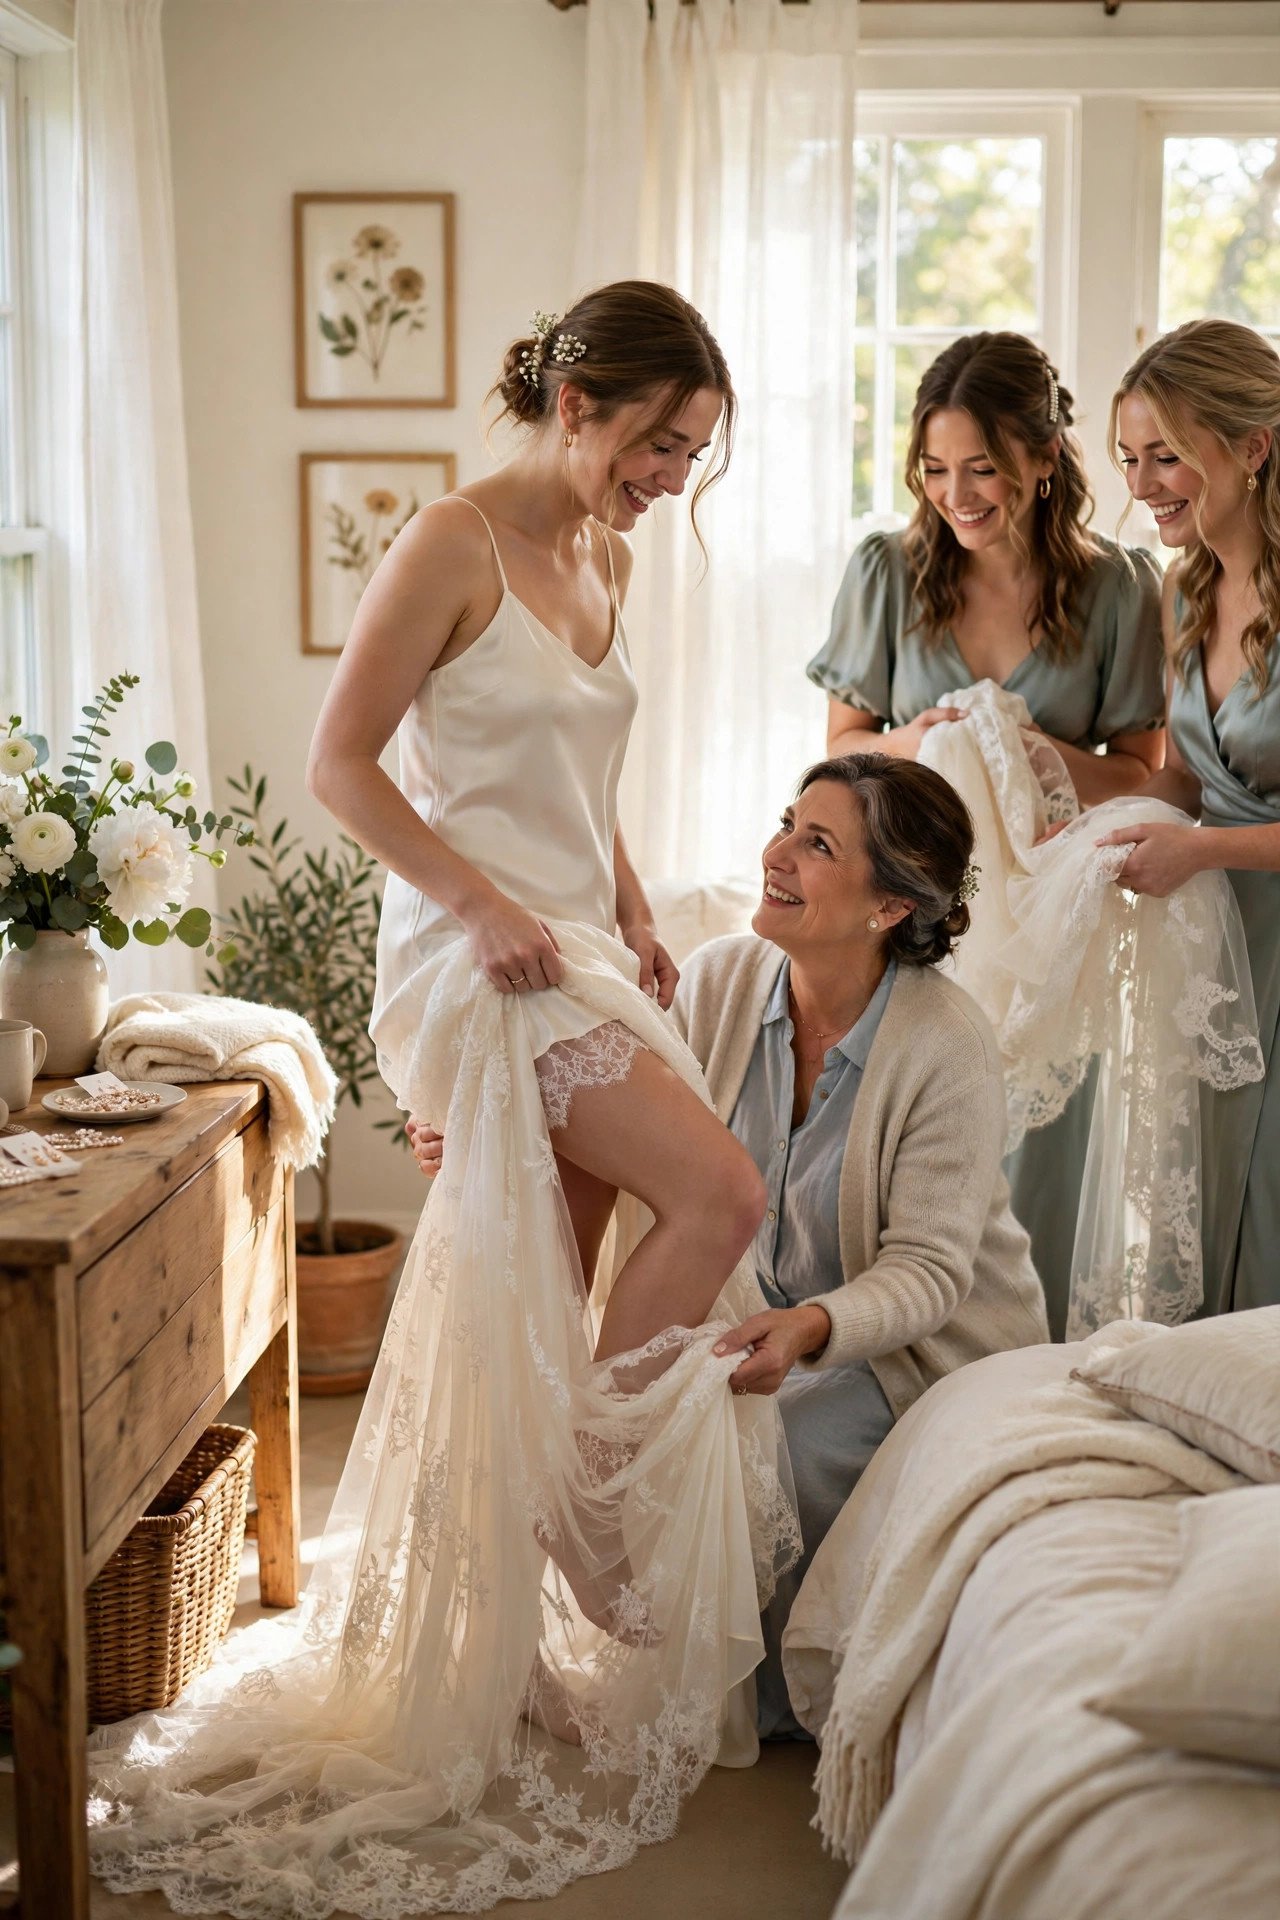
Block 45 minutes for dressing — 15 for the gown itself, 30 of buffer — with exactly two helpers and everyone else out of the room.
Dressing always takes longer than brides expect: the gown, the undergarments, the shoes, the jewelry, the veil, the final mirror check, the happy tears. Build a 45-minute block into the morning timeline, scheduled to finish 30 minutes before you need to leave for the ceremony or first look. Do hair and makeup first (so nothing smears the dress), then step into the gown — most brides step in rather than pulling it over their head to protect hair and makeup.
Limit the room to two helpers during dressing — typically the maid of honor and mom. Everyone should have clean, dry hands and know their job: one manages the dress, one manages accessories and the veil. Keep food, drinks and makeup away from the gown zone. When you’re dressed, do one slow twirl for the room, take a breath, and enjoy the moment you’ve been planning for months.
Read next: 5 Things That Will Make Your Guests Say That Was the Best Wedding Ever
Frequently Asked Questions
When should my final fitting be?
Schedule your final fitting 2–3 weeks before the wedding. That’s close enough that your body won’t change much, but leaves time for last-minute tweaks if something feels off. Bring your exact wedding-day shoes and undergarments so the hem and fit are judged accurately.
How do I store my dress before the wedding?
Hang the dress on a padded hanger in a breathable garment bag, in a cool, dark, smoke-free room — never in plastic long-term, which traps moisture. Keep it high enough that the hem doesn’t pool on the floor, and keep pets, food and makeup away from it until the wedding morning.
What goes in a dress emergency kit?
Fashion tape, a mini sewing kit with white thread, safety pins, a stain-removal pen, a lint roller, blotting papers, clear nail polish for snags, pain-relief balm for new-shoe blisters, and a small pair of scissors. Pack it in a pouch and hand it to your maid of honor or coordinator — not in your bridal suite where you’ll forget it.
How does a bustle work?
A bustle lifts your train off the floor after the ceremony using small hooks, buttons or ribbons sewn into the dress. Your seamstress creates it during alterations — there are over-bustles (train folds up over the skirt) and under-bustles (train tucks beneath). Always have your seamstress demonstrate it and make your helper practice it twice before the wedding day.
Who helps me into my dress?
Choose two calm, capable people — typically your maid of honor and your mom or a bridesmaid. Fewer hands is better: too many helpers creates chaos in a small suite. Your helpers should have clean, dry hands, know how the bustle and any corset lacing work, and be the type who stay relaxed under pressure.
✨ Key Takeaways
- Start alterations 3–4 months out with 2–3 fittings — the final one 2–3 weeks before the wedding, in your real shoes.
- Steam the dress 1–2 days before (never the morning of) and store it high, dark and pet-free in a breathable bag.
- Pack a dress emergency kit and hand it to your maid of honor — a kit you can’t reach is no kit at all.
- Rehearse the bustle at the final fitting and film it — cocktail-hour fumbling is avoidable.
- Block 45 unhurried minutes for dressing with exactly two helpers, finishing 30 minutes before you leave.
Final Thoughts
The moment you step into your wedding dress should feel like magic, not mayhem. Every task in this guide — the fittings, the steaming, the kit, the bustle practice, the timeline — exists for one reason: so that when the zipper goes up (or the buttons fasten, or the laces pull tight), all you feel is joy. Do the dress work early, trust your seamstress, and give yourself the gift of a calm, unhurried dressing room. You’ve earned it.






4 Comments