How to Assemble Wedding Invitations (2027)
By zainzari • Published October 23, 2026 • Updated October 23, 2026
 📌 Save
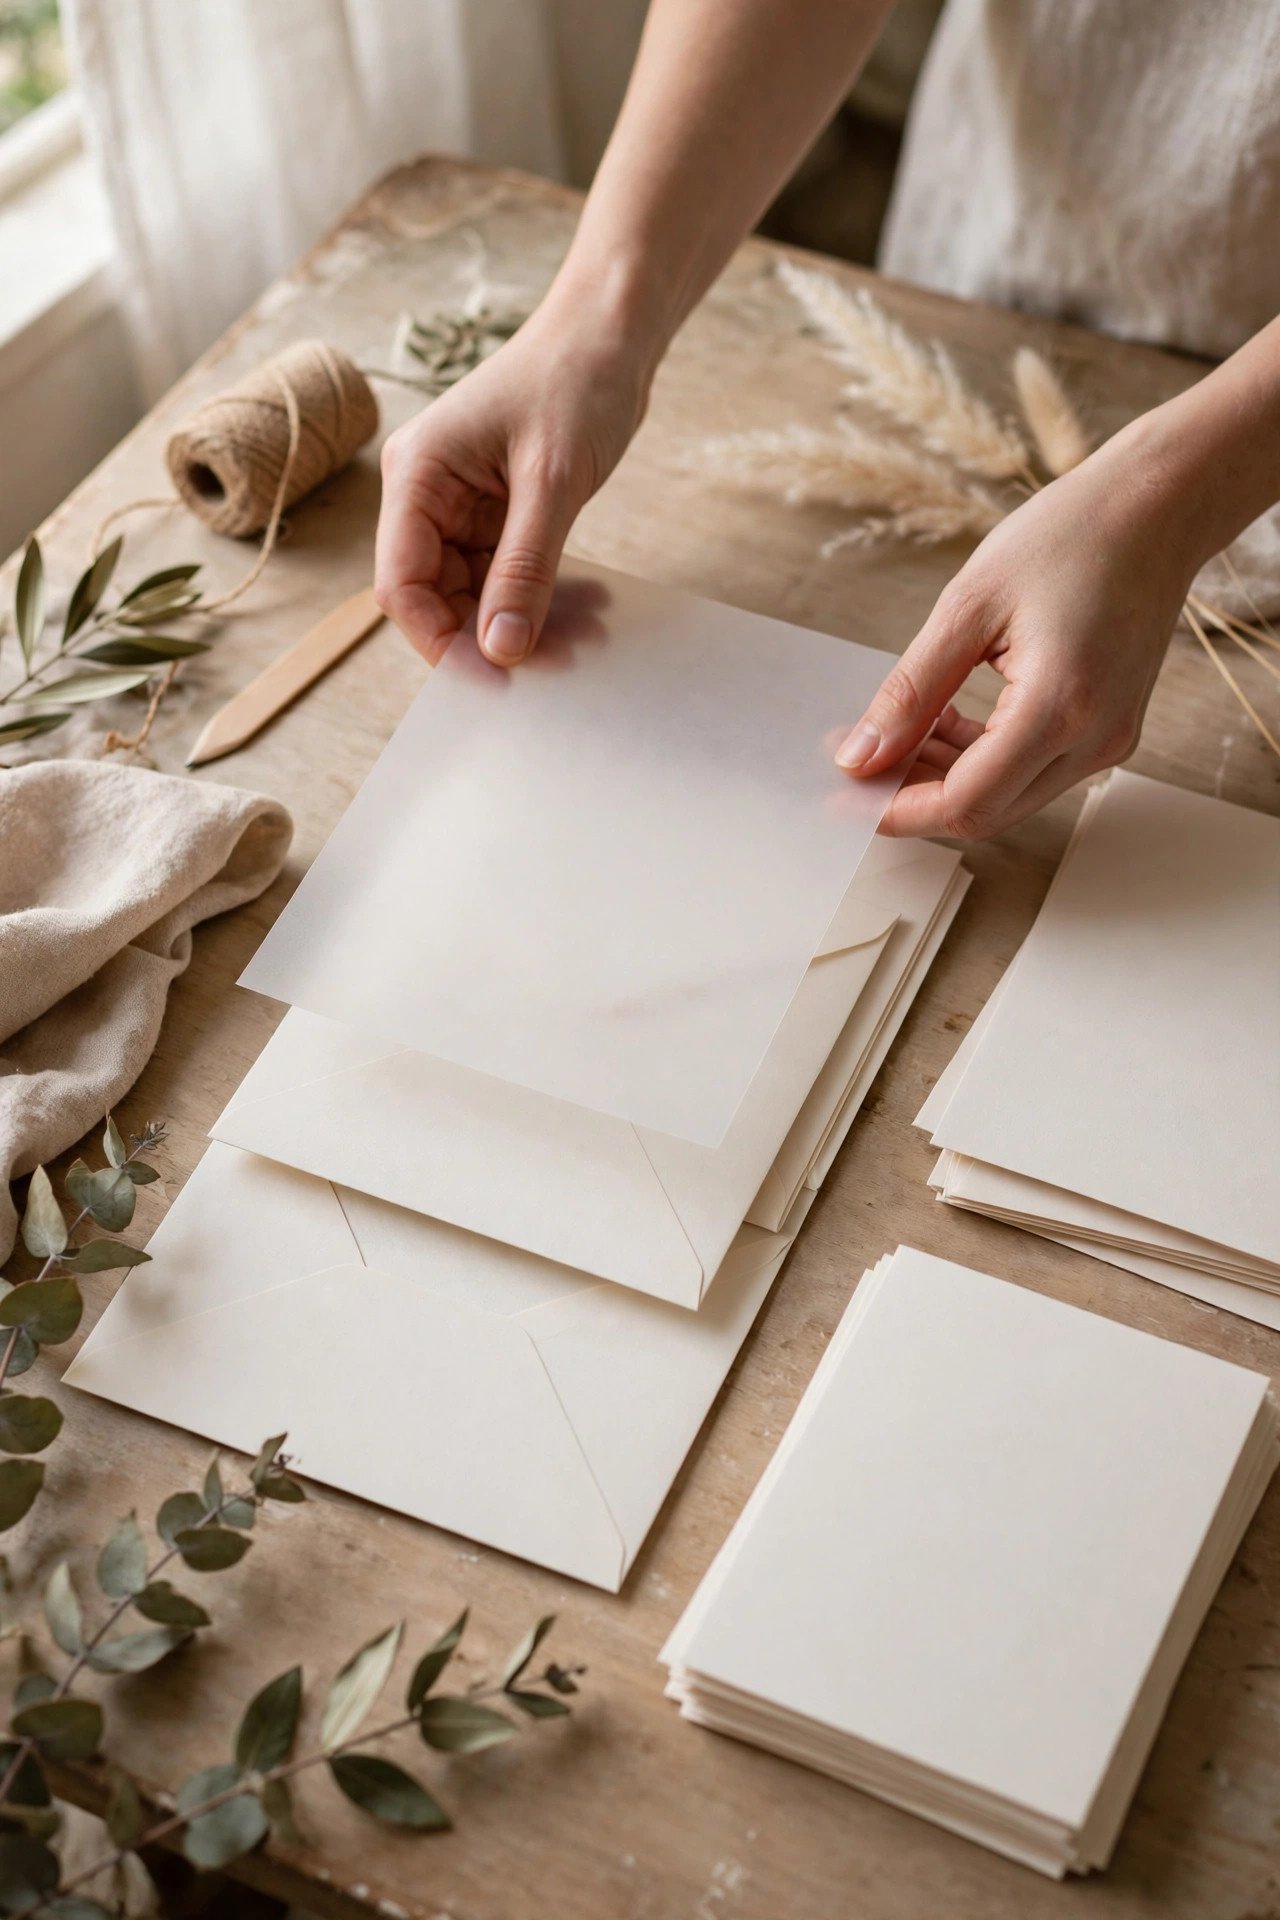
Assemble a wedding invitation suite largest piece on the bottom, building upward in order of size: invitation first, then the reception card, details card, and RSVP card on top, with the response envelope — flap open, stamp already applied, tucked over the RSVP card — placed face-up so the RSVP card slides into it. The assembled stack goes into the inner envelope with all printed sides facing the flap, so guests see the invitation first when they open it.
Assembly is the wedding task that looks trivial and isn’t. One reversed card or a missing RSVP envelope repeats 150 times before anyone notices. The good news: the system is simple, ancient, and completely learnable in one practice suite.
Work through these cards in order — setup, the layer stack, enclosures, bands and wraps, quality control, and mailing day. Assemble one complete master suite first and keep it beside you as the reference for every copy after.
At a Glance: Each Step, What It Covers & Why It Matters
| # | Step | Covers | Why It Matters |
|---|---|---|---|
| 1 | Set Up Your Assembly Station Like a Pro | Workspace & workflow | Prevents errors |
| 2 | Count Everything Before You Touch a Stack | Inventory | Prevents shortages |
| 3 | Build One Master Suite & Photograph It | Reference build | Consistency |
| 4 | The Layer Order, Bottom to Top (The Core Rule) | Stack sequence | The guest experience |
| 5 | Which Way Pieces Face (Print Toward the Reader) | Facing rules | First impressions |
| 6 | The Response Envelope: Stamp It Before You Stack It | RSVP set | Reply rates |
| 7 | Placing the RSVP Card Correctly | RSVP card placement | Guests find it instantly |
| 8 | Reception & Details Cards: Order Among the Enclosures | Enclosure sequence | Reading order |
| 9 | Tissue & Vellum Overlays: The Protective Layer | Overlay placement | Protects print |
| 10 | Belly Bands: Wrapping the Stack So It Travels as One | Band wrapping | Keeps order in transit |
| 11 | Ribbons, Wax Seals & Wrapped Suites | Delicate finishes | Mailing care |
| 12 | Pocket Folds & Gatefolds: Assembly Inside a Folder | Folder formats | Display order |
| 13 | Into the Inner Envelope: The Stuffing Technique | Envelope stuffing | Condition on arrival |
| 14 | Suites Without an Inner Envelope (The Modern Way) | Single-envelope format | Modern standard |
| 15 | Addressing Check: Envelopes Matched to the Right Suites | Name verification | Prevents mix-ups |
| 16 | The Quality-Control Pass: Open Every Twentieth Envelope | Sampling audit | Catches patterns early |
| 17 | Sealing Outer Envelopes Without Wrinkles or Damage | Sealing method | Arrival condition |
| 18 | Weigh & Measure One Complete Suite at the Post Office | Postage verification | Prevents returns |
| 19 | Stamping: Vintage Stamps, Placement & Hand-Cancelling | Postage & protection | Arrival beauty |
| 20 | Mailing Day: Timing, Batching & the Test Suite | Mailing logistics | On-time arrival |
| 21 | Assembling as a Team: The Assembly-Line Method | Helpers & stations | Speed with accuracy |
| 22 | DIY Assembly Timelines: How Long It Really Takes | Scheduling | Planning |
| 23 | Fixing Mistakes: Opened Envelopes, Missing Pieces & Reprints | Error recovery | Calm corrections |
| 24 | Storing Finished Suites Before Mailing | Storage | Condition until mailing |
| 25 | Your Final Assembly Checklist | Full checklist | Confidence |
The stack, bottom to top: invitation → reception card → details/map card → response envelope (face up, flap open) → RSVP card tucked under its flap. Printed sides face the guest as the envelope opens.
Set Up Your Assembly Station Like a Pro
 📌 Save
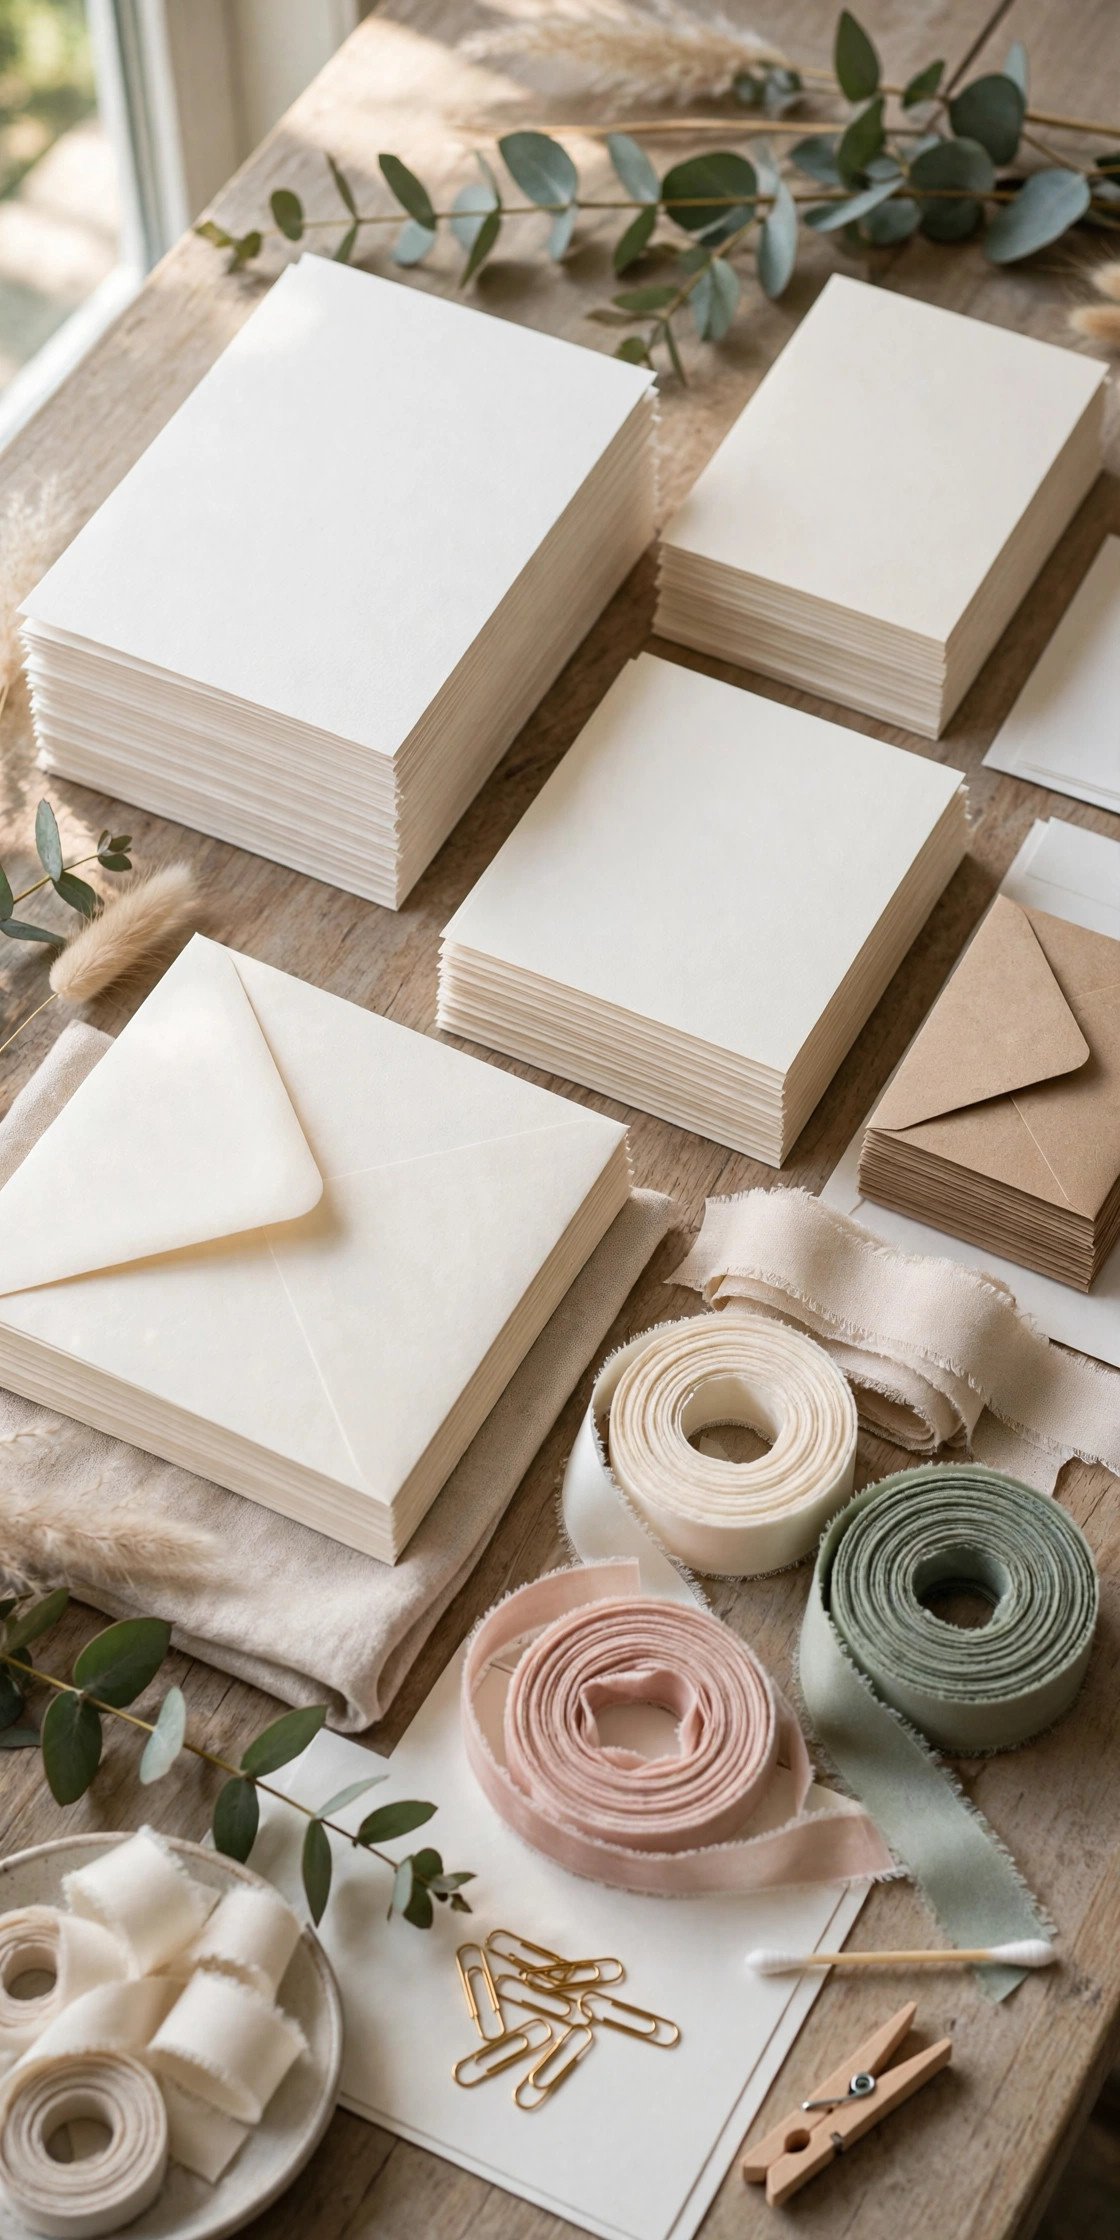
Clear a large, clean, dry table; wash and dry your hands (oils mark fine paper); and lay out every component in its own labeled stack, arranged left to right in the order pieces enter the envelope. Good light, a small trash bin for trimmings, and drinks kept on a side table — never on the paper table — complete the station. Fifteen minutes of setup saves an evening of hunting for the map cards.
Count Everything Before You Touch a Stack
 📌 Save
Count every component against the guest list before assembling anything: invitations, each enclosure type, inner and outer envelopes, RSVP envelopes, bands or wraps, and stamps. You ordered spares (10–15% is standard) — confirm they’re actually in the boxes. Discovering you’re twelve reception cards short before assembly is an email; discovering it at envelope 138 is a reprint, a delay, and a very long night.
Build One Master Suite & Photograph It
 📌 Save
Assemble a single perfect suite slowly, checking the layer order against this guide, then photograph it layer by layer as you unbuild it. Keep that master intact beside your station: every helper compares their stack to it, every “wait, which way does this face?” is answered in a glance, and the photographs double as your record of the finished suite for the wedding album and website.
The Layer Order, Bottom to Top (The Core Rule)
 📌 Save
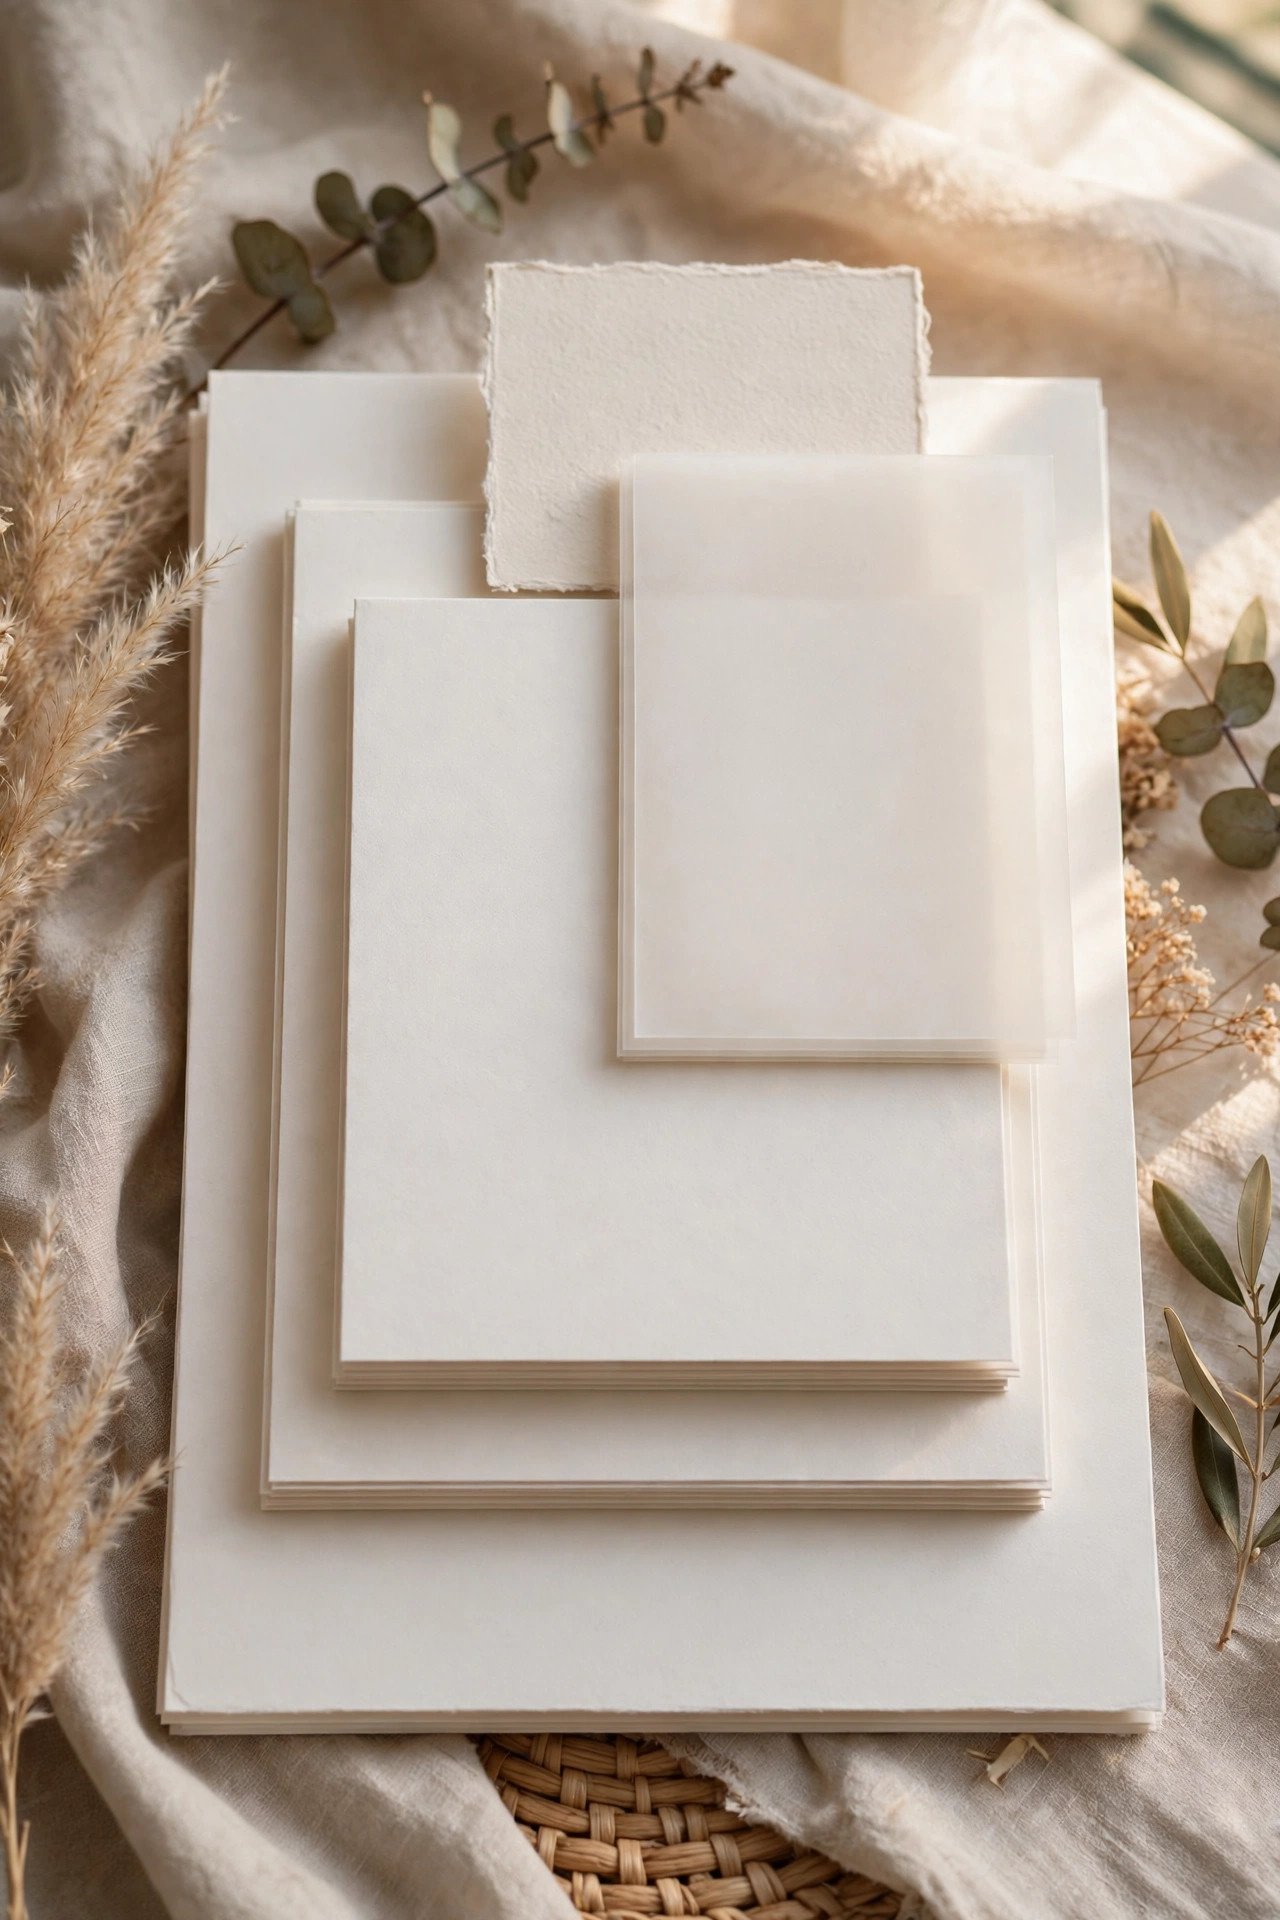
The traditional stack builds by size: the invitation (largest) lies face-up at the bottom; the reception card goes on top of it, face-up; then the details or map card; then the response envelope and RSVP card at the top. Each layer is slightly smaller than the one below, creating the stepped reveal guests experience as they lift pieces out. Tissue or a vellum overlay, if your suite has one, lies directly over the invitation’s printed face.
Which Way Pieces Face (Print Toward the Reader)
 📌 Save
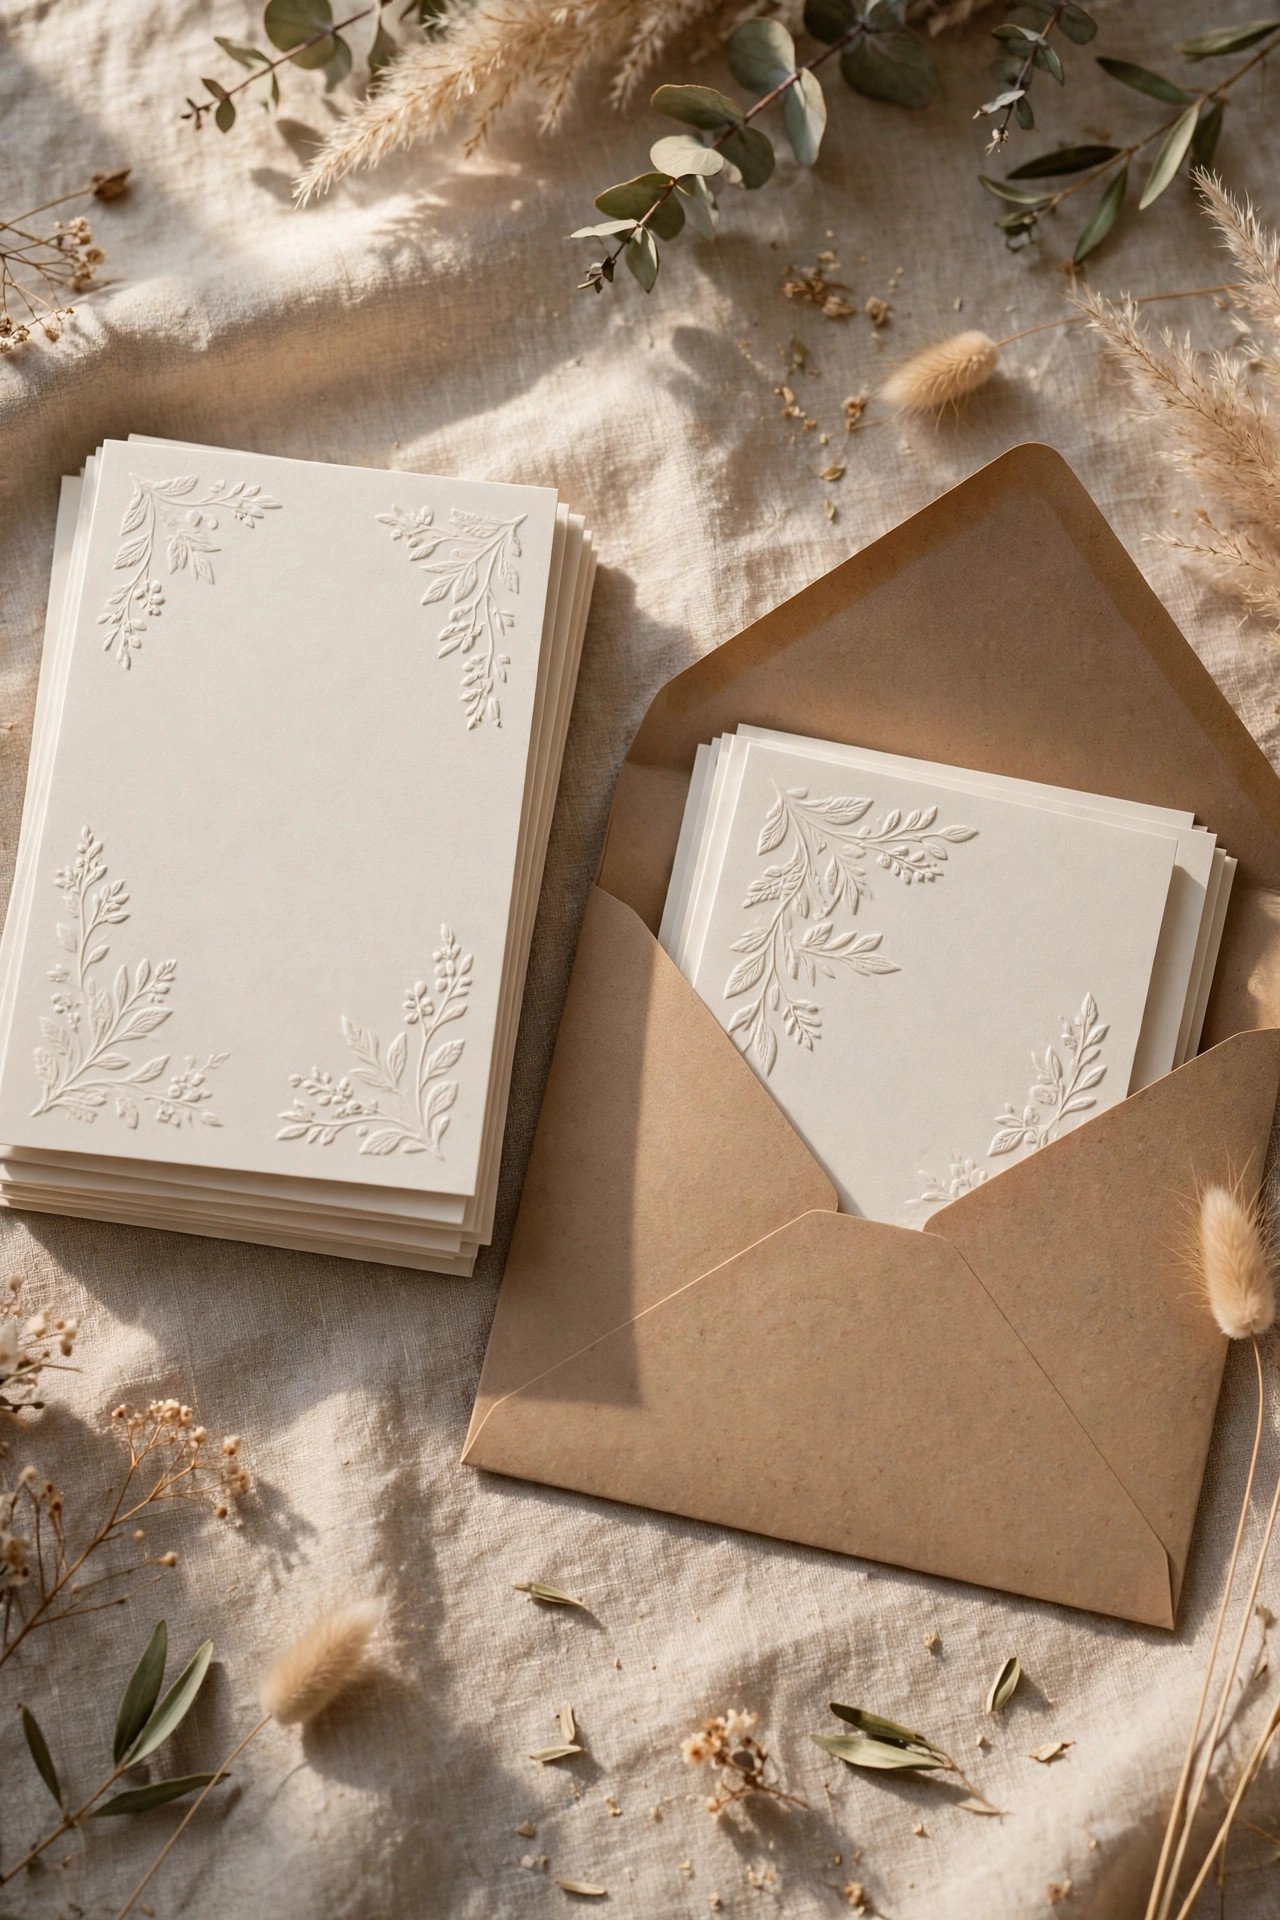
Every printed piece faces up in the stack, and the assembled stack slides into the inner envelope with the printed sides facing the envelope’s flap (the back). That way, when a guest opens the flap and pulls the contents toward them, the invitation’s face is the first thing they see — not its blank back. Enclosures keep the same rule: printed side toward the flap, reading order preserved from first lift to last.
The Response Envelope: Stamp It Before You Stack It
 📌 Save
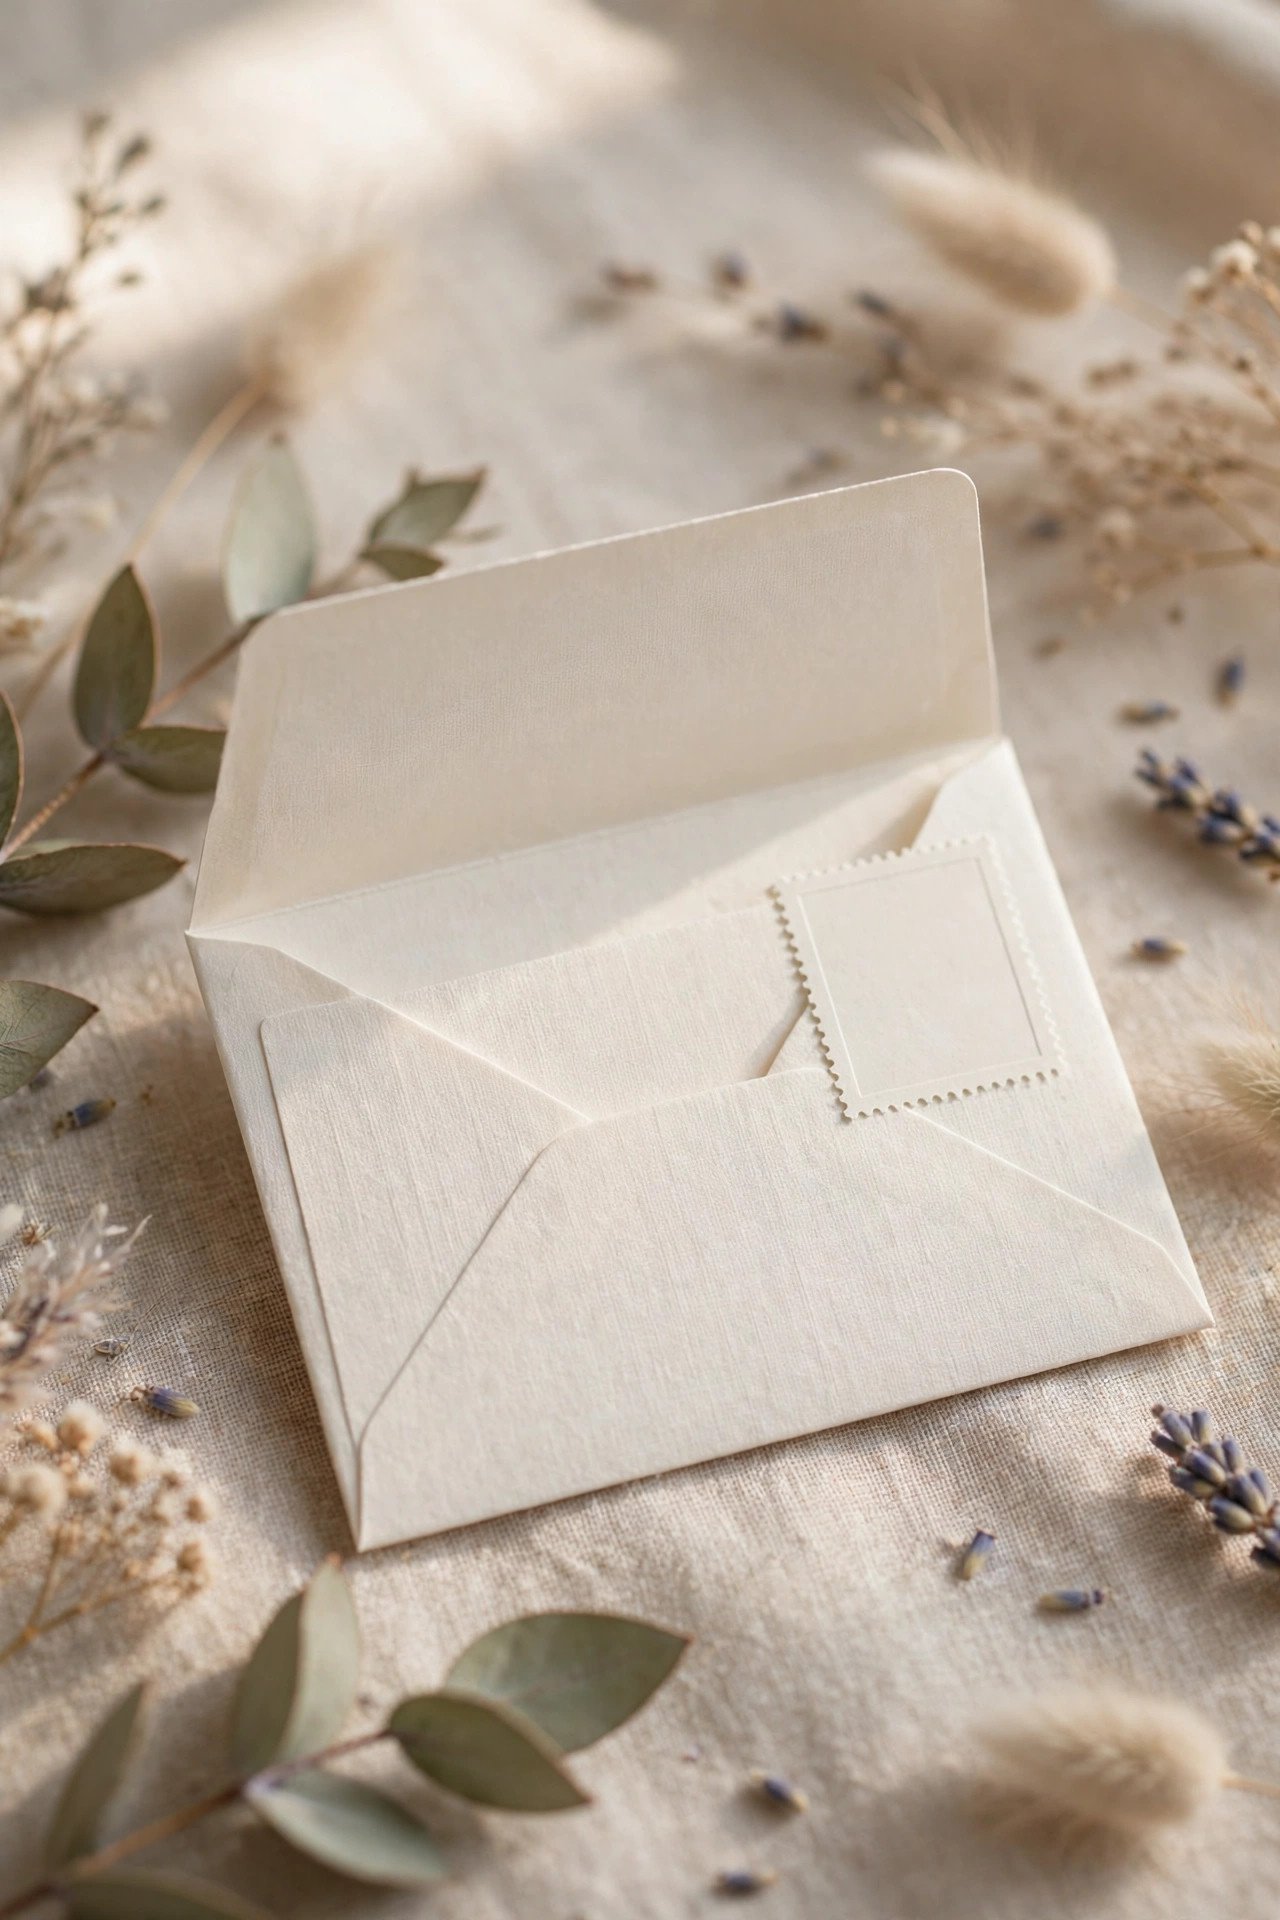
The response envelope goes into the stack already stamped (a courtesy that measurably raises reply rates) and already addressed to your return recipient. In the stack it lies face-up — printed address showing — with its flap open and laid back, and the RSVP card is placed under the flap, not sealed inside: the card peeks from the envelope’s mouth, which both displays it and signals exactly what the guest is meant to do with it.
Placing the RSVP Card Correctly
 📌 Save
The RSVP card sits face-up beneath the response envelope’s open flap, so its printed reply side is visible the moment the guest lifts the stack’s top layer. If the card is printed on both sides, the reply form faces up. Never fold the RSVP card (unless the suite was designed with a postcard-style reply, which needs no envelope at all and sits simply on top of the stack).
Reception & Details Cards: Order Among the Enclosures
 📌 Save
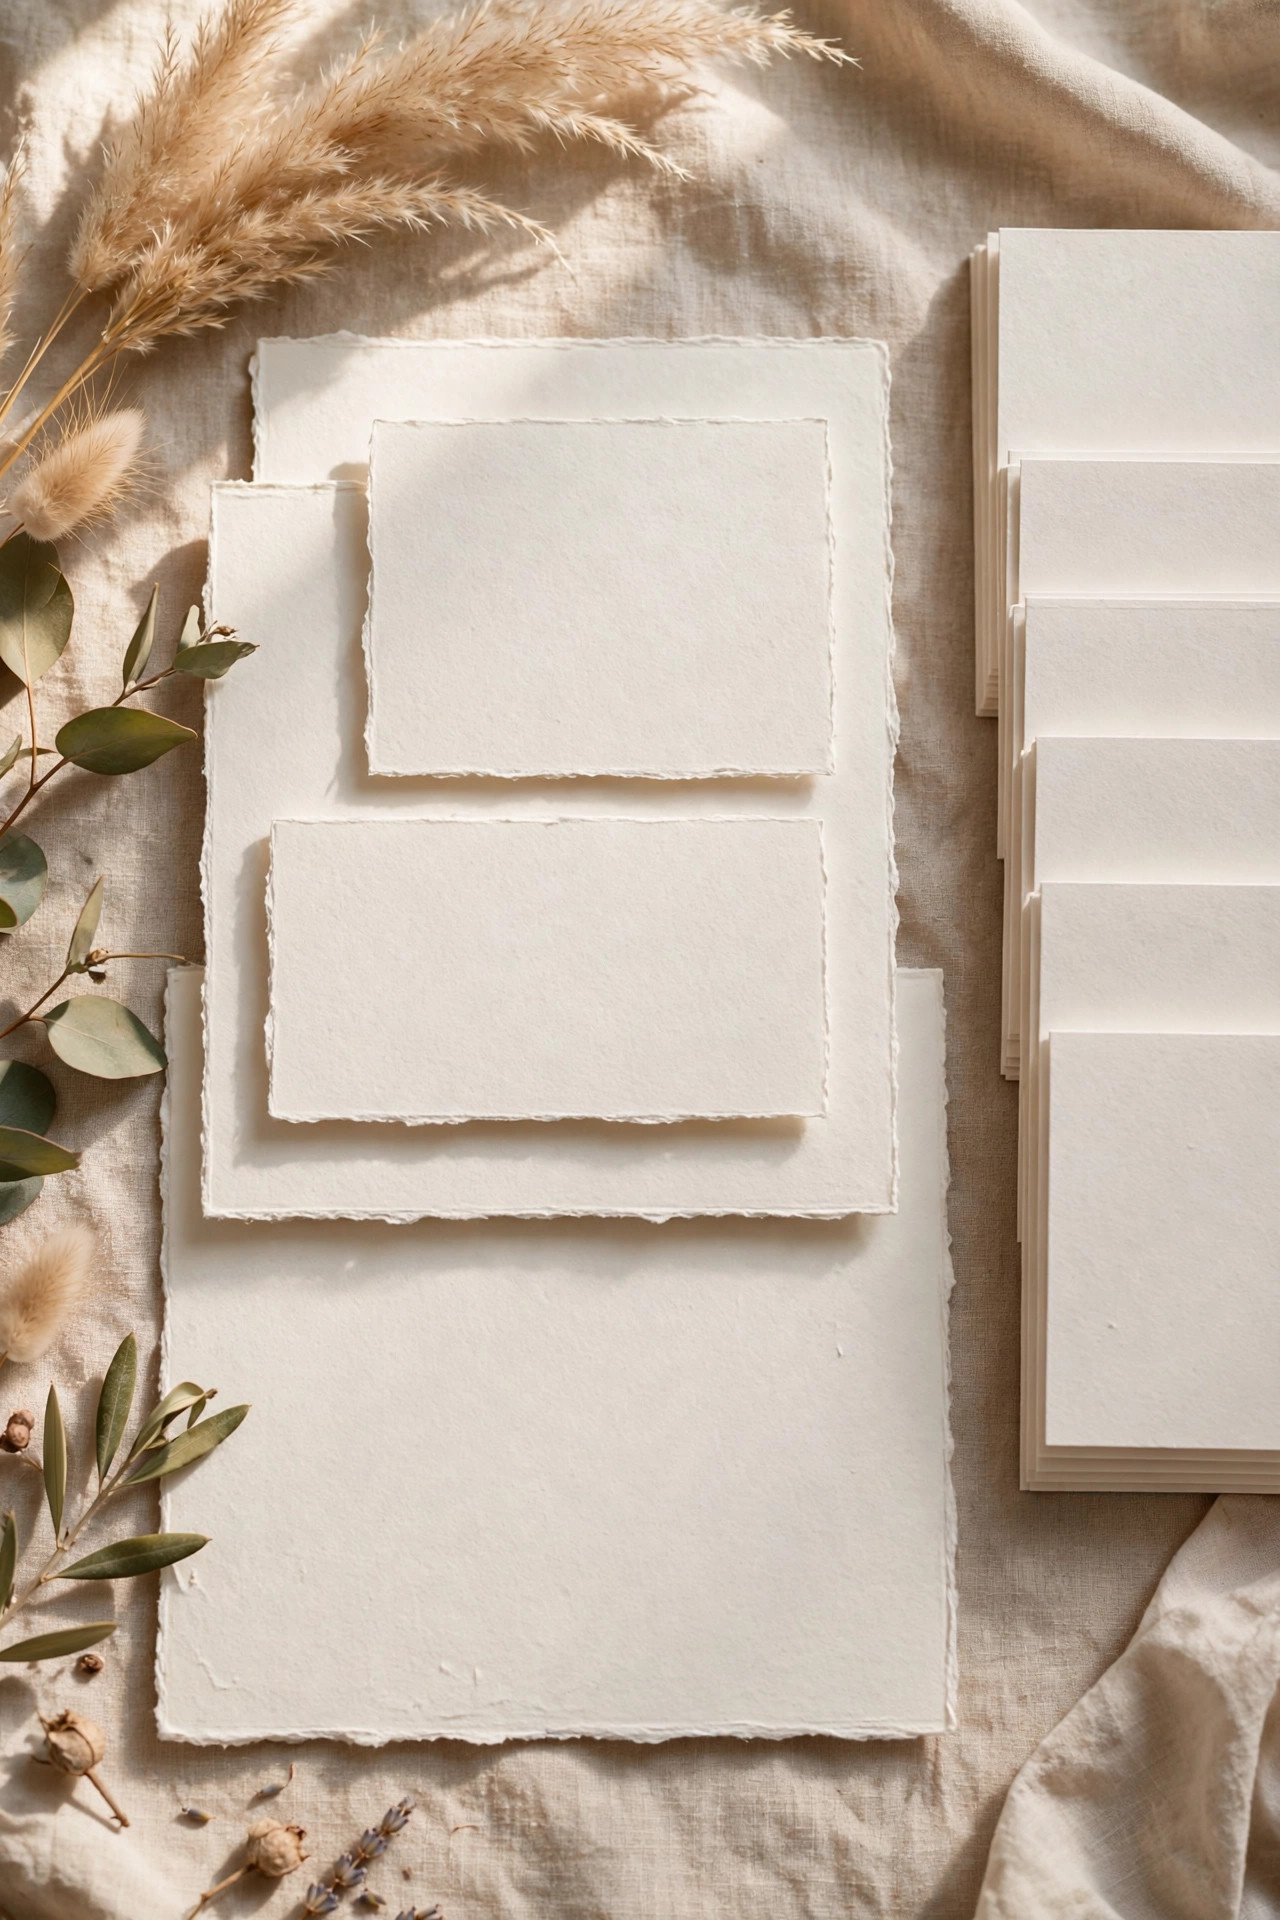
Among enclosures, the reception card traditionally sits directly on the invitation (it’s the second most important fact), with details, map, and accommodation cards above it in descending order of importance and, usually, size. If your suite puts reception information on the invitation itself, the details card takes the second slot. The principle never changes: a guest lifting pieces one by one reads a story in the right order.
Tissue & Vellum Overlays: The Protective Layer
 📌 Save
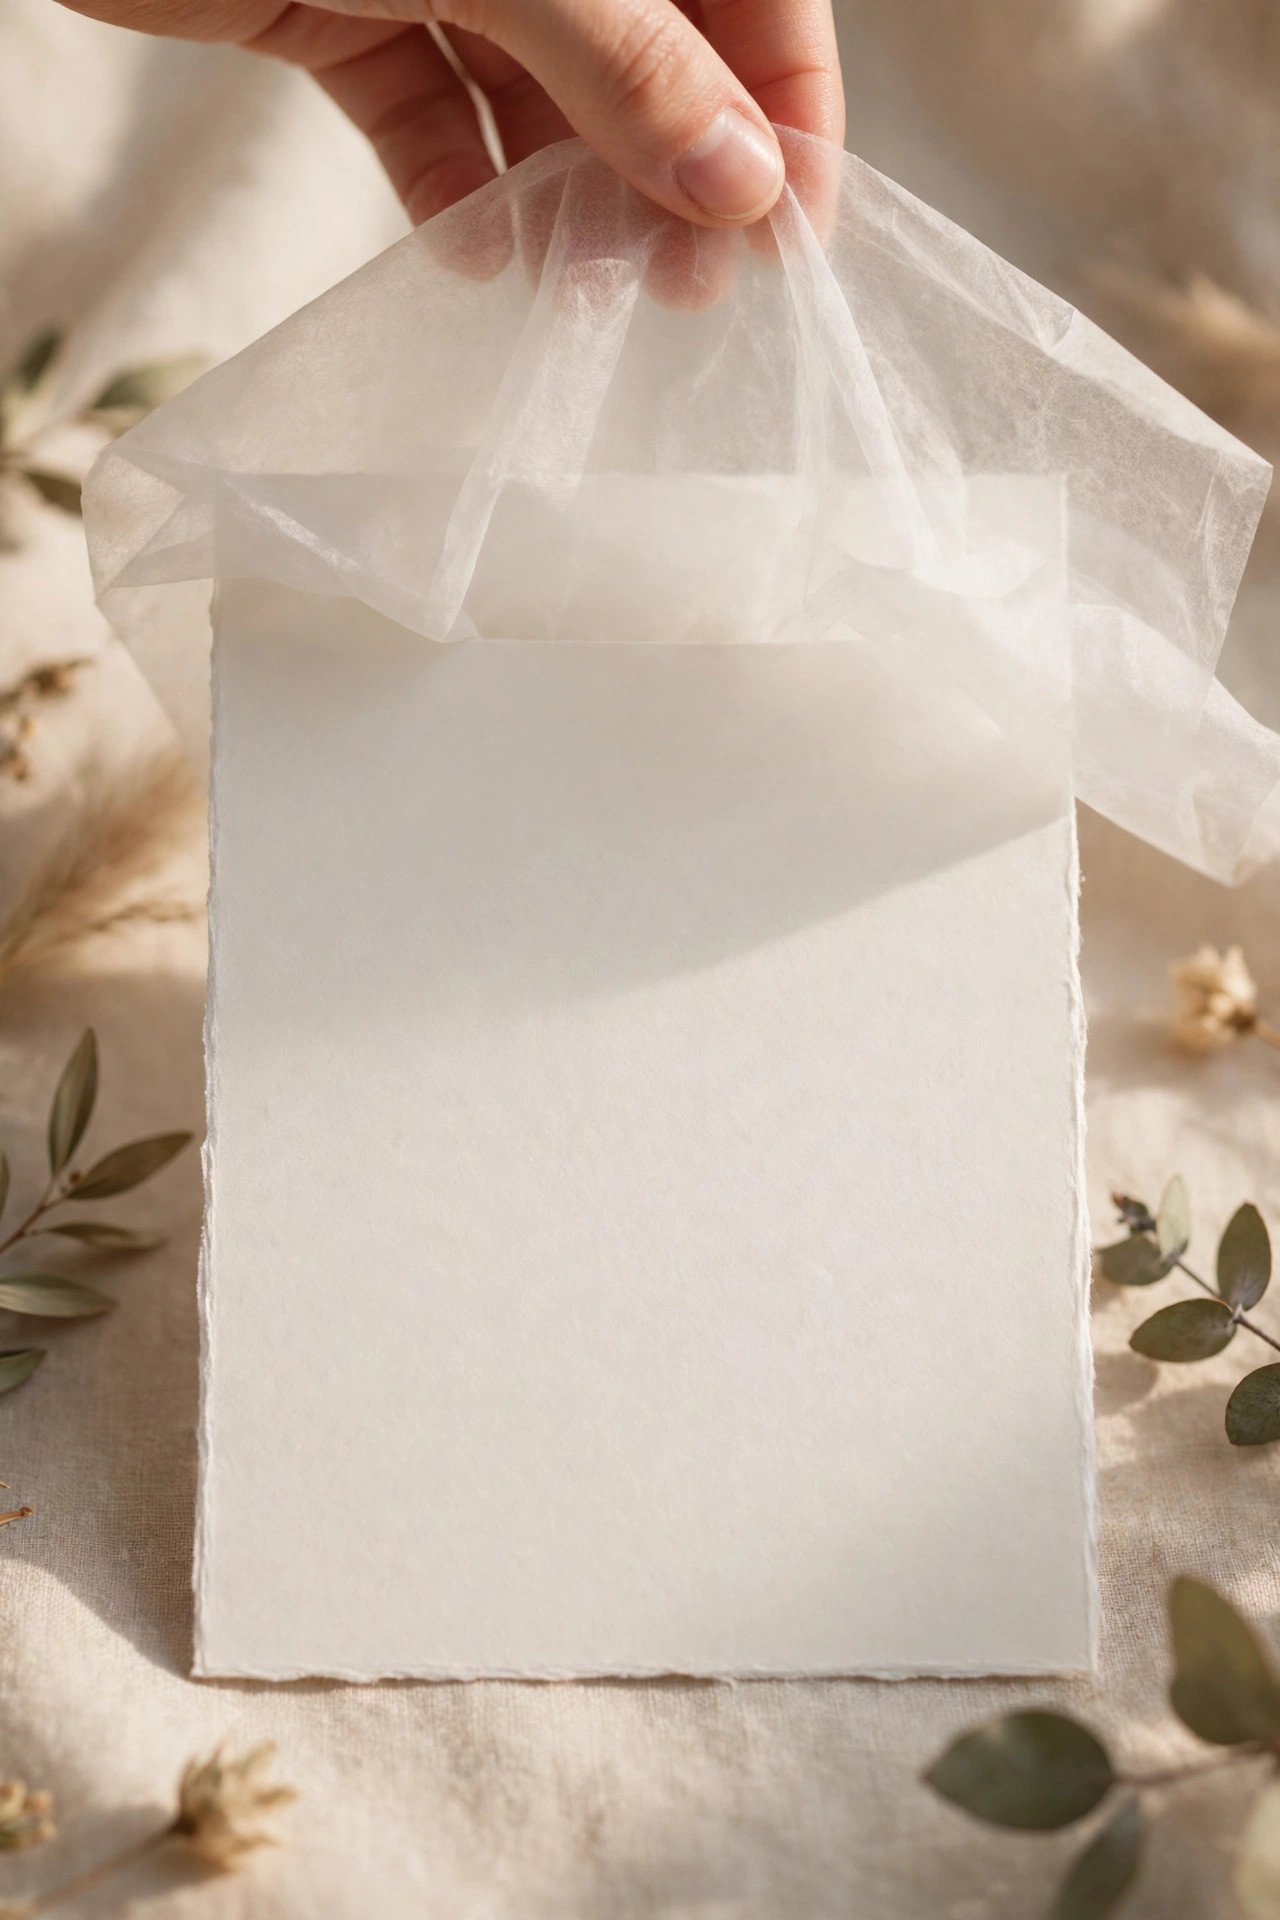
The tissue sheet — originally used to keep slow-drying ink from offsetting onto the facing page — lies directly over the invitation’s printed face, and in modern suites is pure ceremony (and still genuinely protective for foil, letterpress, and dark inks). Vellum overlays printed with names or motifs serve the same slot with more design presence. One overlay only, always over the invitation itself, never scattered between enclosures.
Belly Bands: Wrapping the Stack So It Travels as One
 📌 Save
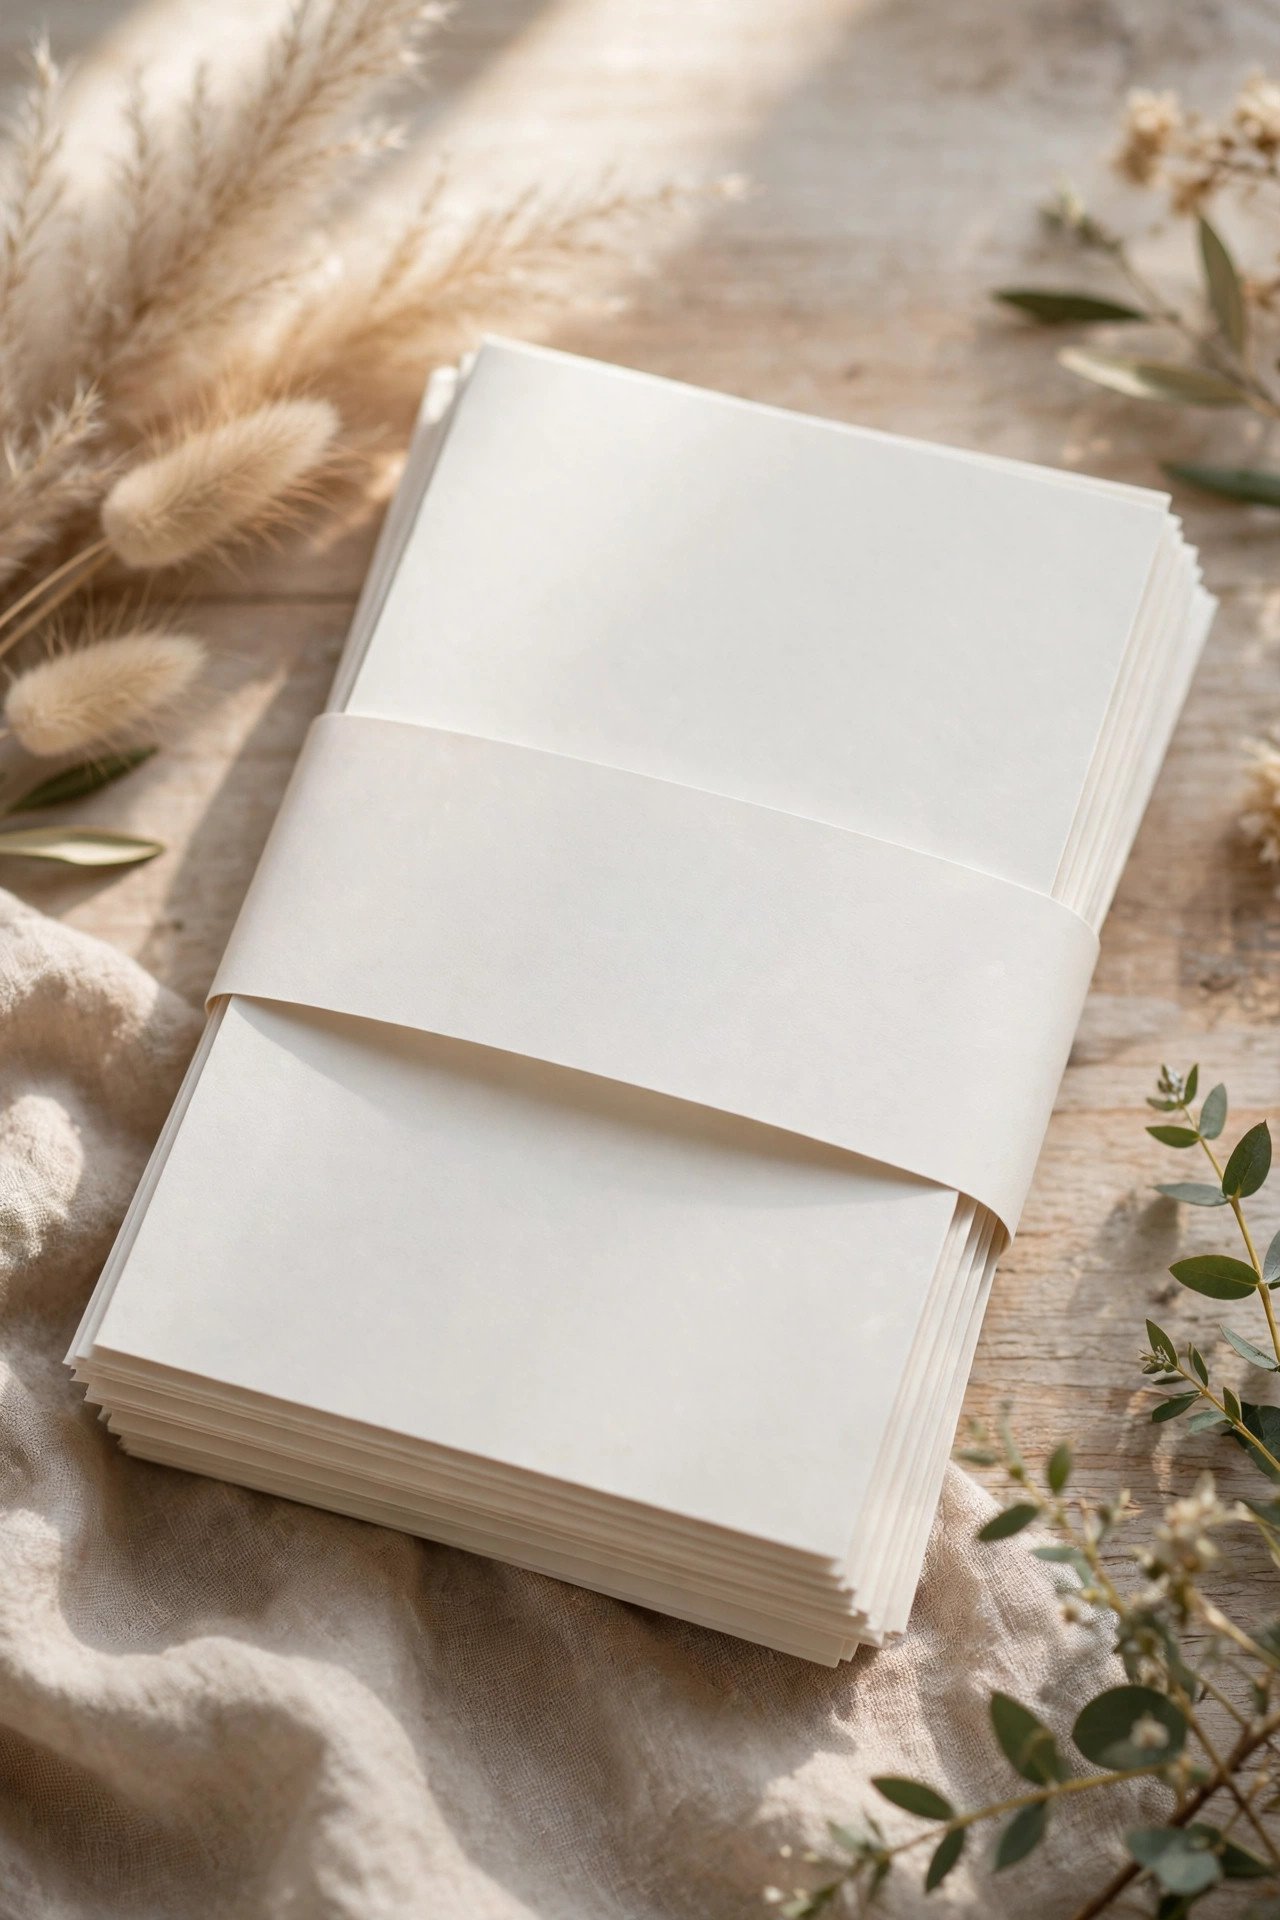
A belly band — paper, vellum, or ribbon — wraps the fully assembled stack horizontally or vertically, holding every layer in its order from table to mailbox to guest’s hands. Assemble the stack first, then slide the band on snugly (not tightly — crimped corners are the failure here), with its seam or medallion centered on the back or front per the design. Banded suites slide into the inner envelope as a single unit, which makes envelope stuffing dramatically faster.
Ribbons, Wax Seals & Wrapped Suites
 📌 Save
Suites wrapped in silk ribbon, twine, or finished with a wax seal over the band are assembled exactly like banded suites, with two extra cares: tie or seal after the stack is complete and checked, and expect mailing consequences — wax seals and bulky knots need hand-cancelling, protective outer packaging, or an outer-envelope-over-the-sealed-inner arrangement. Many couples seal the inner presentation and keep the outer envelope purely practical, which mails beautifully and still stuns at opening.
Pocket Folds & Gatefolds: Assembly Inside a Folder
 📌 Save
Pocketfold suites mount the invitation on the folder’s main panel (adhered or held by photo corners per the design), and the pocket holds the enclosures fanned in size order — tallest at the back, shortest at the front — so every card’s title strip shows in a stepped display. The response envelope and card ride in the pocket as the front-most pair. Close, band or seal the folder, and it enters the mailing envelope as one piece.
Into the Inner Envelope: The Stuffing Technique
 📌 Save
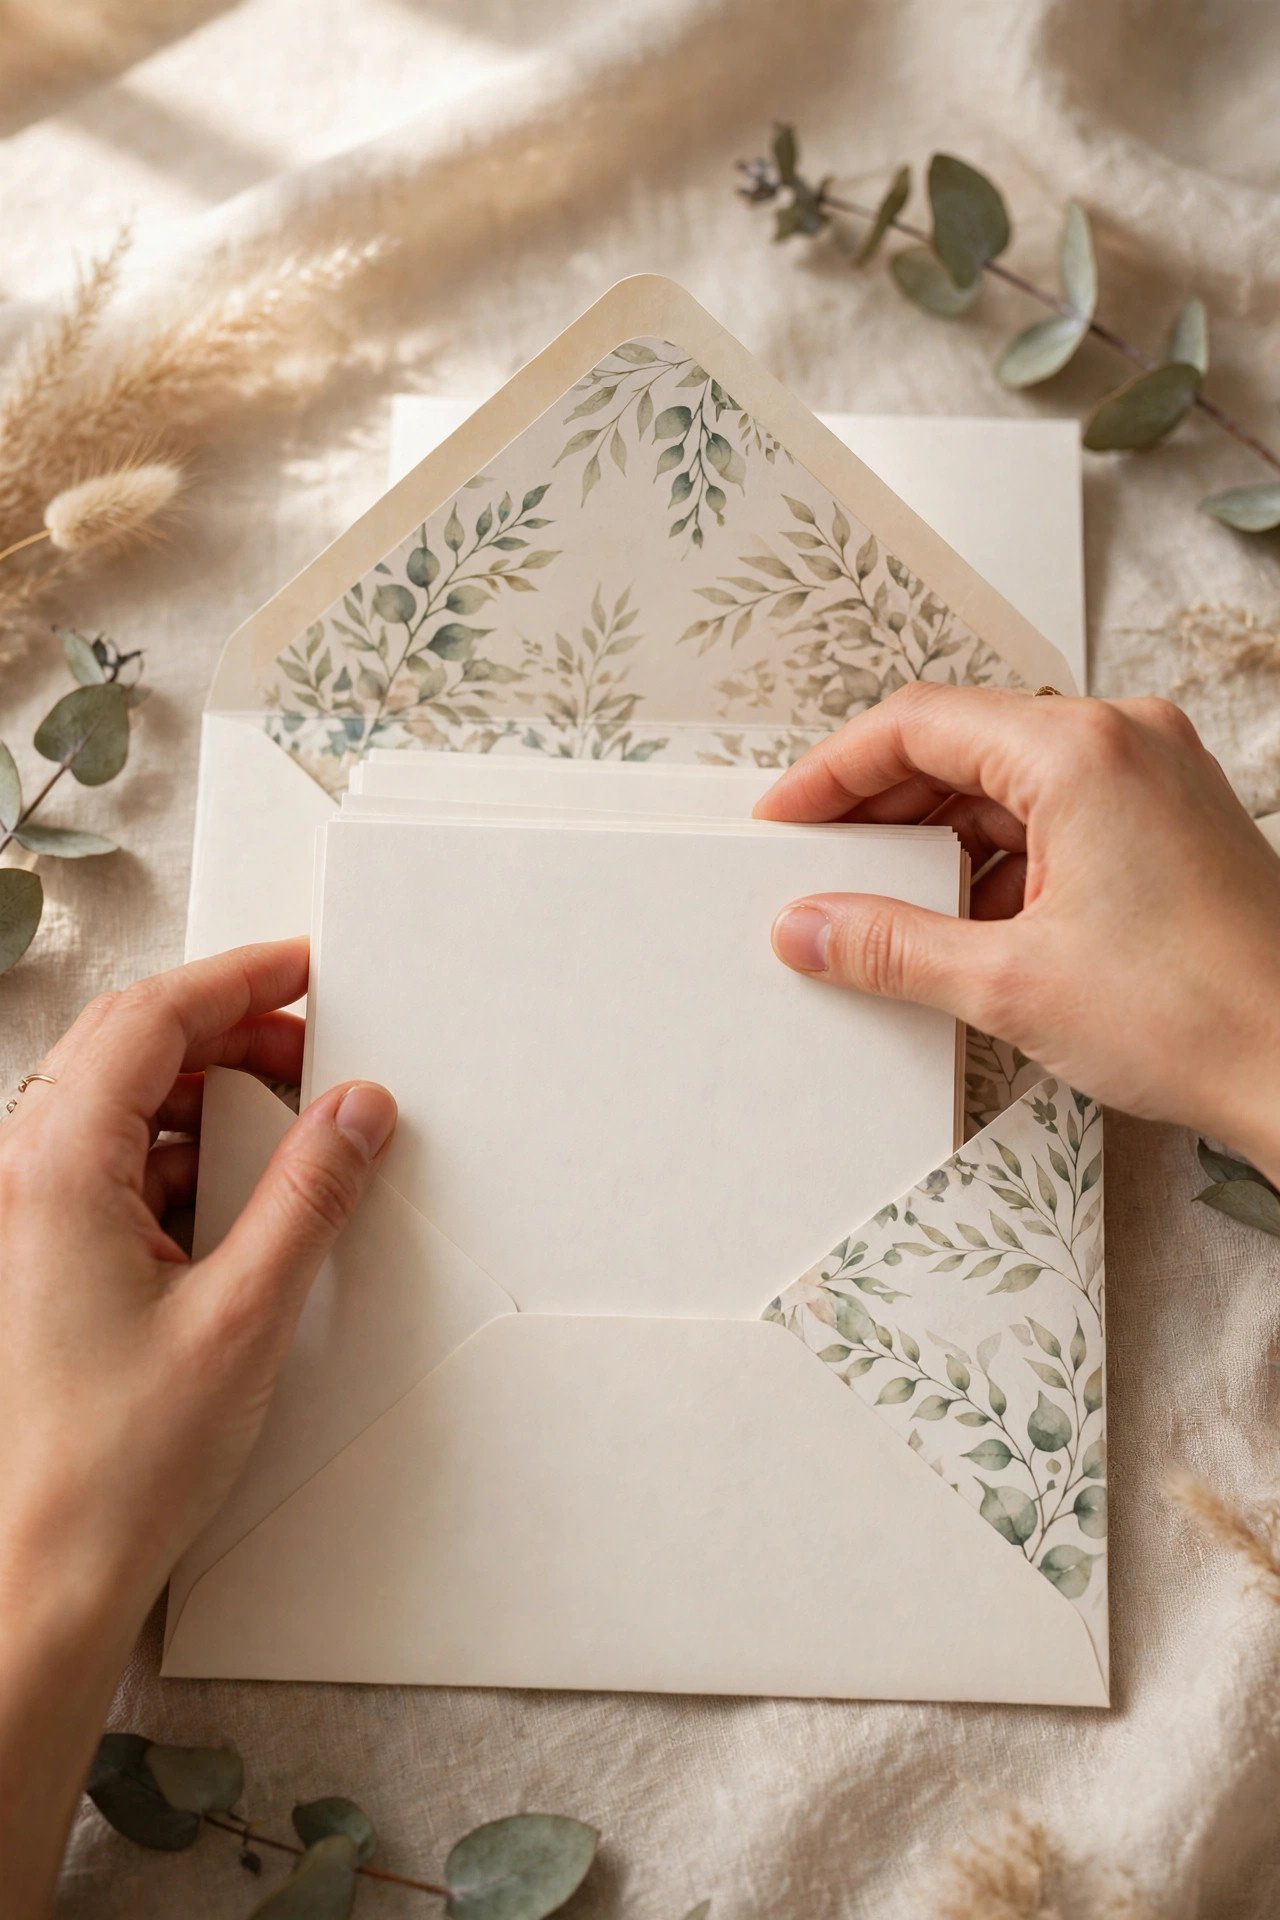
Hold the inner envelope with its flap open and facing you; slide the stack in with the printed faces toward the flap, in one smooth motion, supporting the stack’s bottom edge so layers don’t ski apart. The inner envelope is traditionally left unsealed — its flap simply tucks or rests — and the whole inner envelope then goes into the outer envelope with the inner’s front (the guests’ name side) facing the outer envelope’s flap, so names greet the guest first.
Suites Without an Inner Envelope (The Modern Way)
 📌 Save
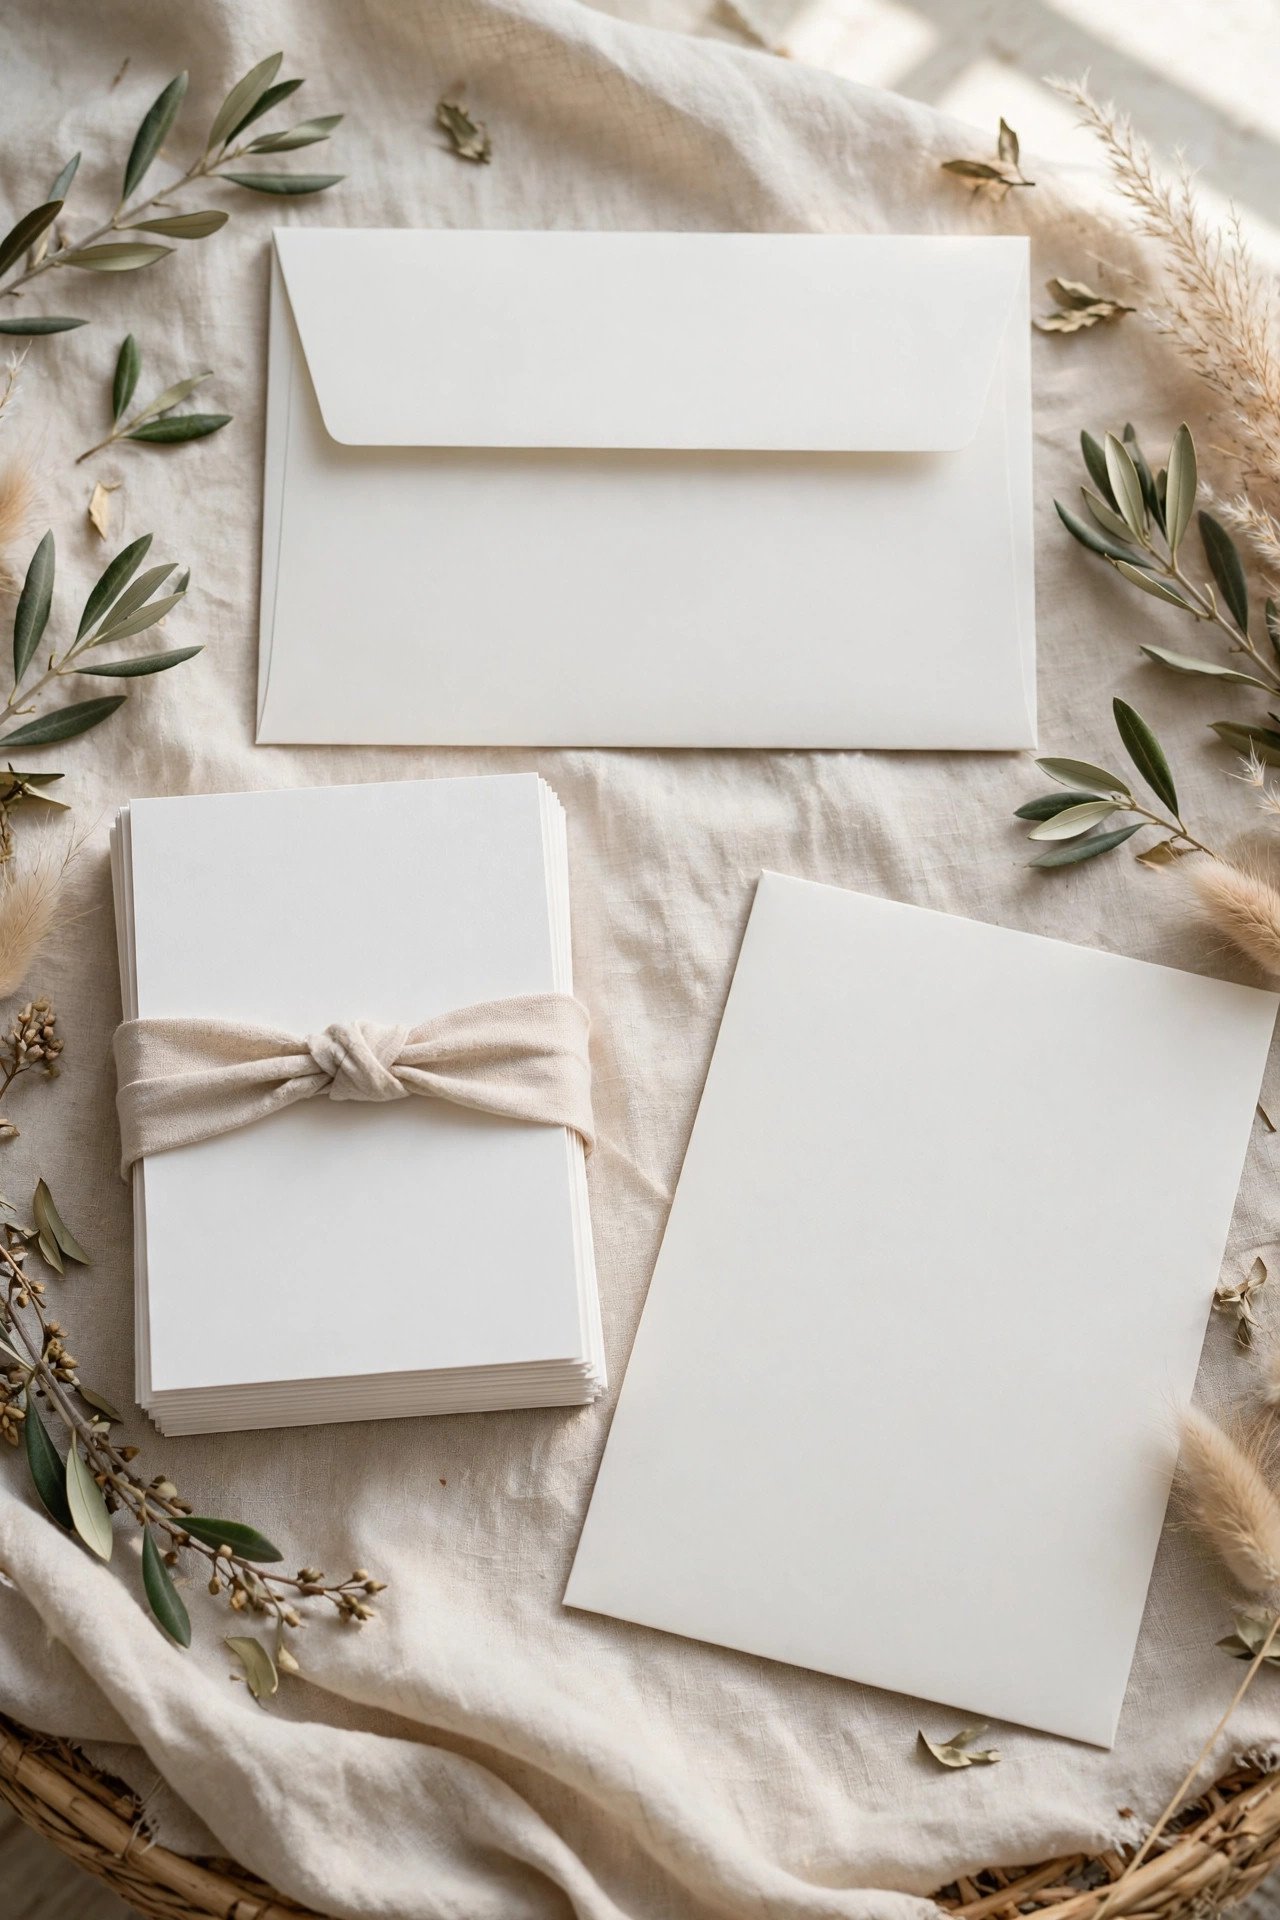
Many modern suites skip the inner envelope entirely; then the stack (ideally banded, so it travels as one) goes straight into the mailing envelope, printed faces toward the flap as always. The inner envelope’s two jobs — naming exactly who’s invited, and presenting names first — transfer to the belly band or a printed envelope liner tag for the names, and to your RSVP form’s named-guest structure for the precision. Keep both substitutes deliberate, not accidental.
Addressing Check: Envelopes Matched to the Right Suites
 📌 Save
Assemble in list order and match as you go: outer envelope addressed to the household, inner envelope naming the same household’s invited members, suite inserted, outer sealed only after the match is verified. Working strictly in spreadsheet order makes verification a glance instead of a search — and prevents the one truly unfixable error, the right suite in the wrong envelope, which no guest can diagnose for you.
The Quality-Control Pass: Open Every Twentieth Envelope
 📌 Save
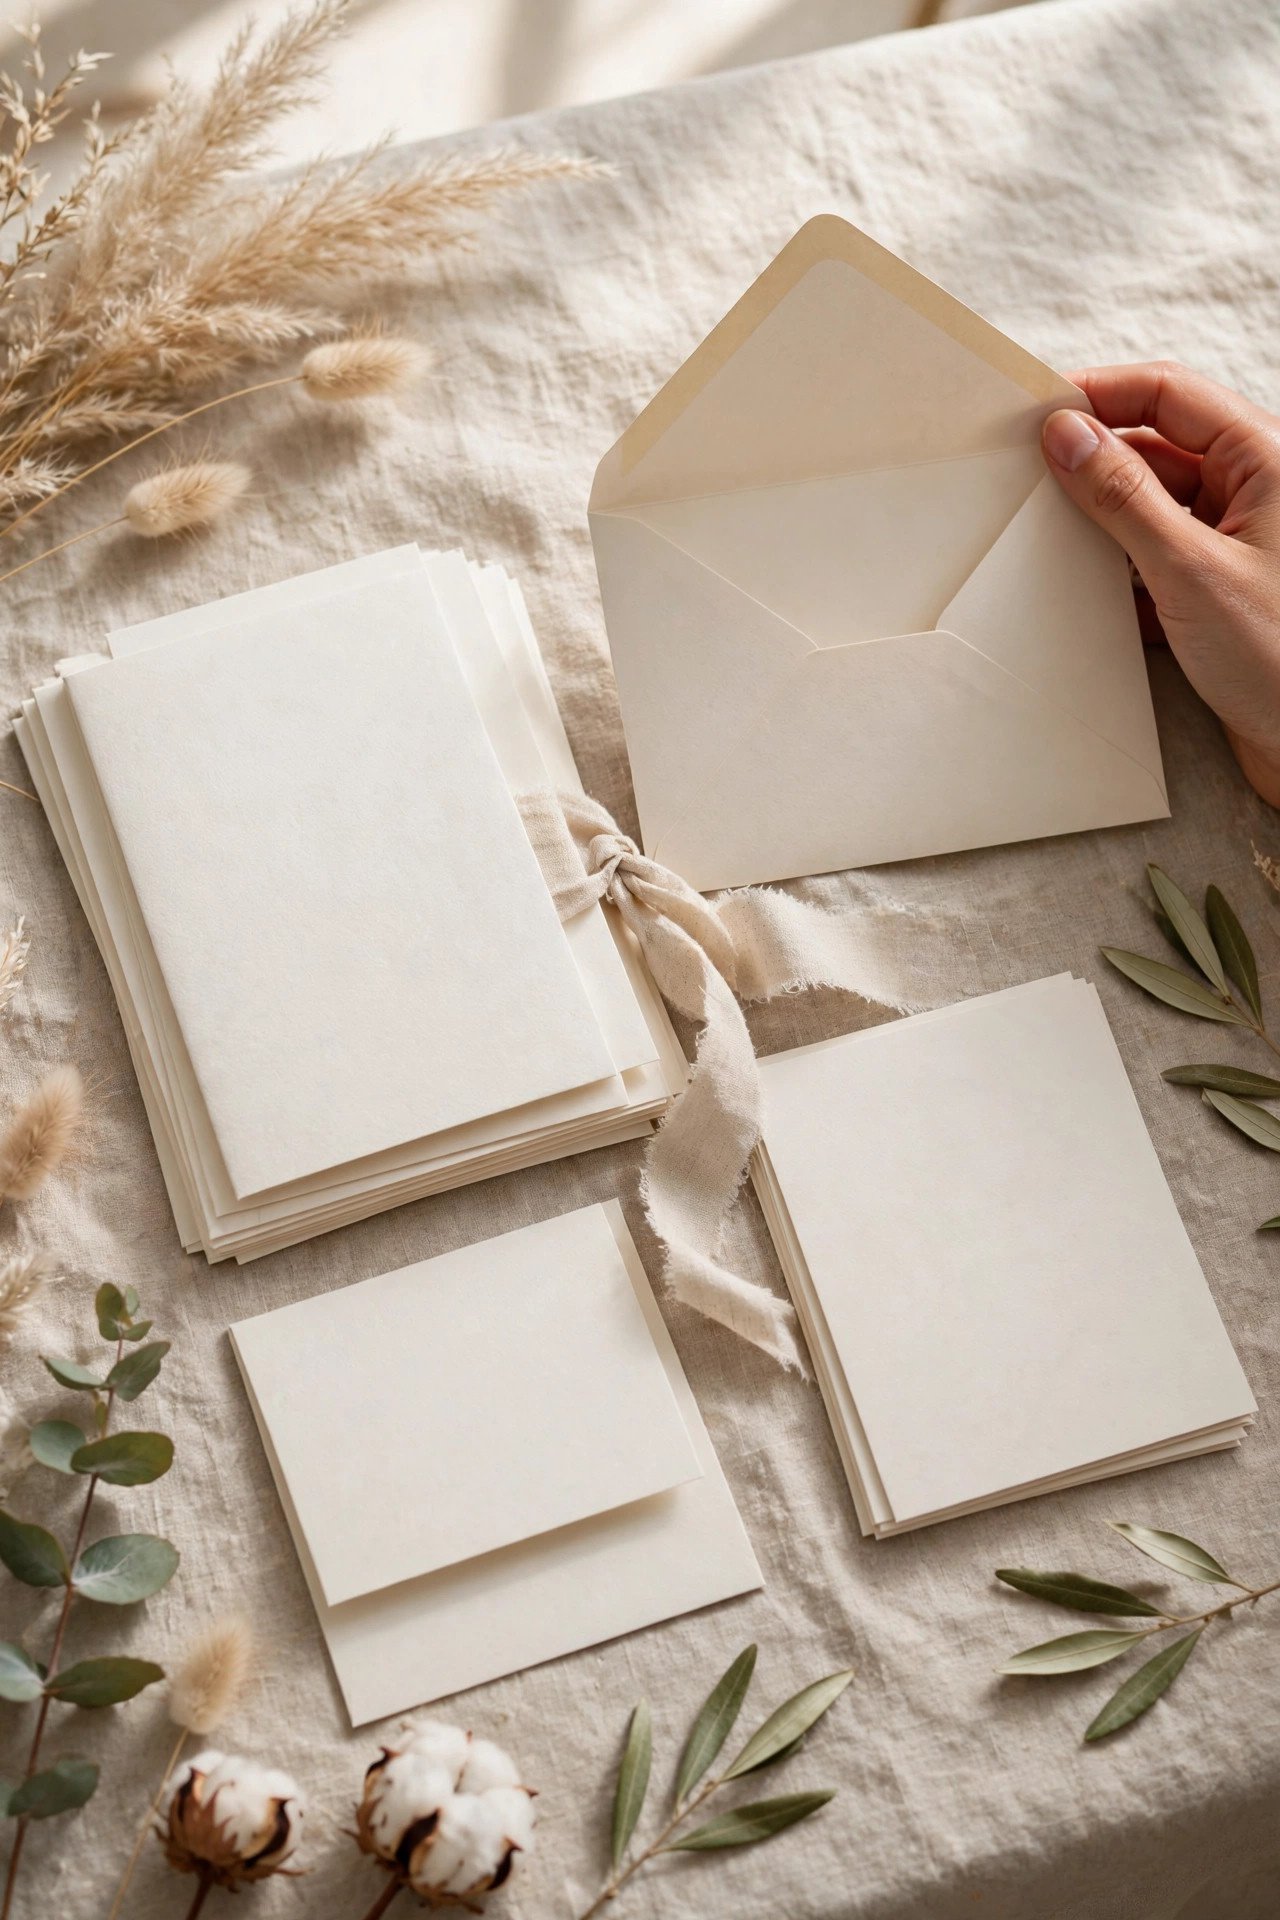
Before sealing outers in bulk, set a sampling rhythm: fully open and audit every twentieth finished piece against the master suite — layer order, facing, RSVP stamp, correct inner names, no smudges, no missing map card. Sampling catches systematic errors (a whole stack of backwards details cards) while they’re still a fixable pattern rather than 150 individual disasters discovered by guests.
Sealing Outer Envelopes Without Wrinkles or Damage
 📌 Save
Seal outer envelopes with a lightly dampened sponge, envelope glue pen, or peel-and-seal strips for a clean, flat closure — licking 150 envelopes is a real way to ruin a weekend. Seal only after the matching and sampling checks, press each seal flat for a few seconds, and stack finished envelopes in small piles under light weight so seals set without warping the contents. Moisture is the enemy of the suite inside: barely damp is the whole technique.
Weigh & Measure One Complete Suite at the Post Office
 📌 Save
Take two or three finished suites to the post office before stamping anything: have one weighed and measured for the exact rate, and ask specifically about surcharges — extra thickness, rigid contents, square shape, wax seals, and hand-cancelling all change pricing in the US, UK, and Canada. Buy stamps against that confirmed rate, and keep one weighed suite as the reference if you add any last-minute insert.
Stamping: Vintage Stamps, Placement & Hand-Cancelling
 📌 Save
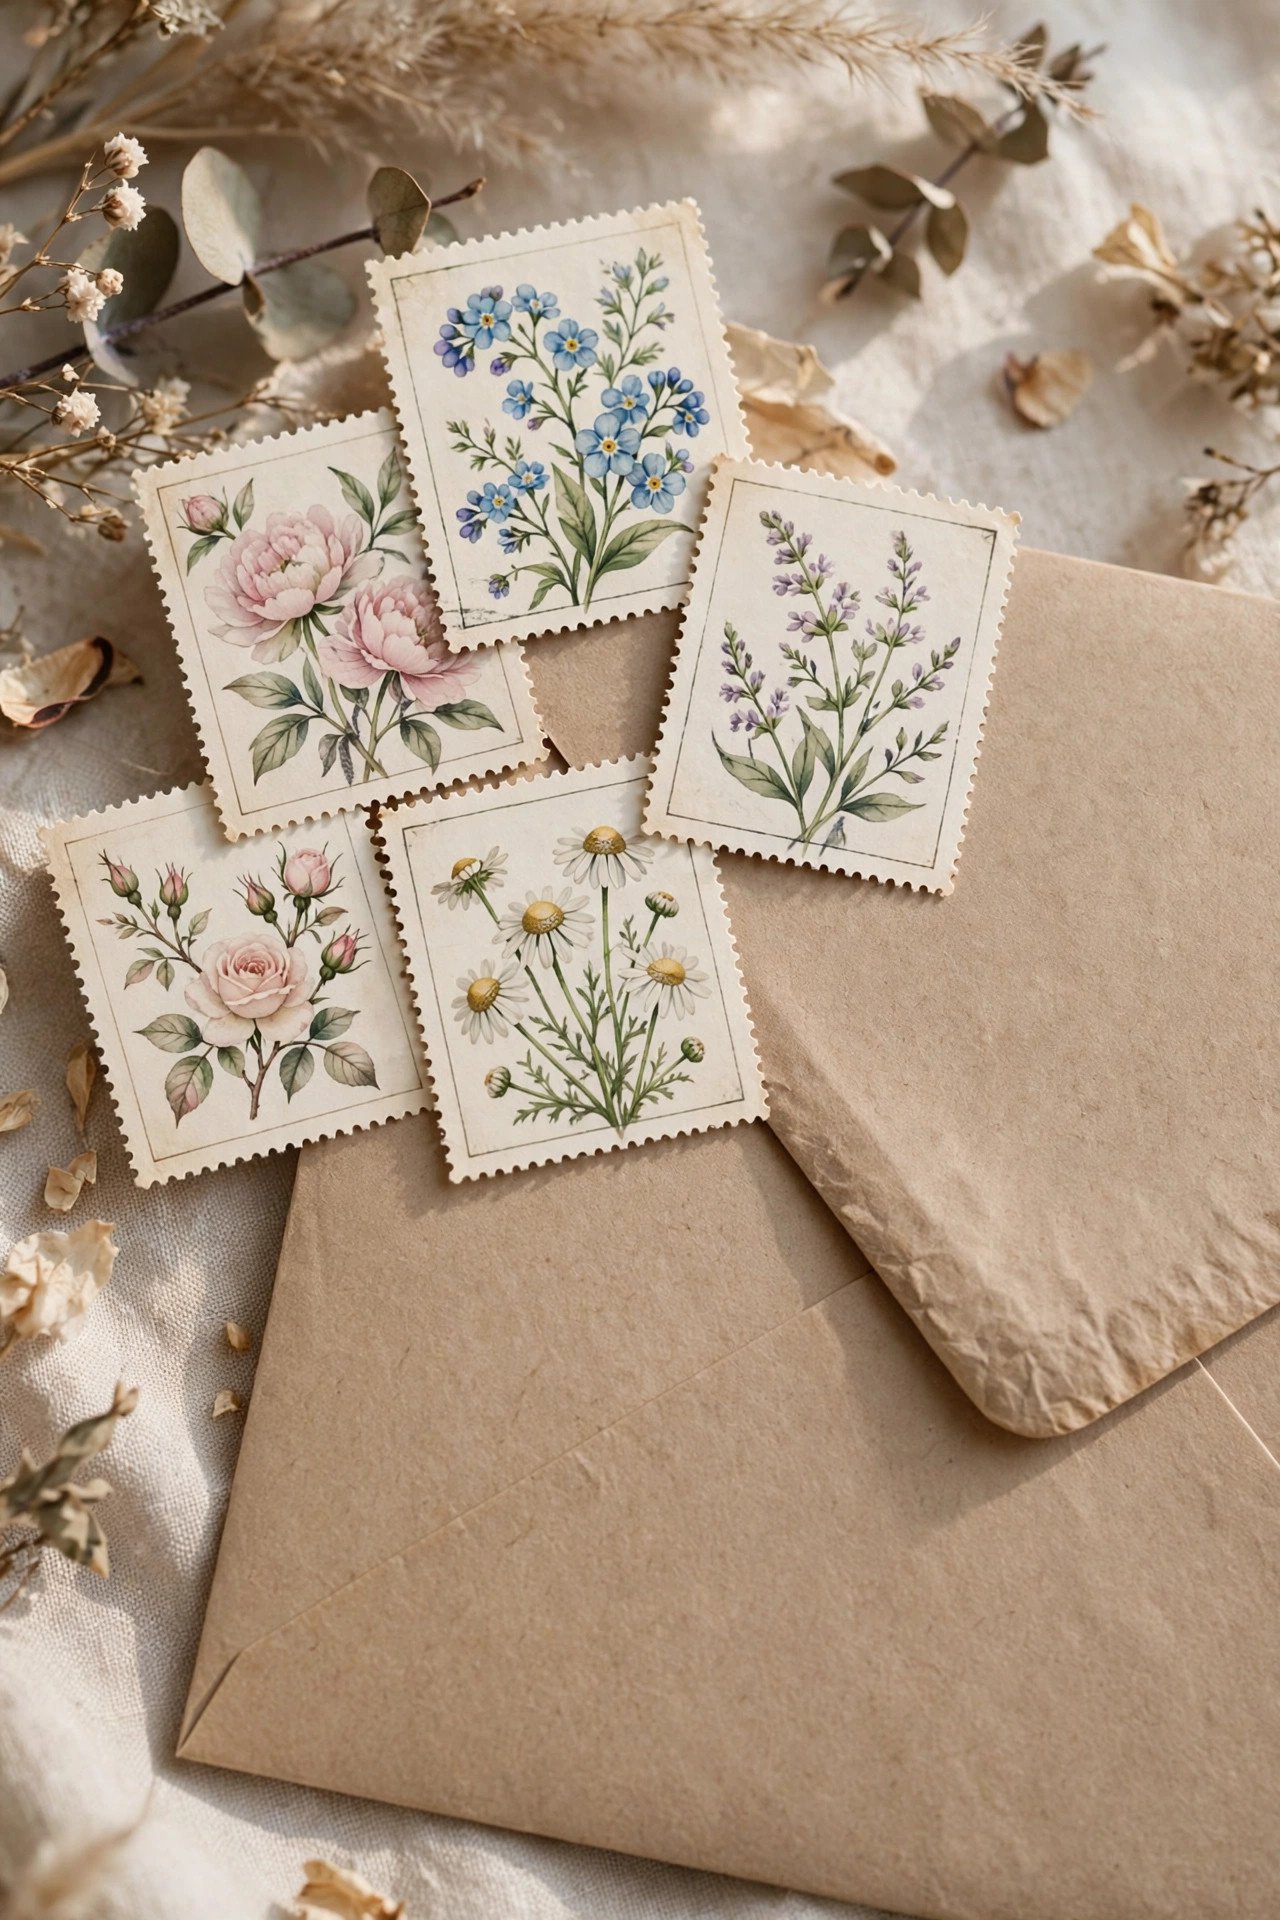
Apply postage last, once rates are confirmed: standard placement is the upper-right corner of the outer envelope, with vintage-stamp collages arranged to total the correct rate exactly. Ask the counter about hand-cancelling for delicate suites — a hand stamp instead of machine rollers protects wax seals, thick bands, and deckled edges — and about the clearest drop time so hand-cancelled mail actually routes as promised.
Mailing Day: Timing, Batching & the Test Suite
 📌 Save
Mail the full run together, six to eight weeks before the wedding (three to four months for destination-heavy lists), taking the envelopes to a counter rather than a street box for anything delicate or hand-cancelled. Your self-mailed test suite should already have arrived in good condition before the main batch goes. Keep your ticked-off address list — it is now your RSVP-tracking sheet, with mailing date noted at the top.
Assembling as a Team: The Assembly-Line Method
 📌 Save
With helpers, run a true line: station one stacks invitation + reception + details; station two adds the RSVP set; station three bands or inserts into inners; station four matches names, seals, and ticks the list. Rotate the quality-control sampling to the most detail-loving person, keep food and drinks on a separate table, and put the master suite in the middle where everyone can see it. A well-run line finishes 150 suites in an evening — with music, lemonade, and very few errors.
DIY Assembly Timelines: How Long It Really Takes
 📌 Save
Honest pacing: an experienced solo assembler completes roughly 15–25 full suites an hour depending on bands, ribbons, and double envelopes; a four-person line multiplies that several times over. Schedule assembly across two relaxed sessions rather than one marathon — tired hands at hour four are where backwards cards and missing stamps are born — and always finish at least a week before your mailing target, leaving slack for the post-office trip and any reprint surprises.
Fixing Mistakes: Opened Envelopes, Missing Pieces & Reprints
 📌 Save
Caught an error after sealing? Steam or a brief freezer rest usually releases envelope gum cleanly enough to reseal or transfer contents into one of your spare outers (this is why spares exist). Missing enclosure discovered mid-run: pause, count the affected range using your list ticks, and fix systematically rather than envelope-hunting at random. And if a print piece itself runs short, order the reprint the same day — stationery reprints queue behind other weddings without remorse.
Storing Finished Suites Before Mailing
 📌 Save
Store finished envelopes flat in their mailing order, in a clean box away from sunlight, humidity, and curious pets, with nothing heavy resting on top (bands emboss, wax cracks, and corners bend under cheerful stacks of books). A cool, dry room keeps inks and adhesives stable for the few weeks between assembly and mailing. Keep the box closed between sessions — dust finds white paper with unerring aim.
Your Final Assembly Checklist
 📌 Save
Run it once, in order: components counted with spares; master suite built and photographed; stack order invitation → reception → details → RSVP set; everything facing the flap; response envelopes stamped with RSVP cards under their flaps; inners matched to outers in list order; sampling audit passed; one suite weighed and test-mailed to yourselves; stamps confirmed and applied; mailing date set six to eight weeks out. Ten checks — and the most-handled wedding project is done, beautifully.
How to Assemble Wedding Invitations FAQs
What is the correct order for assembling a wedding invitation suite?+
Largest to smallest, in reading order: the invitation face-up at the bottom, then the reception card, then details or map cards, then the response envelope lying face-up with its flap open and the RSVP card tucked beneath the flap. A tissue or vellum overlay, if the suite has one, lies directly over the invitation’s face. The whole stack enters the inner envelope with printed sides facing the flap.
Does the RSVP card go inside the response envelope?+
No — it rests under the response envelope’s open flap, face-up, not sealed inside. The envelope lies face-up in the stack with the flap folded back, and the card slides beneath it so guests immediately see the reply card and understand the pairing. And the response envelope should already carry a stamp before assembly — pre-stamping is both a courtesy and a proven reply-rate booster.
Which way should the invitation face in the envelope?+
Printed side toward the envelope flap (the back of the envelope). Assembled that way, a guest who opens the flap and draws the contents out sees the invitation’s face first, exactly as intended. The inner envelope itself goes into the outer envelope with the guests’ names facing the outer flap, so the names are the first thing seen on opening.
How long does it take to assemble 150 invitations?+
A solo assembler typically finishes 15–25 complete suites per hour, so 150 suites is roughly a full weekend of relaxed sessions; a four-person assembly line can do it in one evening. Ribbons, wax seals, pocketfolds, and double envelopes all slow the pace. Build in a buffer week before your mailing date — assembly fatigue is the number-one cause of stacking errors.
What if we discover a mistake after sealing the envelopes?+
Don’t panic — envelope gum usually releases with gentle steam, or a short rest in the freezer, letting you open, correct, and reseal or move the contents into a spare envelope. This is exactly why you order 10–15% spare envelopes and suites. Work from your ticked address list to find the affected range, fix systematically, and re-run your sampling check before mailing.
Key Takeaways
- The stack never changes: invitation, reception card, details, then the RSVP set — largest to smallest, all printed sides facing the envelope flap.
- Stamp response envelopes before assembly and tuck the RSVP card under the open flap, face-up — never sealed inside.
- Build one master suite, assemble strictly in address-list order, and audit every twentieth envelope.
- Weigh a finished suite at the post office and mail a test one to yourselves before the main drop.
- Order 10–15% spares of everything; they convert every assembly mistake from a crisis into a shrug.
Final Thoughts
Assembled well, an invitation suite opens like a story told in the right order — and your guests will never know how much quiet system sits behind that pleasure. Master suite, list order, sampling checks: that’s the whole craft.
Now seal them, stamp them, and send a hundred and fifty small celebrations out into the world. The replies coming back are the best part — and thanks to a stamped response envelope in every stack, they’ll come back fast.