
Wedding Invitation Timeline Template (2027)
By zainzari • Published October 23, 2026 • Updated October 23, 2026
 📌 Save
A wedding invitation timeline works backwards from the wedding day: save-the-dates typically mail 9–10 months out (earlier for destination weddings), invitations about 8 weeks before, RSVP deadlines 3–4 weeks before, day-of paper 2–5 weeks before, and thank-you cards in the weeks after. Exact windows vary by printer, postal service, and country, so treat this template as a framework and confirm lead times with your own vendors.
Stationery stress is almost never about design — it is about time. Every paper panic (the rushed reprint, the envelopes that arrive after the mail date) comes from a step started one month too late. This template lays all 25 steps in order so you can see the whole road at once and start each piece while it is still a pleasure.
Timelines vary: destination weddings shift everything earlier, printers’ lead times differ, and postal services in the US, UK, and Canada have different typical delivery windows. Use the months below as your scaffold, then pin your actual dates to your vendors’ confirmed timelines.
At a Glance: Step, Phase & When
| # | Step | Phase | Typical Timing |
|---|---|---|---|
| 1 | Set Your Date and Stationery Budget | Planning | 12+ months before |
| 2 | Book Your Stationer or Designer | Planning | 11–12 months before |
| 3 | Order Your Save-the-Dates | Save-the-dates | 10–11 months before |
| 4 | Mail Save-the-Dates | Save-the-dates | 9–10 months before |
| 5 | Launch Your Wedding Website | Digital | 9 months before |
| 6 | Design the Full Invitation Suite | Invitations | 7–8 months before |
| 7 | Order Invitation Samples | Invitations | 7 months before |
| 8 | Finalize the Guest List and Addresses | Admin | 6 months before |
| 9 | Order Invitations and Envelopes | Invitations | 5–6 months before |
| 10 | Arrange Addressing: Calligraphy or Printing | Addressing | 4–5 months before |
| 11 | Assemble One Perfect Suite and Weigh It | Assembly | 4 months before |
| 12 | Buy the Correct Postage | Assembly | 3–4 months before |
| 13 | Mail the Invitations | Invitations | 8 weeks before (typical) |
| 14 | Set and Watch the RSVP Deadline | RSVPs | Deadline ~3–4 weeks before |
| 15 | Track RSVPs and Follow Up Kindly | RSVs | 3 weeks before |
| 16 | Order Day-Of Paper Goods | Day-of paper | 4–5 weeks before |
| 17 | Finalize Programs, Menus, and Signage Proofs | Day-of paper | 3 weeks before |
| 18 | Print Place Cards and Escort Cards | Day-of paper | 2 weeks before |
| 19 | Confirm Final Counts with Venue and Caterer | Coordination | 1–2 weeks before |
| 20 | Assemble Welcome Letters and Bag Cards | Welcome pieces | 1 week before |
| 21 | Run the Day-Of Stationery Check | Logistics | Day before |
| 22 | Wedding Day: Protect One Suite | Keepsakes | Wedding day |
| 23 | Send Thank-You Cards Promptly | Thank-yous | 2–4 weeks after (start) |
| 24 | Order Extra Keepsake Copies | Keepsakes | 1 month after |
| 25 | Review and Note What Worked | Wrap-up | 1 month after |
All windows are typical planning guidance, not guarantees — confirm production and delivery times with your printer, calligrapher, and postal service, and add a buffer week to anything that travels.
Set Your Date and Stationery Budget
 📌 Save
Everything hangs on two decisions: the date and a realistic paper budget. Stationery typically runs a small single-digit share of the total wedding budget; decide your number now, count households (not heads) for quantities, and every later choice gets easier. This is also the moment to choose your design direction — classic, modern, botanical — so the suite grows as one family.
Book Your Stationer or Designer
 📌 Save
Good stationers book out, and custom design takes real weeks. Interview two or three whose portfolios match your direction, confirm their timeline fits your mail dates, and reserve your slot with a deposit. If you are going semi-custom or DIY, this is when you choose the collection or template instead.
Order Your Save-the-Dates
 📌 Save
Design and order save-the-dates once the date and city are firm. Photo cards are the friendly favorite; design-led cards suit formal weddings. Include your names, the date, the city, and ‘invitation to follow’ — venue names and times do not belong here yet.
Mail Save-the-Dates
 📌 Save
Mail save-the-dates nine to ten months out for local weddings, and ten to twelve for destination weddings where guests must book travel. This single mailing prevents most ‘we already booked that weekend’ heartbreak. Keep a mailing record — it becomes the skeleton of your invitation list.
Launch Your Wedding Website
 📌 Save
Your website goes live with the save-the-dates: venue, hotel block, travel notes, and a promise that details will grow. It becomes the safety net for every printed piece — whatever changes, the website updates. Use the same design language as your paper so guests trust it is really yours.
Design the Full Invitation Suite
 📌 Save
Now design everything as one: invitation, reply card and envelope, details card, and any enclosure. Decide wording and hosting lines carefully with family where relevant — this is the step where wording questions belong, not at the printer. Approve the design proof slowly, reading every word aloud.
Order Invitation Samples
 📌 Save
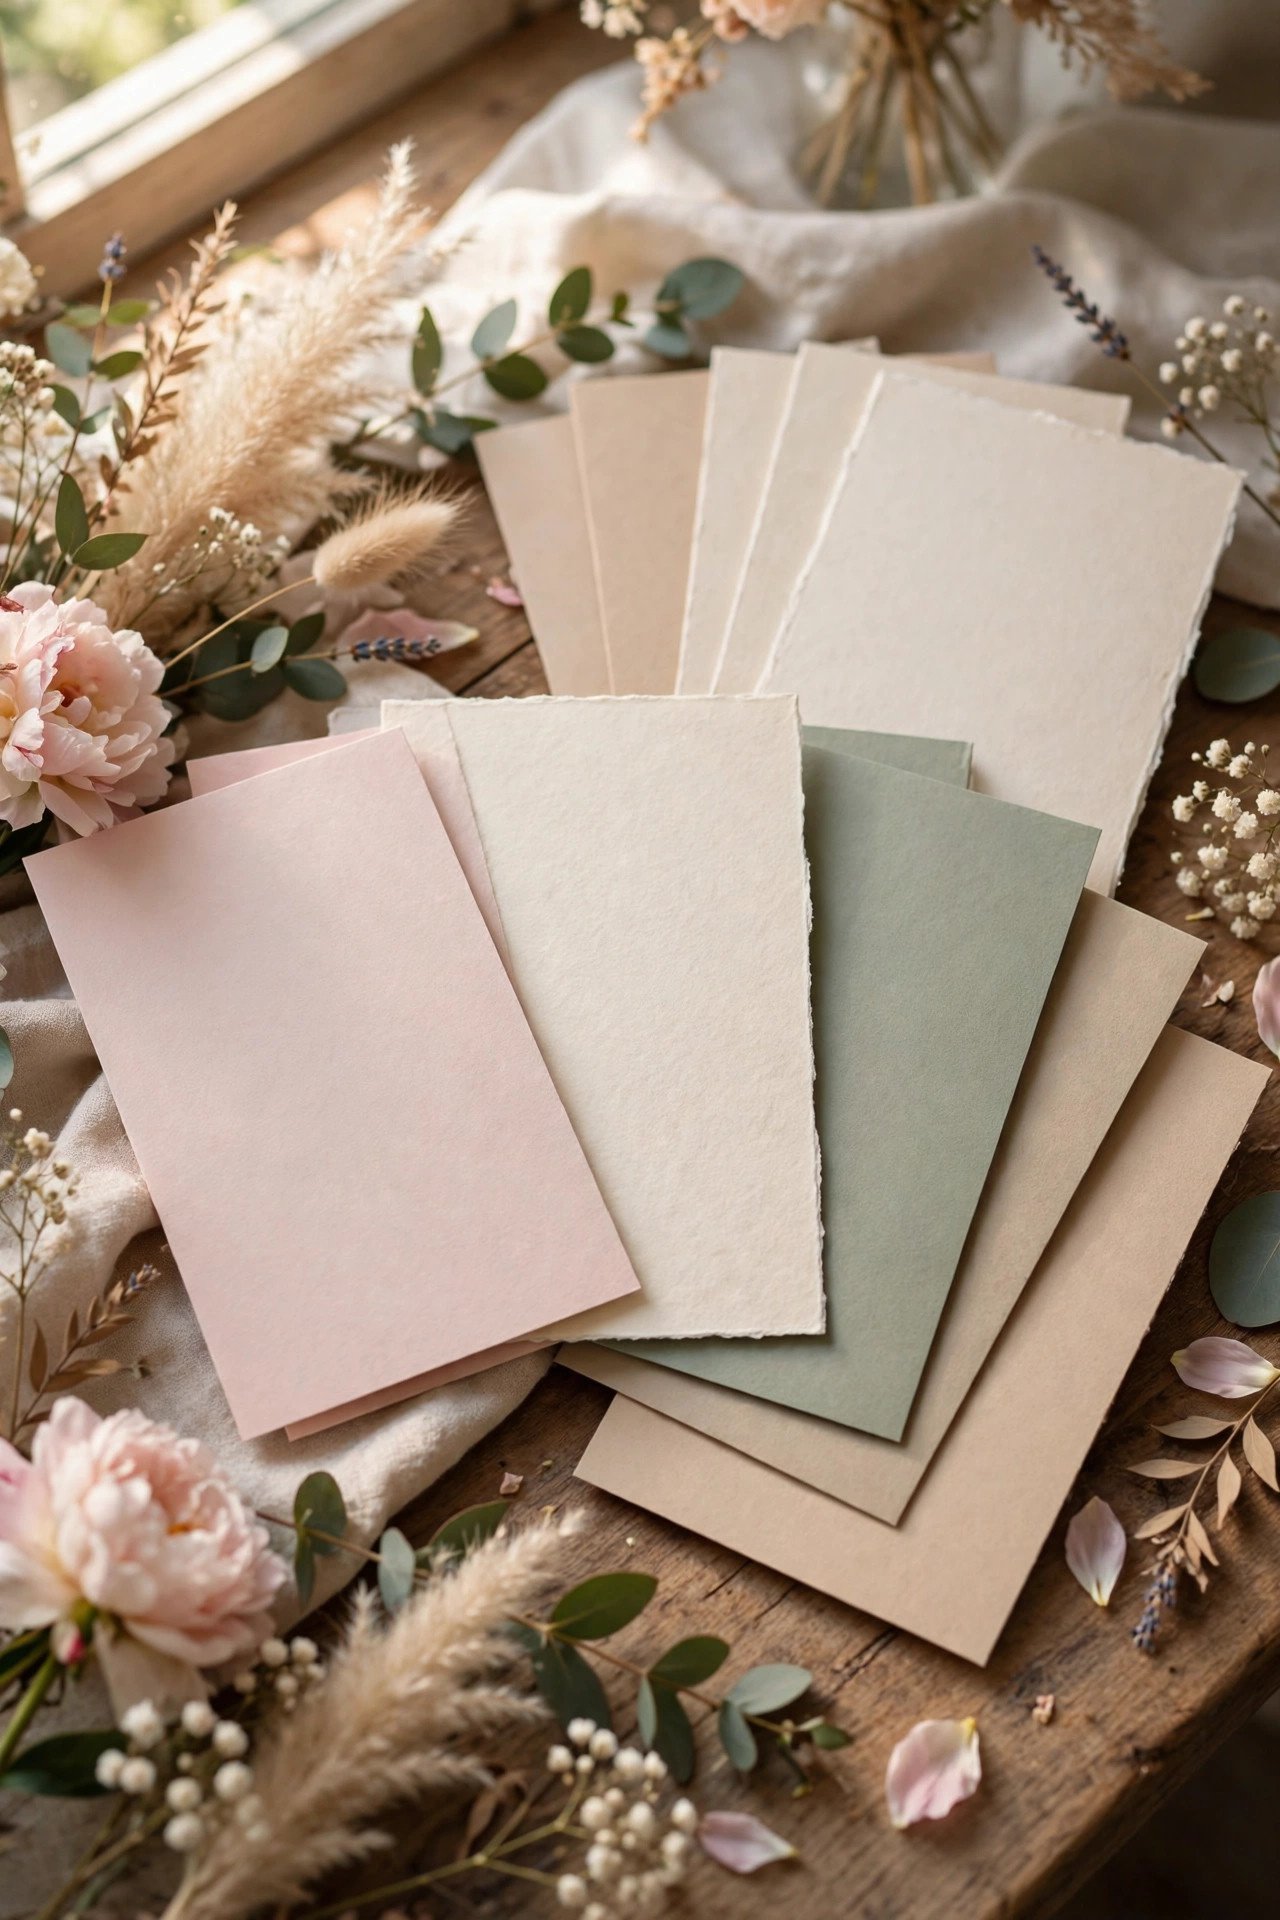
Hold the paper before you commit: order physical samples of your exact suite or papers to check weight, color in real light, and print quality. Screens lie about cream versus white and about how substantial ‘standard’ card really feels. A week spent sampling saves a reprint later.
Finalize the Guest List and Addresses
 📌 Save
Lock the guest list and collect complete, verified mailing addresses — the least glamorous, most schedule-critical step in stationery. A shared spreadsheet with a column per partner to confirm spelling keeps it sane. Chase stragglers now, while there is time to be gracious about it.
Order Invitations and Envelopes
 📌 Save
Order the full suite plus envelopes with your 10 percent overage, plus extra envelopes alone (addressing mistakes happen to everyone). Confirm the printer’s production and shipping timeline in writing and build a buffer week into your plan. Keep the order confirmation with your wedding binder or folder.
Arrange Addressing: Calligraphy or Printing
 📌 Save
Hand calligraphy needs two to four weeks with a professional; printed addressing needs your finalized spreadsheet; handwriting them yourselves needs several honest evenings. Book whichever route you choose now — calligraphers’ wedding-season calendars fill early, and envelope addressing is no task for the final month.
Assemble One Perfect Suite and Weigh It
 📌 Save
Assemble one complete invitation exactly as guests will receive it — every card, tissue, ribbon, and envelope liner — and have it weighed at the post office. Postage surprises (oversize, rigid, or heavy suites) are the classic stationery ambush; this single trip eliminates them and tells you your true stamp order.
Buy the Correct Postage
 📌 Save
With the weighed suite in hand, buy stamps — including the reply envelope’s — in one purchase. Pretty or themed stamps elevate the suite’s first impression; standard stamps work fine and nobody’s wedding was ever judged on them. Keep stamps with the suite supplies so assembly day runs without errands.
Mail the Invitations
 📌 Save
Mail invitations about eight weeks before the wedding (ten to twelve for destination weddings or peak holiday mail). Hand-cancel or hand-deliver to the post office counter where possible for gentler handling. Mail your photographer and yourselves one suite first — keepsakes and flat-lay copies, pristine and unhurried.
Set and Watch the RSVP Deadline
 📌 Save
Your reply deadline sits about three to four weeks before the wedding — early enough for final counts, late enough for real answers. Note meal choices and plus-ones on the reply card design so the deadline returns usable data, not just names. Record replies the day they arrive; a daily two-minute habit beats a panicked weekend of data entry.
Track RSVPs and Follow Up Kindly
 📌 Save
When the deadline passes, a short, kind round of texts and calls to the missing names is normal — expect roughly a tenth of guests to need it. Assign each partner their own side’s stragglers. Every recovered reply is a chair, a meal, and a place card you will not be guessing about.
Order Day-Of Paper Goods
 📌 Save
With the design family established, order the day-of pieces: ceremony programs, menus, place cards (names added later if your printer allows), table numbers, signage, and vow books if they are not already in hand. Ordering them as one family guarantees matching inks and papers across the whole day.
Finalize Programs, Menus, and Signage Proofs
 📌 Save
This is proofreading week: ceremony order and names in programs, course wording on menus (caterer-approved), and every sign’s text and times. Fresh eyes help — ask a detail-minded friend to read the proofs cold. Approve in writing so there is no ambiguity about which version prints.
Print Place Cards and Escort Cards
 📌 Save
Place cards wait on the seating plan, so they print in the final fortnight once RSVPs and tables settle. Keep a small set of blank matching cards and your best pen for the inevitable day-before change. Print a few extras of common first names if your calligrapher is doing them — duplicates exist in every family.
Confirm Final Counts with Venue and Caterer
 📌 Save
Your stationery numbers now become operations: final guest count drives menus printed, place cards, favors, and seating charts. Send the venue and caterer the same confirmed number on the same day, and keep a short change-log — late additions are normal and manageable when everyone shares one figure.
Assemble Welcome Letters and Bag Cards
 📌 Save
Print and assemble welcome letters, itinerary cards, and any local-guides into welcome bags during the final week, once times are beyond changing. Deliver them to hotels with a room list, or stage them for your welcome event. Keep two complete bags aside — one for photos, one for yourselves.
Run the Day-Of Stationery Check
 📌 Save
The day before, walk the full paper inventory with a checklist: programs counted and boxed by ceremony count, signs with their easels, place cards in table order, menus stacked, vow books packed with the rings list. Hand physical custody to one named person — planner, sibling, venue coordinator — with the setup plan in writing.
Wedding Day: Protect One Suite
 📌 Save
Before the beautiful chaos, set aside one pristine invitation suite, program, menu, and place card for your photographer and your keepsake box. Detail photos of the full paper story are among the most-loved images couples receive — but only if a clean set survives the day, which requires this five-minute act of foresight.
Send Thank-You Cards Promptly
 📌 Save
Order thank-you cards with your suite (same design family) so they are waiting when you return. Aim to send them within two to four weeks for shower and early gifts, and within about two to three months for wedding gifts — sooner always reads warmer. Mention the gift specifically; one genuine sentence beats a page of formula.
Order Extra Keepsake Copies
 📌 Save
If your printer still holds the files, order a few archival extra suites for your keepsake box, your parents, and your future anniversary framing. Paper kept flat, dry, and out of sunlight lasts generations — your vow books and one full suite together will tell the day’s story to grandchildren.
Review and Note What Worked
 📌 Save
Close the stationery chapter with a short review: quantities ordered versus used, timing that felt tight, vendors you would recommend. It takes ten minutes, helps your friends enormously when their turn comes, and turns your planning knowledge into a gift — the fitting final use of all that careful work.
Wedding Invitation Timeline Template FAQs
When should wedding invitations be mailed?+
Typically about eight weeks before the wedding for local celebrations, and ten to twelve weeks for destination weddings or dates near major holidays. That window gives guests time to reply by a deadline three to four weeks out while the invitation still feels fresh.
When do save-the-dates go out?+
Usually nine to ten months before a local wedding, and ten to twelve months before a destination wedding where guests book flights and hotels. If your engagement is shorter, send them as soon as the date and city are firm — earlier is never wrong for save-the-dates.
How much lead time do printers need?+
It varies widely: digital printing can take days, while letterpress, foil, and fully custom suites commonly need several weeks for production plus shipping. Confirm your printer’s current timeline before fixing your mail date, and order samples first if quality matters.
What RSVP deadline should we set?+
Three to four weeks before the wedding is the typical sweet spot — it must fall after your caterer’s final-count deadline is accounted for, with a week of buffer for chasing late replies. Work backwards from the caterer’s date, not forwards from the mail date.
How soon should thank-you cards be sent?+
Send them as gifts arrive where you can, and aim to complete wedding thank-yous within roughly two to three months. Ordering the cards with your invitation suite means no post-wedding delay — you can start writing the week you return.
Key Takeaways
- Work backwards from the wedding day; every stationery date derives from it.
- Destination weddings shift the whole timeline earlier — mail sooner, not faster.
- Printer and calligrapher lead times vary — confirm yours before fixing dates.
- RSVP deadline = caterer’s count date minus a one-week chasing buffer.
- Order thank-you cards with the suite so gratitude never waits on shipping.
Final Thoughts
A timeline’s real gift is calm: each piece designed, printed, and mailed while it is still enjoyable. Pin this template to your planning folder, adjust the windows to your vendors and your country, and your stationery will feel less like a deadline and more like what it is — the first chapter of your wedding story.





One Comment