
20 Wedding Seating Chart Planning Tips: Layouts, Displays & Mistakes to Avoid
20 Wedding Seating Chart Planning Tips: Layouts, Displays & Mistakes to Avoid
By zainzari • Published October 2026

Save
Short on time? Start your wedding seating chart 2–3 weeks out from the final headcount, sort guests into tables before assigning individual seats, alphabetize by last name, and make names readable from six feet away. Match the display to your venue — board, mirror, escort cards or digital — freeze the chart 5–7 days before the wedding, and never seat feuding family at the same table.
Work From the Final Headcount, Not the Invite List
Build your wedding seating chart from confirmed yeses — not the 180 people you invited.
Invite lists shrink: declines, plus-one changes, and last-minute cancellations all reshape the room. Drafting from the invite list means rebuilding the whole chart later. Wait until RSVPs are mostly in, then plan from the real number.
Start With a Digital Seating Chart Template
Save
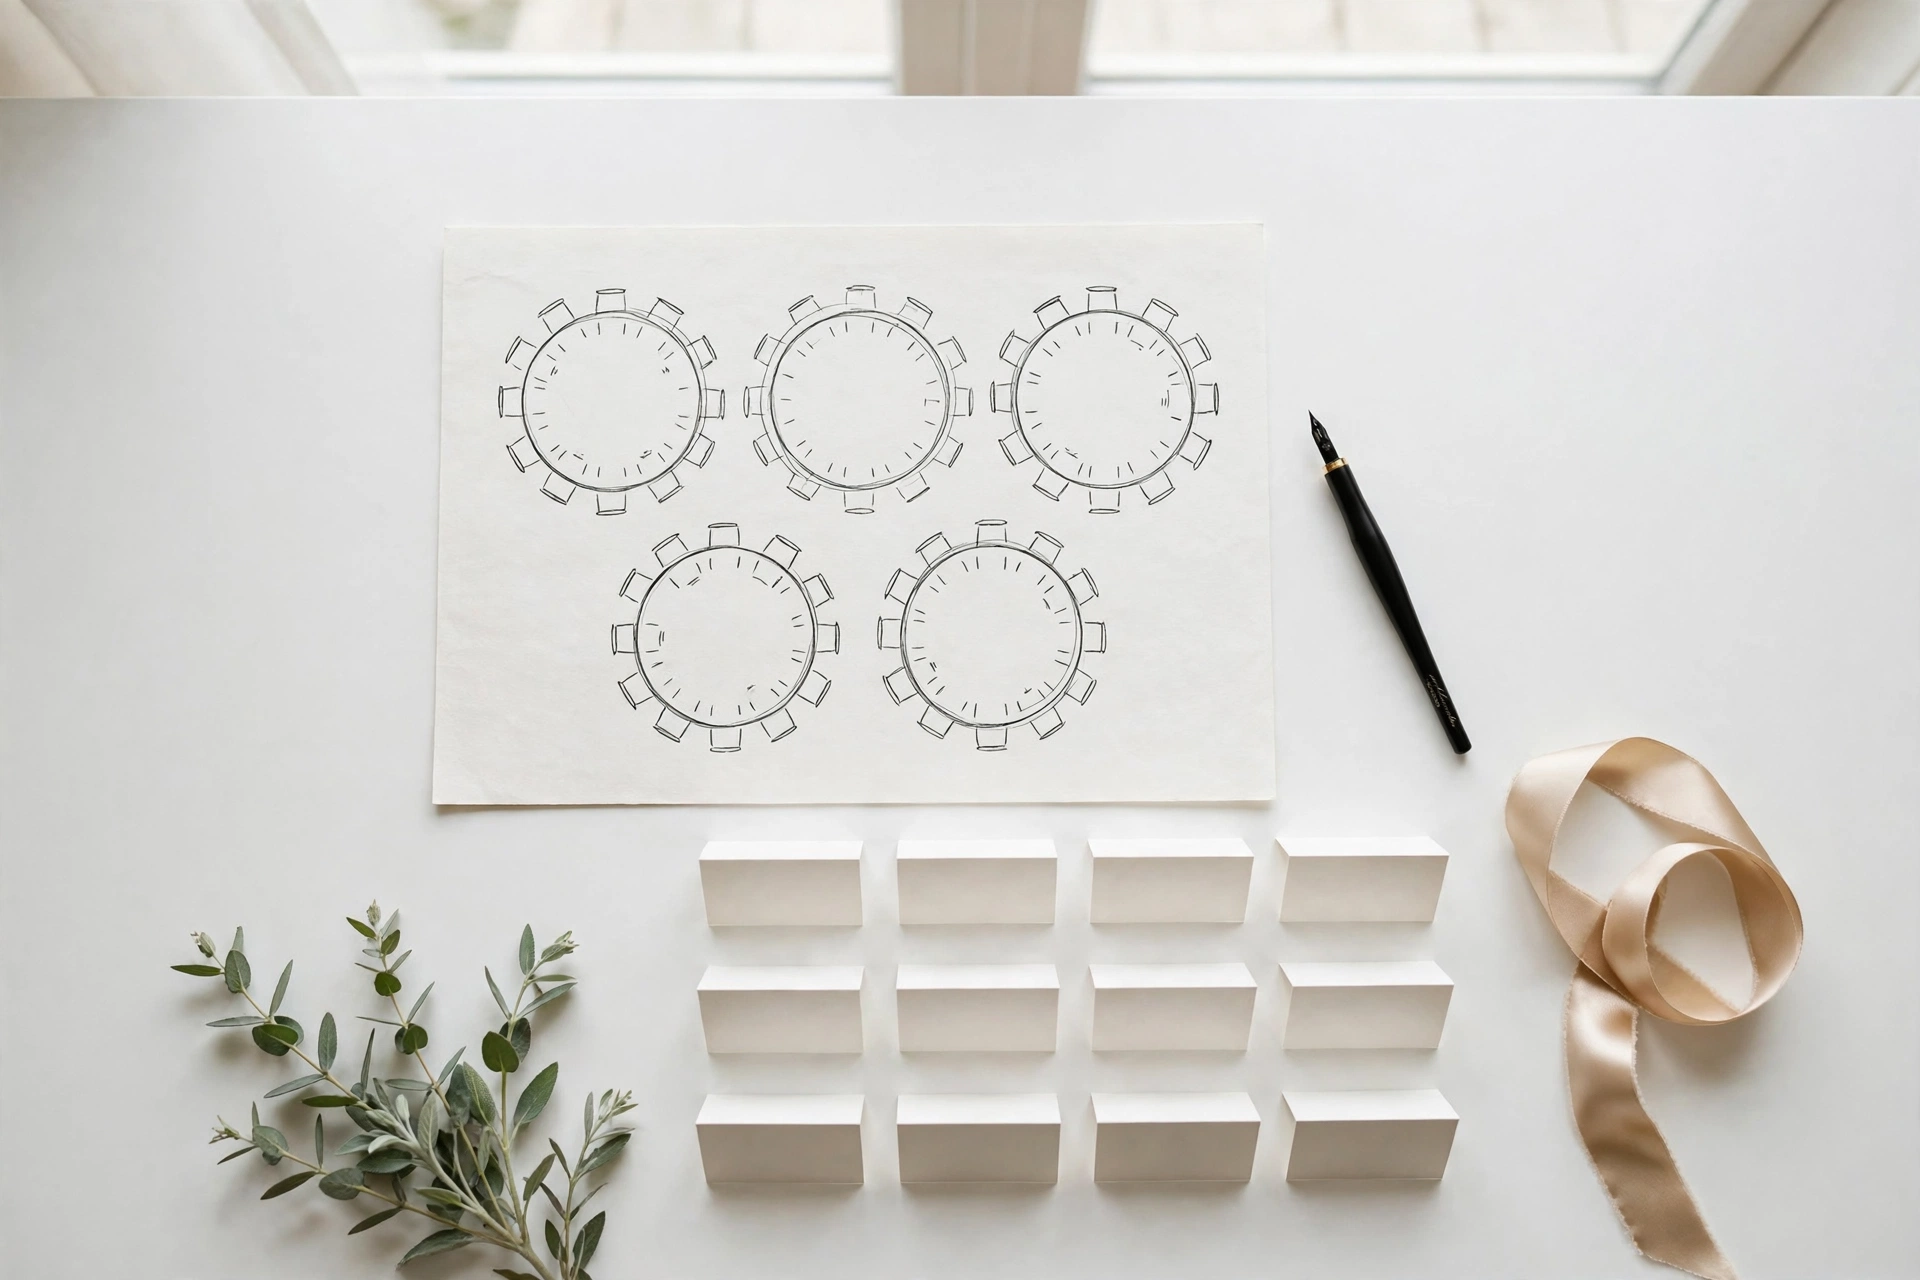
A spreadsheet or free seating chart template beats a pile of sticky notes every time.
List every guest with columns for table number, meal choice, and notes (wheelchair access, kids’ meals, VIP status). A digital master lets you drag, sort, and reprint in minutes when RSVPs change — paper drafts can’t keep up.
Sort Guests Into Tables Before Assigning Seats
Think in tables first, chairs second — it cuts the puzzle down to size.
Assigning 140 individual seats at once is overwhelming. Instead, group guests into compatible tables of 8 or 10 first, then decide exact chairs only where it matters: the head table, VIP family tables, and anyone with accessibility needs.
Keep Couples Together — and Their Dates Beside Them
Never split a couple across tables — it reads as a snub, even when it isn’t.
Seat partners side by side or directly across from each other. The same goes for plus-ones: a guest’s date belongs at their table, not exiled to the singles table. If you must separate a pair, keep them at adjacent tables.
Keep a Private “Do Not Seat Together” List
Write down every pairing to avoid: divorced parents, exes, feuding relatives — then plan around it.
This list is just for you and your partner (and maybe your planner). Cross-check every table against it before you finalize. One awkward pairing can sour an entire table’s evening, and it’s the most preventable seating mistake there is.
Balance Every Table With a Connector Guest
Every table needs one warm, outgoing person who talks to strangers — your “connector.”
A table of eight shy acquaintances goes quiet fast. Seed each mixed table with at least one social butterfly who’ll introduce people, keep conversation moving, and make solo guests feel included. You know exactly who these people are.
Seat Older Guests Up Front, Away From the Speakers
Grandparents get the best seats in the house: close to the action, far from the DJ.
Place older relatives near the dance floor or head table so they feel included — but on the opposite side from the speakers. Keep their tables near restrooms and exits too, and flag any wheelchair or walker needs in your template early.
Give the Head Table the Best Sightlines
The couple should see the whole room — and the room should see the couple.
Place the head or sweetheart table centrally with a clear view of the dance floor, entrances, and toasts. Avoid tucking it in a corner or behind a pillar. If you’re doing a head table with the wedding party, seat the group’s dates at the very next table over.
Decide the Kids Question Early
Kids’ table or with parents? Decide once, communicate clearly, and stick to it.
A kids’ table works when there are 6+ children of similar ages — add coloring books and kid-friendly food. Younger kids usually do better seated with their parents. Either way, tell parents the plan on the invitation so there are no day-of surprises.
Leave Two to Four Buffer Seats
Every seating chart needs breathing room for the surprises weddings always bring.
A plus-one you didn’t expect, a guest who brings their teenager, a vendor meal that needs a chair — scatter 2 to 4 empty seats across friendly tables rather than cramming every chair full. Empty seats disappear into the room; an overstuffed table does not.
Match the Display to Your Venue

Save
Board, mirror, escort cards, or digital — pick the wedding seating chart display your venue can actually show off.
A grand ballroom deserves a statement mirror seating chart; a garden wedding suits escort cards guests can grab and go; a modern loft loves a digital display. Match the format to the space’s light, wall availability, and guest flow — not just to a photo you saved.
Alphabetize by Last Name — the Golden Rule
Guests look for their own name first. Alphabetical order gets them to their table in seconds.
Grouping the board by table number forces every guest to scan the entire chart. Alphabetical by last name is how phones, seating apps, and every great wedding seating chart display work — it’s the fastest path from entrance to chair.
Make Names Readable From Six Feet Away
Save
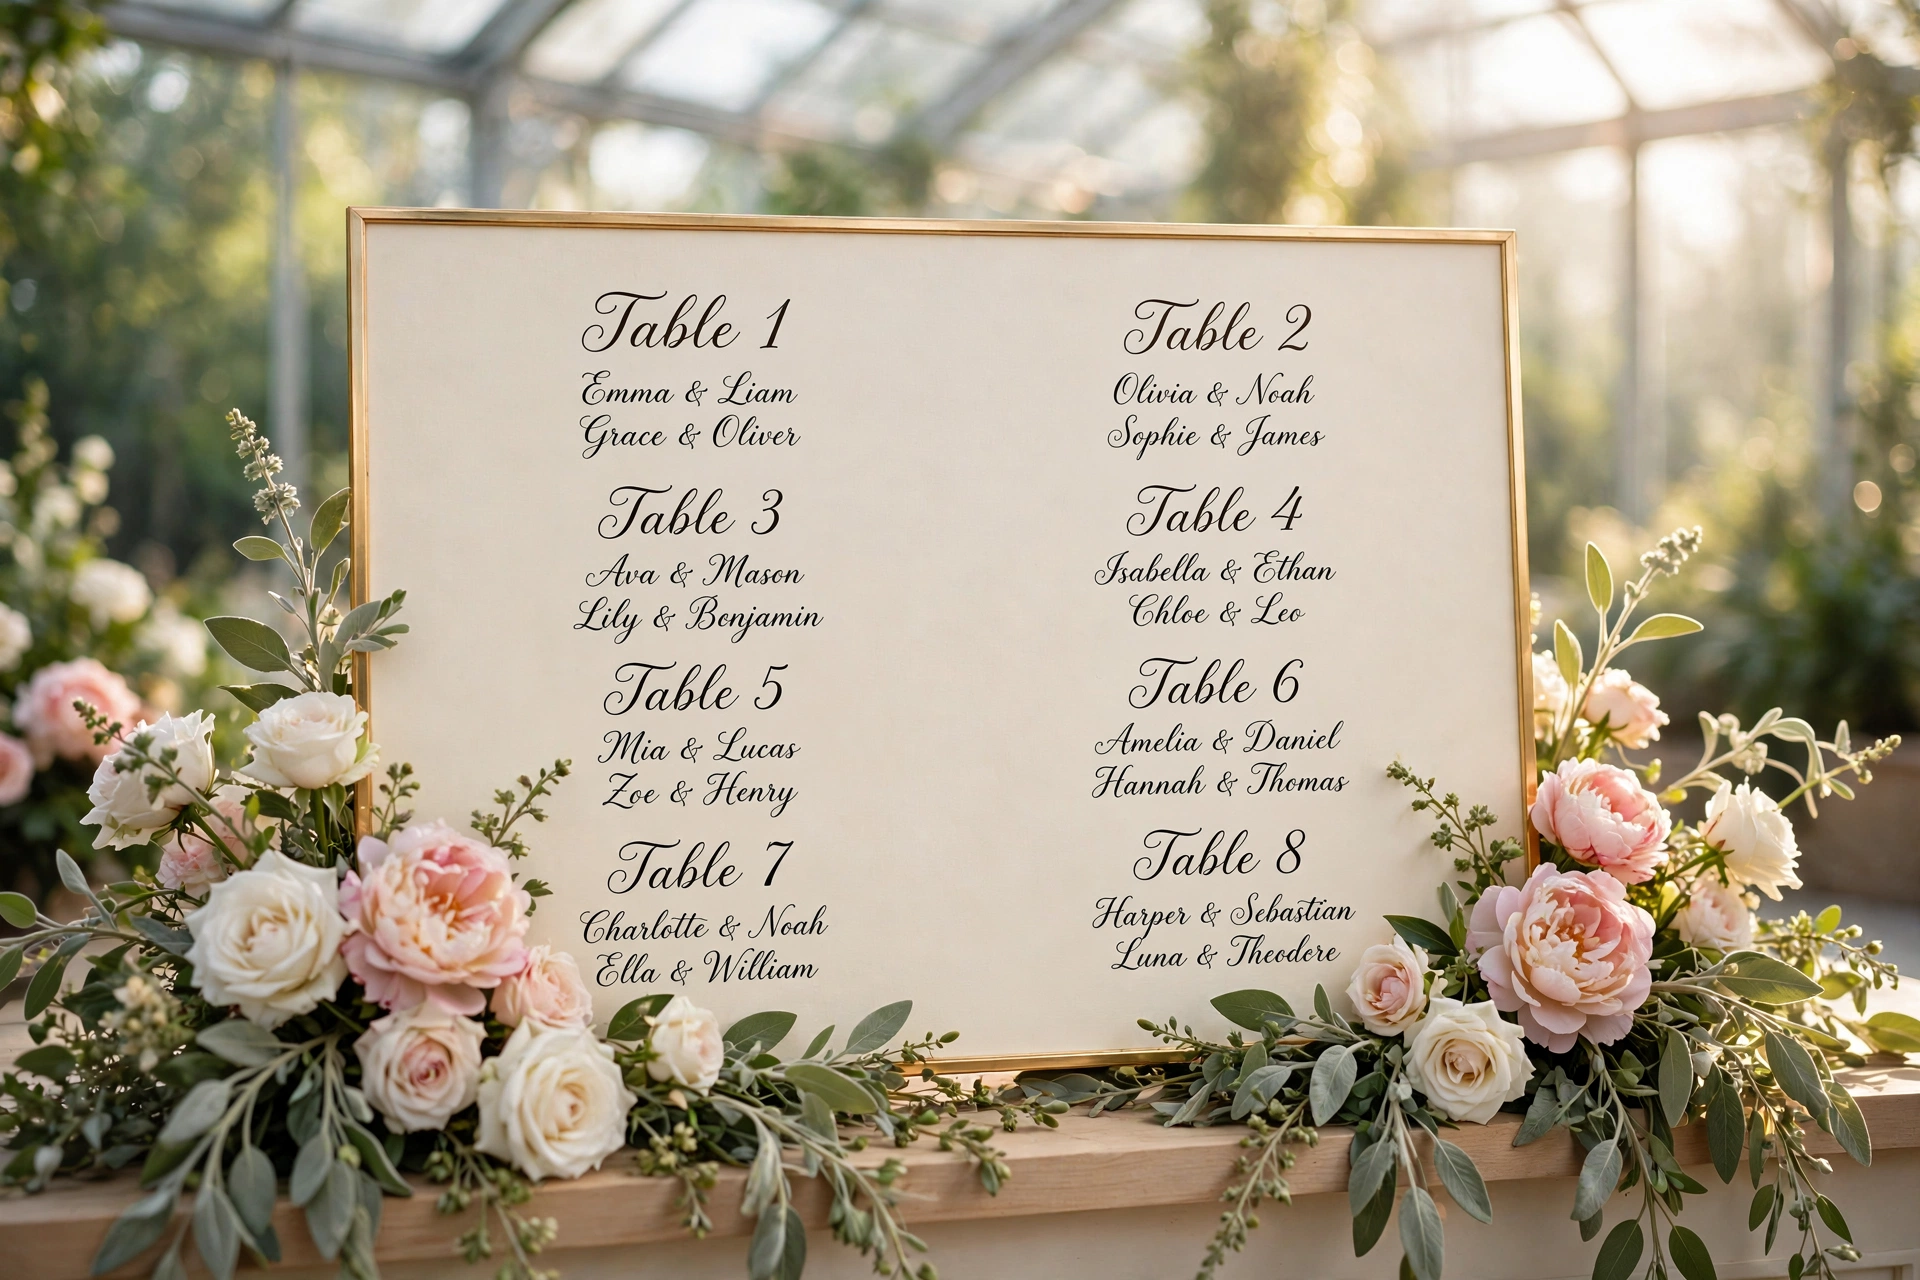
If guests have to squint or queue, your chart is too small — or the lettering is.
Guest names need to be at least 1 inch tall, in high contrast against the background. Faint calligraphy on a mirror looks dreamy in photos and illegible in person. For 100+ guests, go no smaller than a 24×36 inch board — and test it: stand six feet back and read it yourself.
Add a Venue Map for Multi-Room Receptions
Table 14 means nothing if guests can’t find the room it’s in.
For receptions spread across multiple rooms, tents, or floors, pair your seating chart with a simple venue map: “Tables 1–8: Main Hall • Tables 9–14: Garden Tent.” One extra sign saves dozens of confused guests wandering with wine glasses.
DIY the Chart: Foam Board, Vinyl Decals, One Weekend
A professional-looking wedding seating chart display costs under $60 if you DIY it.
Order custom vinyl calligraphy decals with your guest list (many Etsy sellers do this), apply them to a foam board or thrifted mirror, and add a $15 eucalyptus garland. The whole project takes one weekend — and vinyl peels off cleanly if a name changes.
Photograph the Finished Chart — and Keep a Printed Backup
Boards get rained on, mirrors crack in transit, and files get lost. Back yours up twice.
Photograph the finished display the night before, keep a printed copy of the guest list with your day-of coordinator, and save the digital file where two people can access it. If anything happens to the display, you can rebuild it in an hour.
Freeze the Chart Five to Seven Days Out
Pick a freeze date — then stop editing, no matter who texts you.
Endless tweaks are how seating charts turn into 2 a.m. meltdowns. Finalize 5 to 7 days before the wedding: send the list to your stationer, print the escort cards, and lock the board. Late changes go to the coordinator with buffer seats, not back into the master file.
Walk Your Planner Through the Logic
Your seating chart only works if someone besides you understands it.
Brief your planner or day-of coordinator on the tricky parts: which tables have buffer seats, who absolutely cannot be moved, where the VIPs sit, and what to do with surprise guests. A five-minute walkthrough prevents day-of decisions you’d never approve.
Never Seat Feuding Family at the Same Table
The single most common wedding seating chart mistake — and the most avoidable.
Divorced parents who don’t speak, siblings in a cold war, an ex invited “to be polite” — seating them together doesn’t heal anything, it just poisons the table. Use your do-not-seat-together list, place sensitive guests at different tables on opposite sides of the room, and don’t let guilt override the plan.
Don’t Hide the Chart in a Dark Corner
A beautiful chart nobody can find might as well not exist.
Place the seating chart where guest flow naturally passes: the cocktail-hour exit, the reception entrance, or the top of the stairs. Light it — a spotlight, string lights, or candles nearby — elevate it on an easel at eye level, and make it big enough to read without a queue forming.
Seating Chart Wording Ideas
The header sets the tone — steal one of these lines for the top of your wedding seating chart display:
Take a seat, not a side
Your table awaits — [Names] • [Date]
Sit with your favorites
Good friends, great food, best night ever
Round vs. Long Tables: Seating Each Shape
Round tables (8–10 guests) are the most forgiving — everyone can talk, and one connector guest carries the table. Long banquet tables seat guests along both sides; place chatty guests in the middle seats and couples across from each other so nobody shouts down the table. Sweetheart tables free up two seats and give the couple a breather — just seat the wedding party at the nearest tables so no one feels demoted.
DIY vs. Hiring a Stationer: What to Know
| Option | Best for | Cost | Lead time |
|---|---|---|---|
| DIY | Foam-board displays, escort cards, vinyl decals | $ | 1–2 weeks |
| Etsy / template sellers | Editable seating chart templates, custom decals | $$ | 2–4 weeks |
| Professional stationer | Calligraphy mirrors, large-format boards, day-of edits | $$$ | 4–8 weeks |
Editable templates are the sweet spot for most couples — professional design with DIY flexibility for late RSVP changes.
Key takeaways
- Plan from the final headcount — draft at 80% RSVPs, finalize 5–7 days before the wedding.
- Sort guests into tables first, then assign individual seats only where it matters.
- Alphabetize by last name and keep lettering readable from six feet away.
- Seed every mixed table with a connector guest — and never cluster all the strangers together.
- Match the display to your venue, light it well, and place it where guest flow naturally passes.
Frequently asked questions
When should I start my wedding seating chart?
Start drafting 2 to 3 weeks before the wedding once most RSVPs are in, and finalize the chart 5 to 7 days before the big day. Starting earlier means redoing work as RSVPs change; starting later turns it into a stressful all-nighter.
Should I do a seating chart or let guests choose their own seats?
Use an assigned seating chart for plated dinners and weddings over 60 guests — it keeps service smooth and avoids awkward musical chairs. Open seating works for casual cocktail-style or buffet receptions under 60 where mingling is the point.
How do I seat guests who will not know anyone?
Place each solo guest at a table with a connector guest — someone warm and outgoing — plus at least one person who shares an interest, age group, or connection to the couple. Never cluster all the strangers at one table.
How do I handle last-minute RSVP changes to the seating chart?
Keep a digital master of your seating chart and leave 2 to 4 buffer seats across tables. For day-of changes, update the digital file and reprint only the affected table’s escort cards — never hand-edit the display board in marker.
What size should a wedding seating chart display be?
For 100+ guests, use at least a 24×36 inch board so names stay readable from 6 to 10 feet away. Lettering should be a minimum of 1 inch tall for guest names. If guests have to squint or queue, the display is too small.