
Wax Seals for Wedding Invitations: A How-To Guide (2027)
By zainzari • Published October 23, 2026 • Updated October 23, 2026
 📌 Save
To use wax seals on wedding invitations: choose flexible mail-safe wax, practise your pour-and-press on baking parchment until the rhythm is easy, stamp each envelope flap or belly band with a 10-to-20-second rest, and mail the sealed suite inside a plain outer envelope for protection. The 25 steps below cover wax types, sizing, colour, troubleshooting, quantities and safe mailing in order.
A wax seal is the oldest form of wedding glamour there is — centuries old, and still the detail guests photograph before they even open the envelope. The craft itself is genuinely simple; everything in this guide exists to help you skip the wobbly first-batch mistakes and go straight to seals you are proud of.
Work through the cards in order for your first session: set up, practise, pour, stamp, troubleshoot. By the second hour you will have a rhythm, a small pile of beautiful seconds, and a new party trick for every anniversary card you ever send.
At a Glance: The Wax Seal Workflow
| # | Step | Key Note | Stage | |
|---|---|---|---|---|
| 1 | Start With Flexible Sealing Wax | Wax types | Flexible / mail-safe | Buy a spare pack |
| 2 | Choose Your Method: Glue Gun, Spoon or Stick | Methods | Glue gun fastest | Practise on scrap |
| 3 | Pick a Stamp Head Design | Designs | Monogram classic | Proof the artwork |
| 4 | Size Matters: 25mm vs 30mm Seals | Sizing | 25mm standard | Check the weight |
| 5 | Build a Colour Palette, Not a Single Colour | Colour | 2–3 related tones | Mix across batch |
| 6 | Set Up a Sealing Station | Setup | Heat-safe mat | Rhythm workflow |
| 7 | Practise Seals on Baking Parchment | Practice | Parchment method | Nothing wasted |
| 8 | The Pour: Size of the Pool | Technique | Pool < stamp head | Repeat the measure |
| 9 | Stamping: Press, Rest, Release | Technique | 10–20 sec rest | Lift straight up |
| 10 | Fixing Bubbles and Imperfect Edges | Troubleshooting | Peel & re-melt | Seconds pile |
| 11 | Cooling and Handling Finished Seals | Handling | Rest 1 hour | Single layer |
| 12 | Pre-Made Peel-and-Stick Seals | Convenience | Peel & stick | Order +15% |
| 13 | Self-Adhesive vs Direct Stamping | Application | Direct = authentic | Adhesive = precise |
| 14 | Where Seals Belong on the Suite | Placement | Flap or band | One per suite |
| 15 | Mailing With Wax Seals Safely | Mailing | Outer envelope safest | Test mail one |
| 16 | Ask About Hand-Cancelling for Sealed Mail | Post office | Ask with a sample | Outer envelope = plan B |
| 17 | Seals on Belly Bands and Ribbon | Suite styling | Adhesive method | Seal goes last |
| 18 | Seals Beyond Invitations: Day-Of Details | Day-of use | Menus & favours | Same batch wax |
| 19 | Storage: Keeping Seals and Wax Safe | Storage | Cool, flat, dark | Parchment layers |
| 20 | Safety With Flame and Hot Wax | Safety | Flame discipline | Heat-safe surface |
| 21 | Low-Heat Glue Gun Method, Step by Step | Step-by-step | Low-temp gun | Dedicate the gun |
| 22 | Metallic Wax Tips | Metallics | Cold stamp | Handle by edges |
| 23 | Marbled and Layered Double Seals | Advanced | Two techniques | Reserve for VIP copies |
| 24 | How Much Wax Do You Need? | Quantities | ~10 seals / stick | Add a third |
| 25 | Cost and Timeline Planning | Planning | Weekend session | Seal before stamping |
Start With Flexible Sealing Wax
 📌 Save
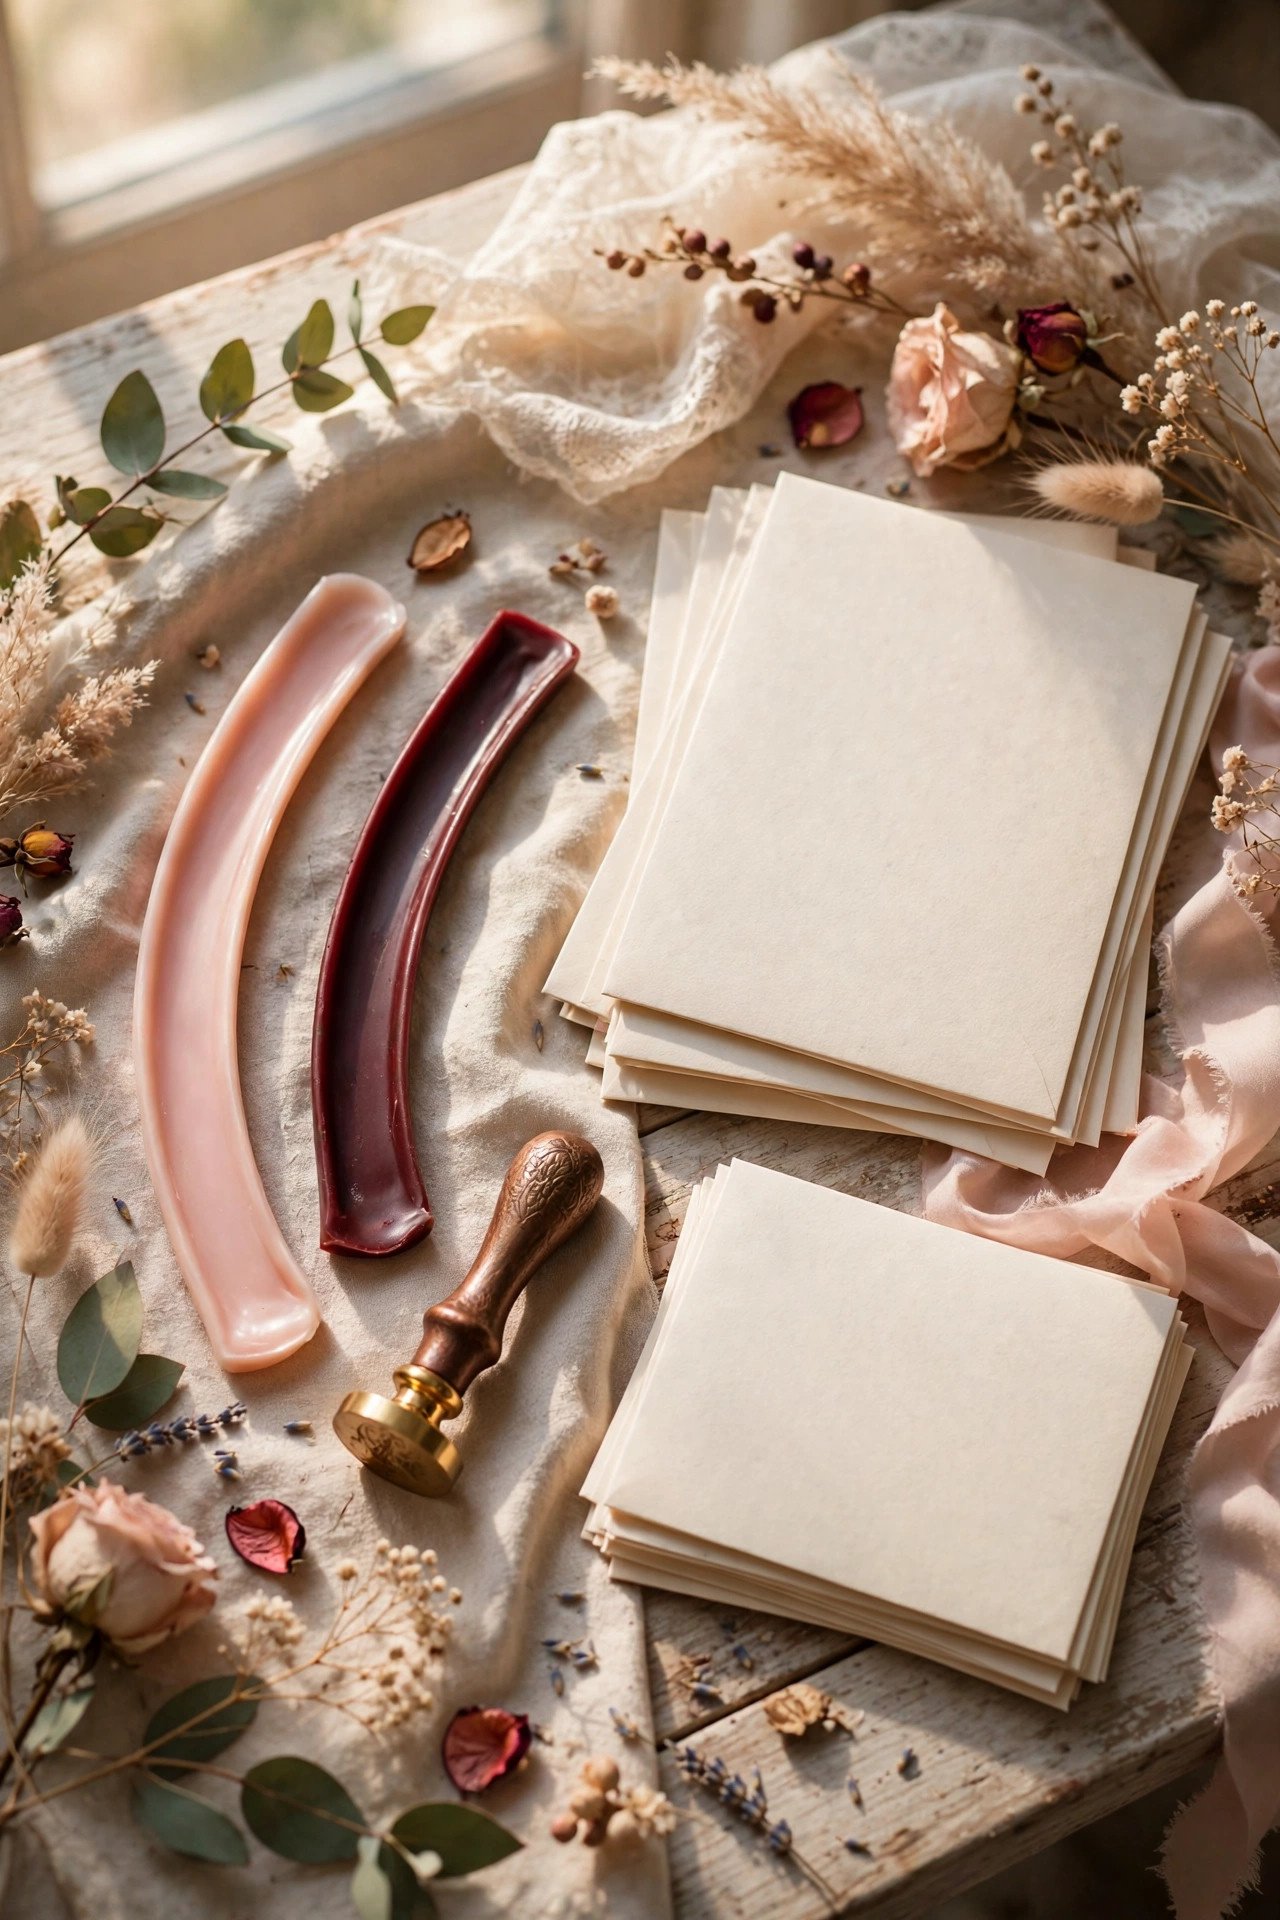
Modern sealing wax is formulated to flex rather than shatter like old-fashioned brittle wax, which matters because your invitations will be bent, stacked and sorted. Look for wax described as flexible, mail-safe or glue-gun sealing wax — it survives the post and peels cleanly if you need to redo a seal.
Choose Your Method: Glue Gun, Spoon or Stick
 📌 Save
There are three ways to melt wax: low-temperature glue-gun sticks (fastest, most consistent), a melting spoon over a candle (traditional and precise), and lighting a wick stick directly (romantic but sooty). For a full invitation run, the glue gun wins on speed and repeatability; for a handful of keepsakes, the spoon is a lovely ritual.
Pick a Stamp Head Design
 📌 Save
Stamp heads come as initials, joined monograms, florals, wreaths, hearts, dates and tiny motifs like bees or stars, most often in 25mm or 30mm. A monogram is the timeless wedding choice; a floral or botanical head suits garden weddings; a date stamp becomes a keepsake you can reuse on anniversary cards for years.
Size Matters: 25mm vs 30mm Seals
 📌 Save
A 25mm seal is the standard invitation size — elegant, lighter and cheaper in wax per piece. A 30mm seal makes a bolder statement on large or minimalist suites where the seal is the main decoration, but it uses noticeably more wax and adds more weight to the envelope. Choose by the envelope, not the ego: small envelopes, small seal.
Build a Colour Palette, Not a Single Colour
 📌 Save
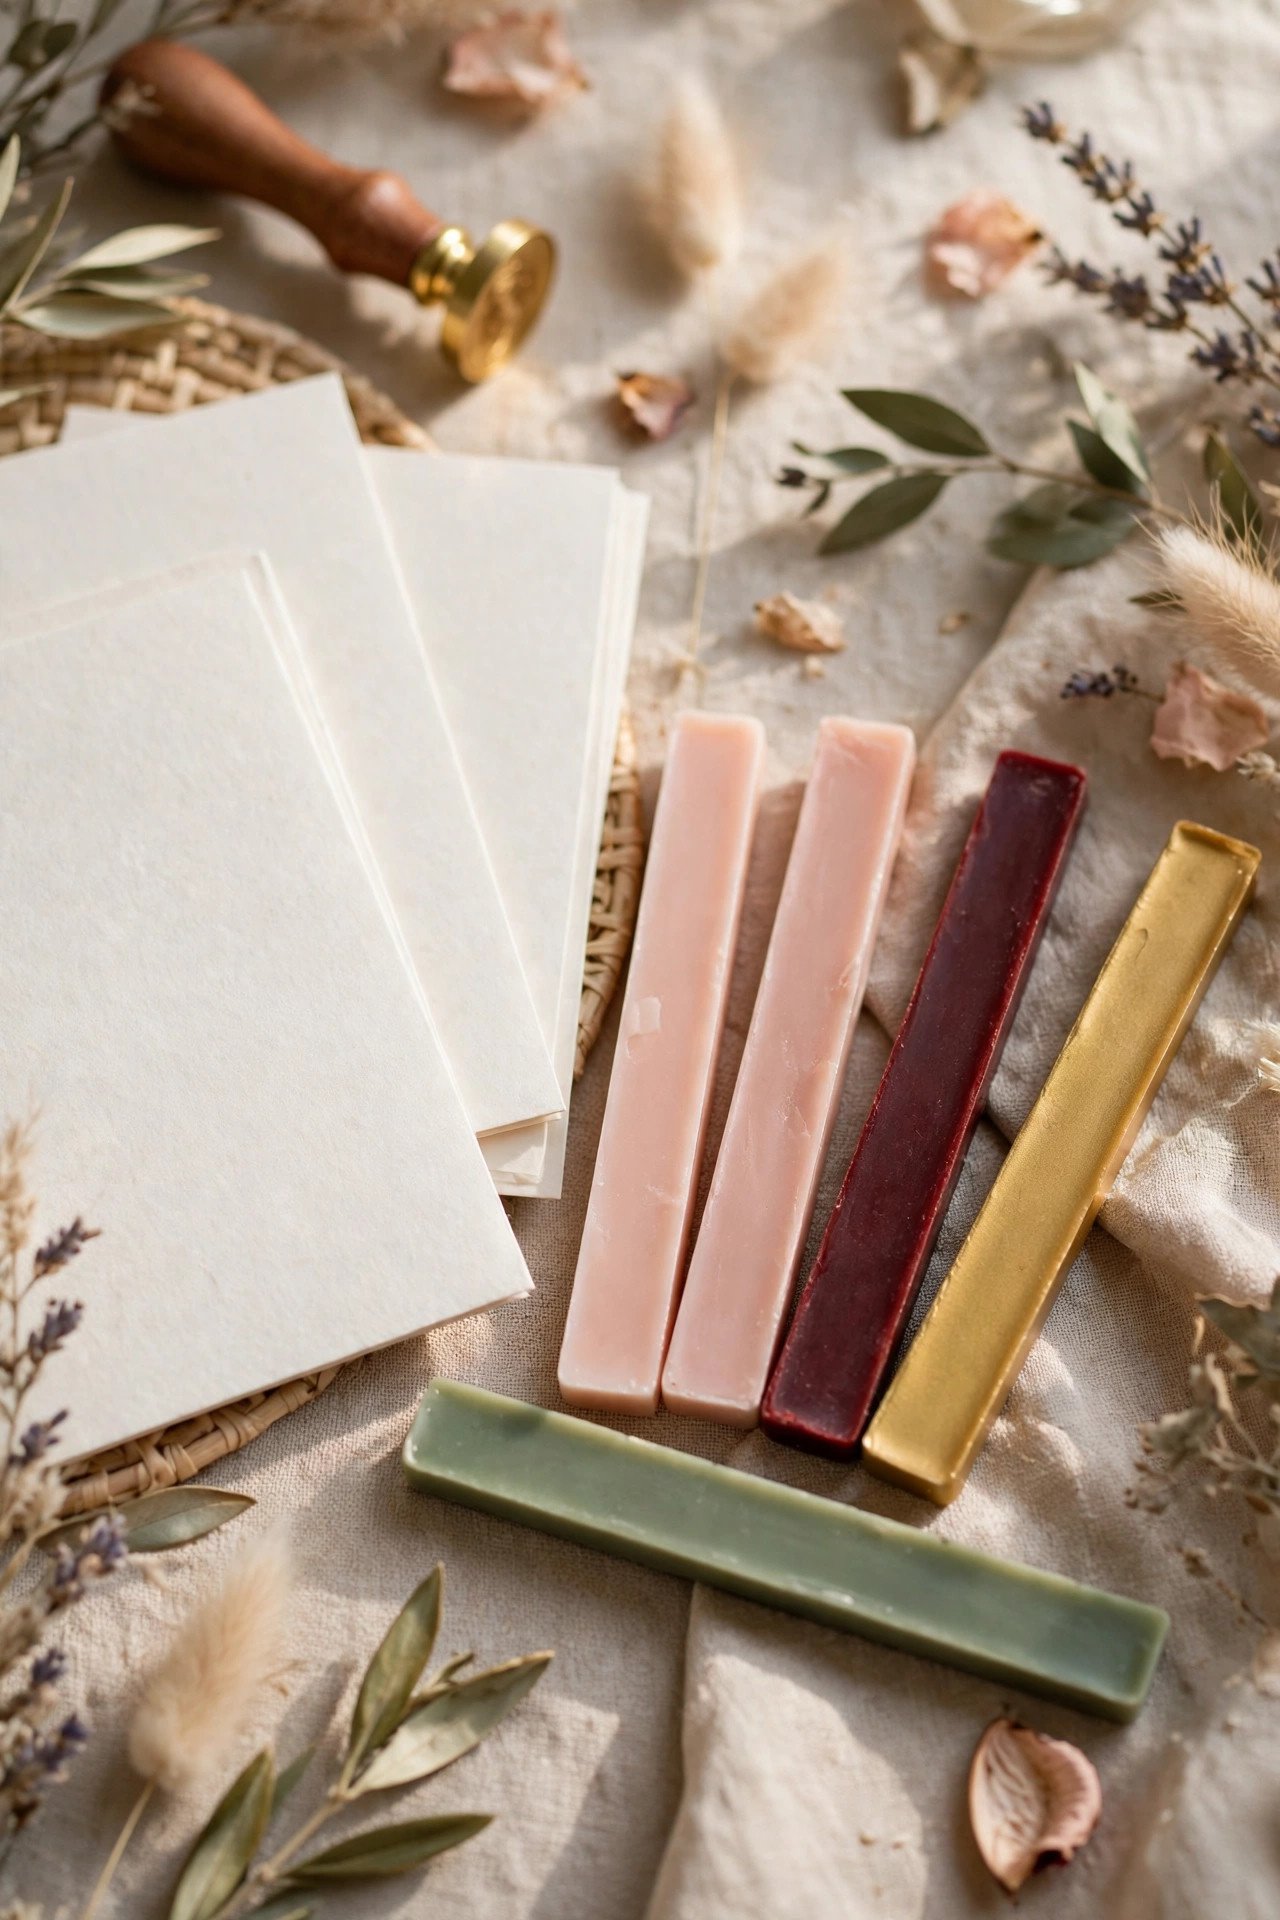
The most beautiful sealing stations use two or three related colours — deep burgundy with antique gold, say, or sage with pearl white — mixed across the batch rather than matched per envelope. A small variation from envelope to envelope looks artisanal, and mixing a metallic with a matte gives the whole suite depth in photographs.
Set Up a Sealing Station
 📌 Save
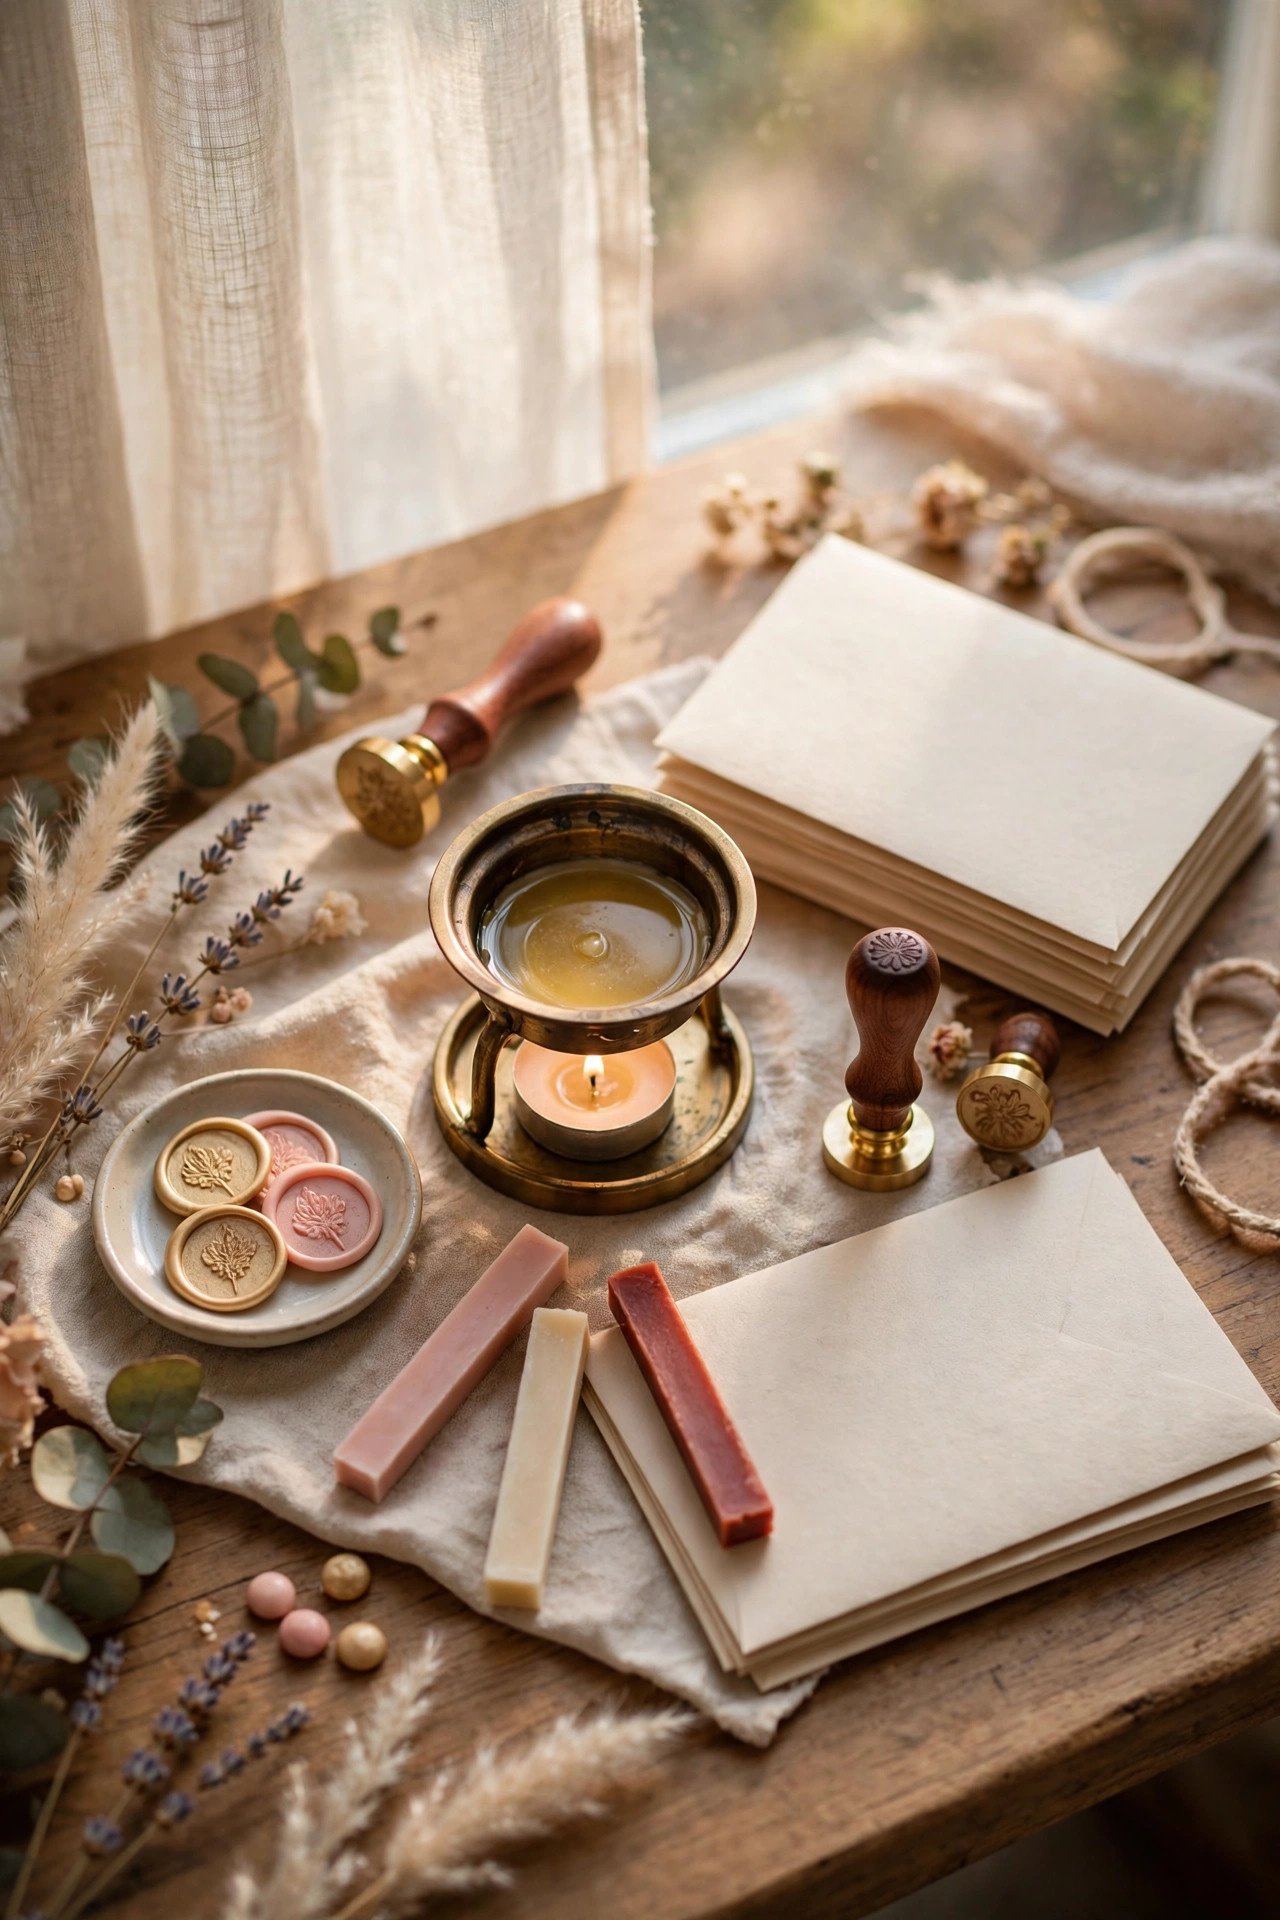
Give yourself a heat-safe mat, your wax, stamp, a small bowl of ice water or a cold pack for the stamp, scrap envelopes, and your finished invitations stacked to one side. Sealing is a rhythm craft: melt, pour, stamp, rest, release. A clear station keeps the rhythm unbroken and the wax off everything it should never touch.
Practise Seals on Baking Parchment
 📌 Save
Your first session should happen entirely on baking parchment (greaseproof paper): pour, stamp and peel twenty practice seals to learn your wax’s timing. Parchment releases seals perfectly, so your good practice pieces can even be glued onto envelopes later — nothing is wasted, and your real envelopes only ever meet a confident hand.
The Pour: Size of the Pool
 📌 Save
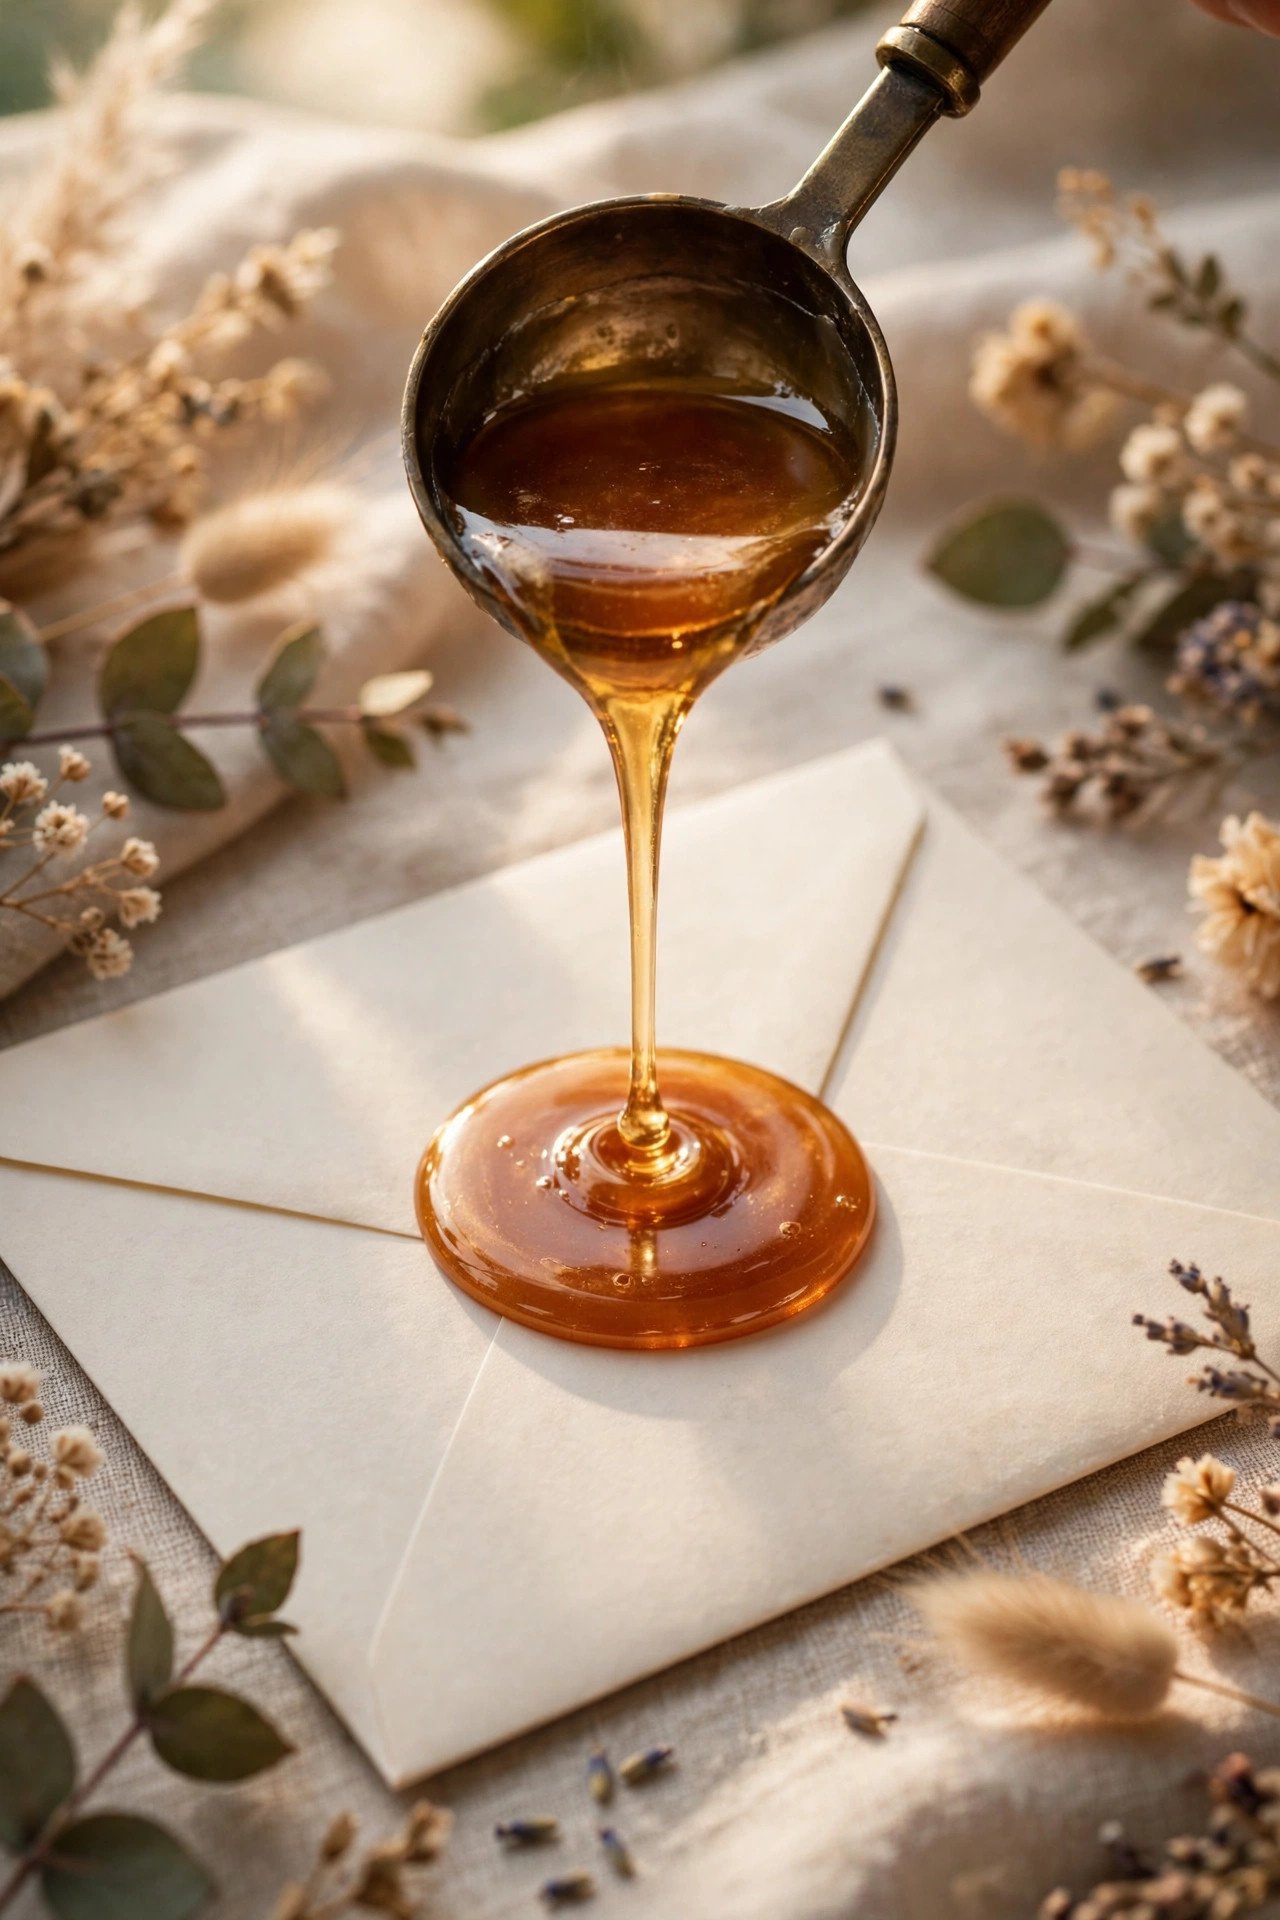
Aim for a wax pool slightly smaller than your stamp head — the stamp’s pressure spreads it to the edge and creates that coveted organic rim. Too little wax leaves gaps in the design; too much floods past the head and looks untidy. With a glue gun, one full trigger pull is a reliable measure to repeat; with a spoon, fill it to the same line every time.
Stamping: Press, Rest, Release
 📌 Save
Lower the stamp straight down into the centre of the pool with gentle, even pressure, then leave it completely still while the wax cools — usually 10 to 20 seconds depending on your wax. Lift straight up in one motion. Twisting, rocking or peeking early is what tears designs; patience is literally the technique.
Fixing Bubbles and Imperfect Edges
 📌 Save
Tiny bubbles and uneven rims are normal — handmade is the aesthetic. If a seal has a real flaw (a missing petal, a collapsed edge), let it cool fully, peel it off, chop it up and re-melt it: sealing wax is endlessly recyclable within your session. Keep a small ‘seconds’ pile for test mailings and samples rather than throwing wax away.
Cooling and Handling Finished Seals
 📌 Save
Give finished seals at least a minute before stacking anything on them, and let sealed envelopes rest in a single layer for an hour before bundling. Wax that feels cool can still be soft underneath, and a stack of warm envelopes will happily fuse into a single decorative brick.
Pre-Made Peel-and-Stick Seals
 📌 Save
Pre-made seals arrive finished, with adhesive backing: peel, place, done. They are the right choice for very large guest lists, tight timelines, or couples who want the look without the learning curve — and because they are machine-consistent, they photograph beautifully. Order a sample first to check colour against your paper in daylight.
Self-Adhesive vs Direct Stamping
 📌 Save
Direct stamping bonds wax to the paper itself and gives the most authentic, organic edge; self-adhesive seals (whether pre-made or your own, made on parchment and fixed with glue dots) sit slightly prouder and can be positioned perfectly before committing. Adhesive is also the method for sealing onto ribbon, vellum or belly bands, where hot wax behaves unpredictably.
Where Seals Belong on the Suite
 📌 Save
The classic positions are: centred on the envelope flap point, on the belly band where its ends meet, on a ribbon knot, or on a tag tied to the suite. One seal per suite is the rule of elegance — it is a signature, not a pattern. Keepsake and photographer’s copies can carry an extra seal on the invitation itself if you love the look in flat-lays.
Mailing With Wax Seals Safely
 📌 Save
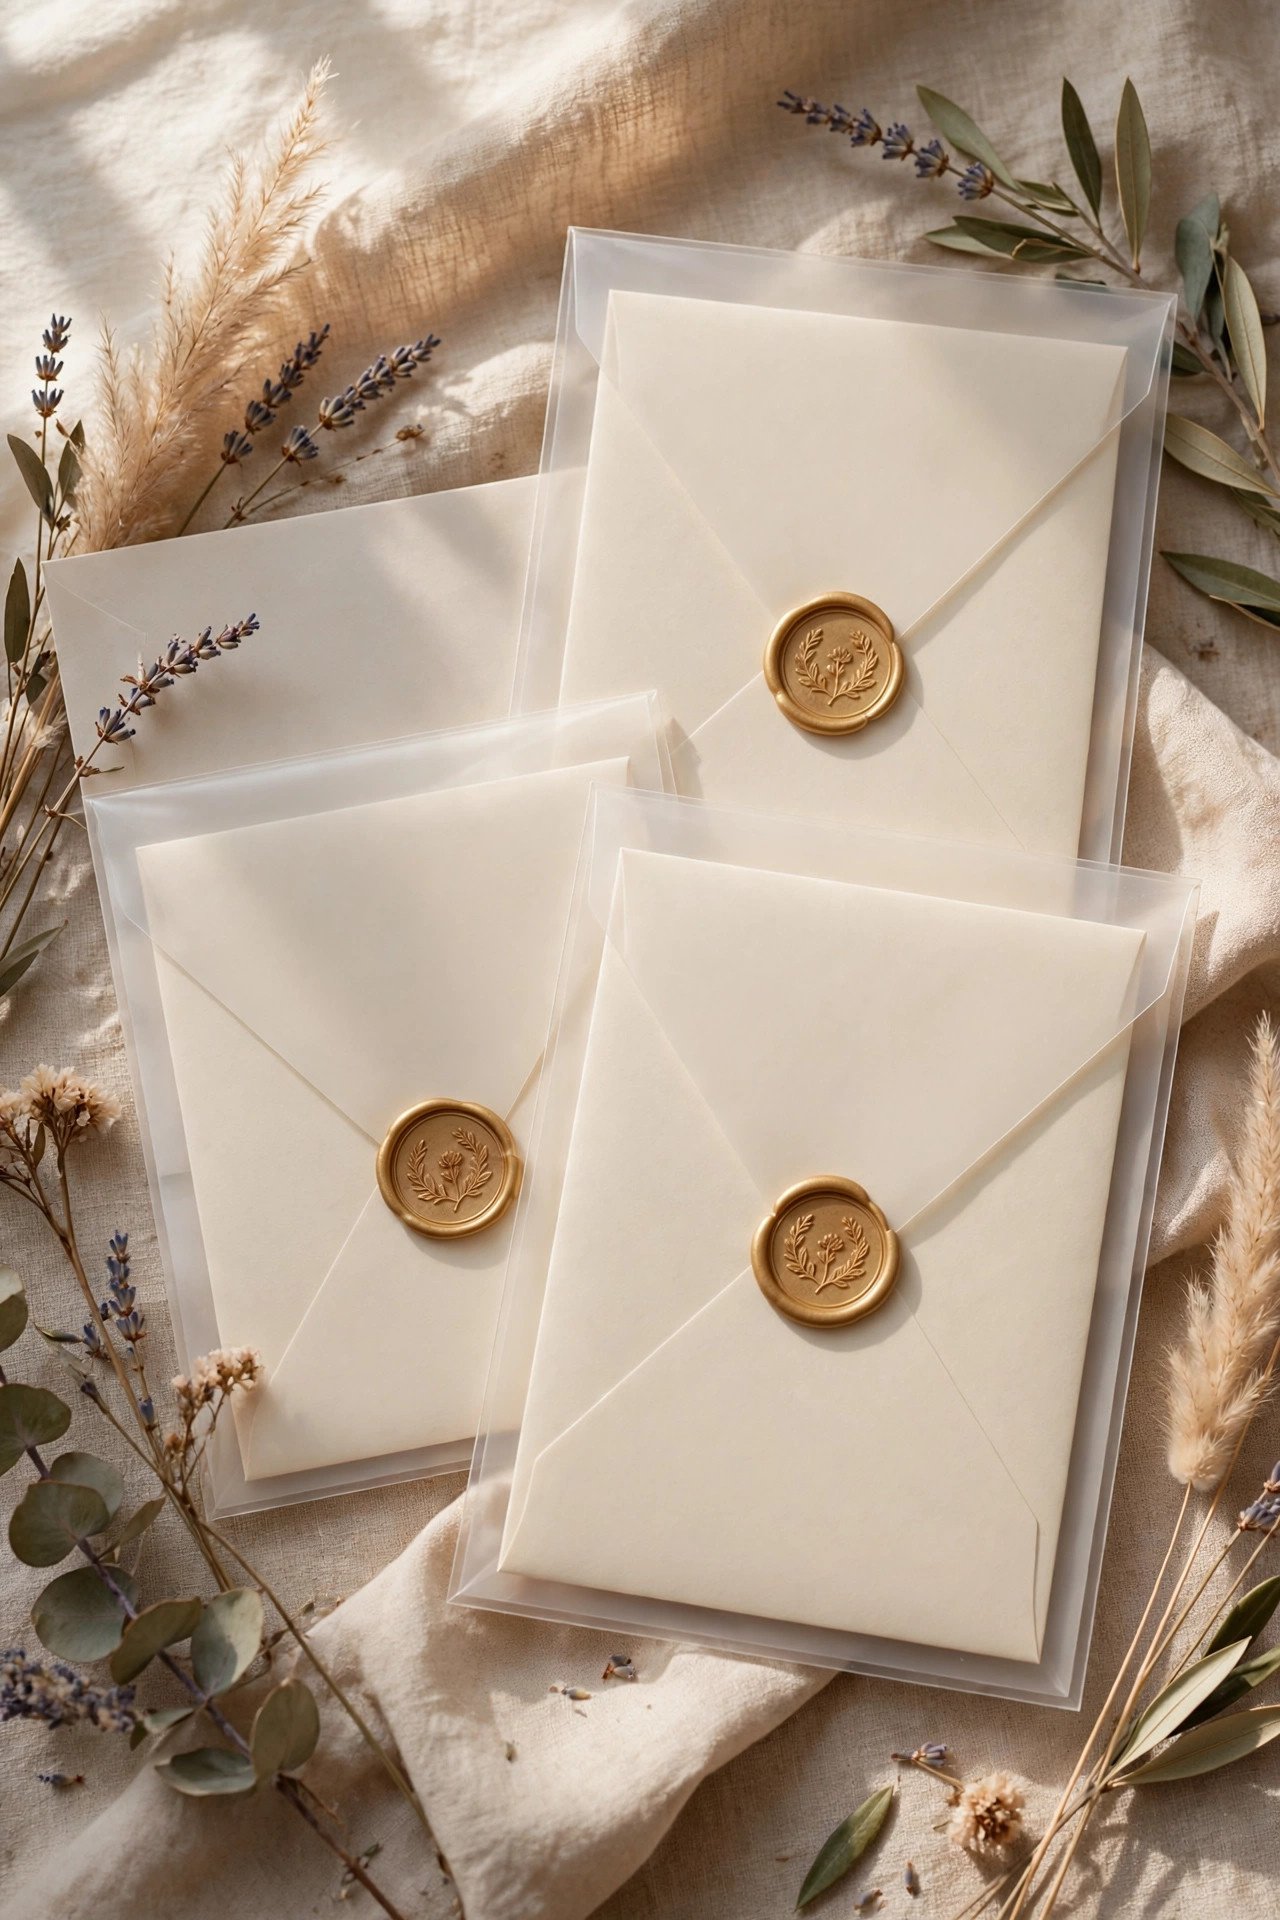
For the post, the safest arrangement is the seal inside the mailing: place the sealed invitation inside a plain outer envelope, or seal an inner envelope within an addressed outer one. If you mail with the seal exposed, expect it to be treated as non-machinable — hand-sorted with a surcharge — and accept that sorting, stacking and weather are out of your control.
Ask About Hand-Cancelling for Sealed Mail
 📌 Save
Hand-cancelling — a clerk stamping the postmark by hand — spares sealed envelopes the tight rollers of sorting machines. Availability varies by post office, so visit with a sample, ask politely, and accept a graceful no; where it is refused, the outer-envelope method in the previous card achieves the same protection without any negotiation.
Seals on Belly Bands and Ribbon
 📌 Save
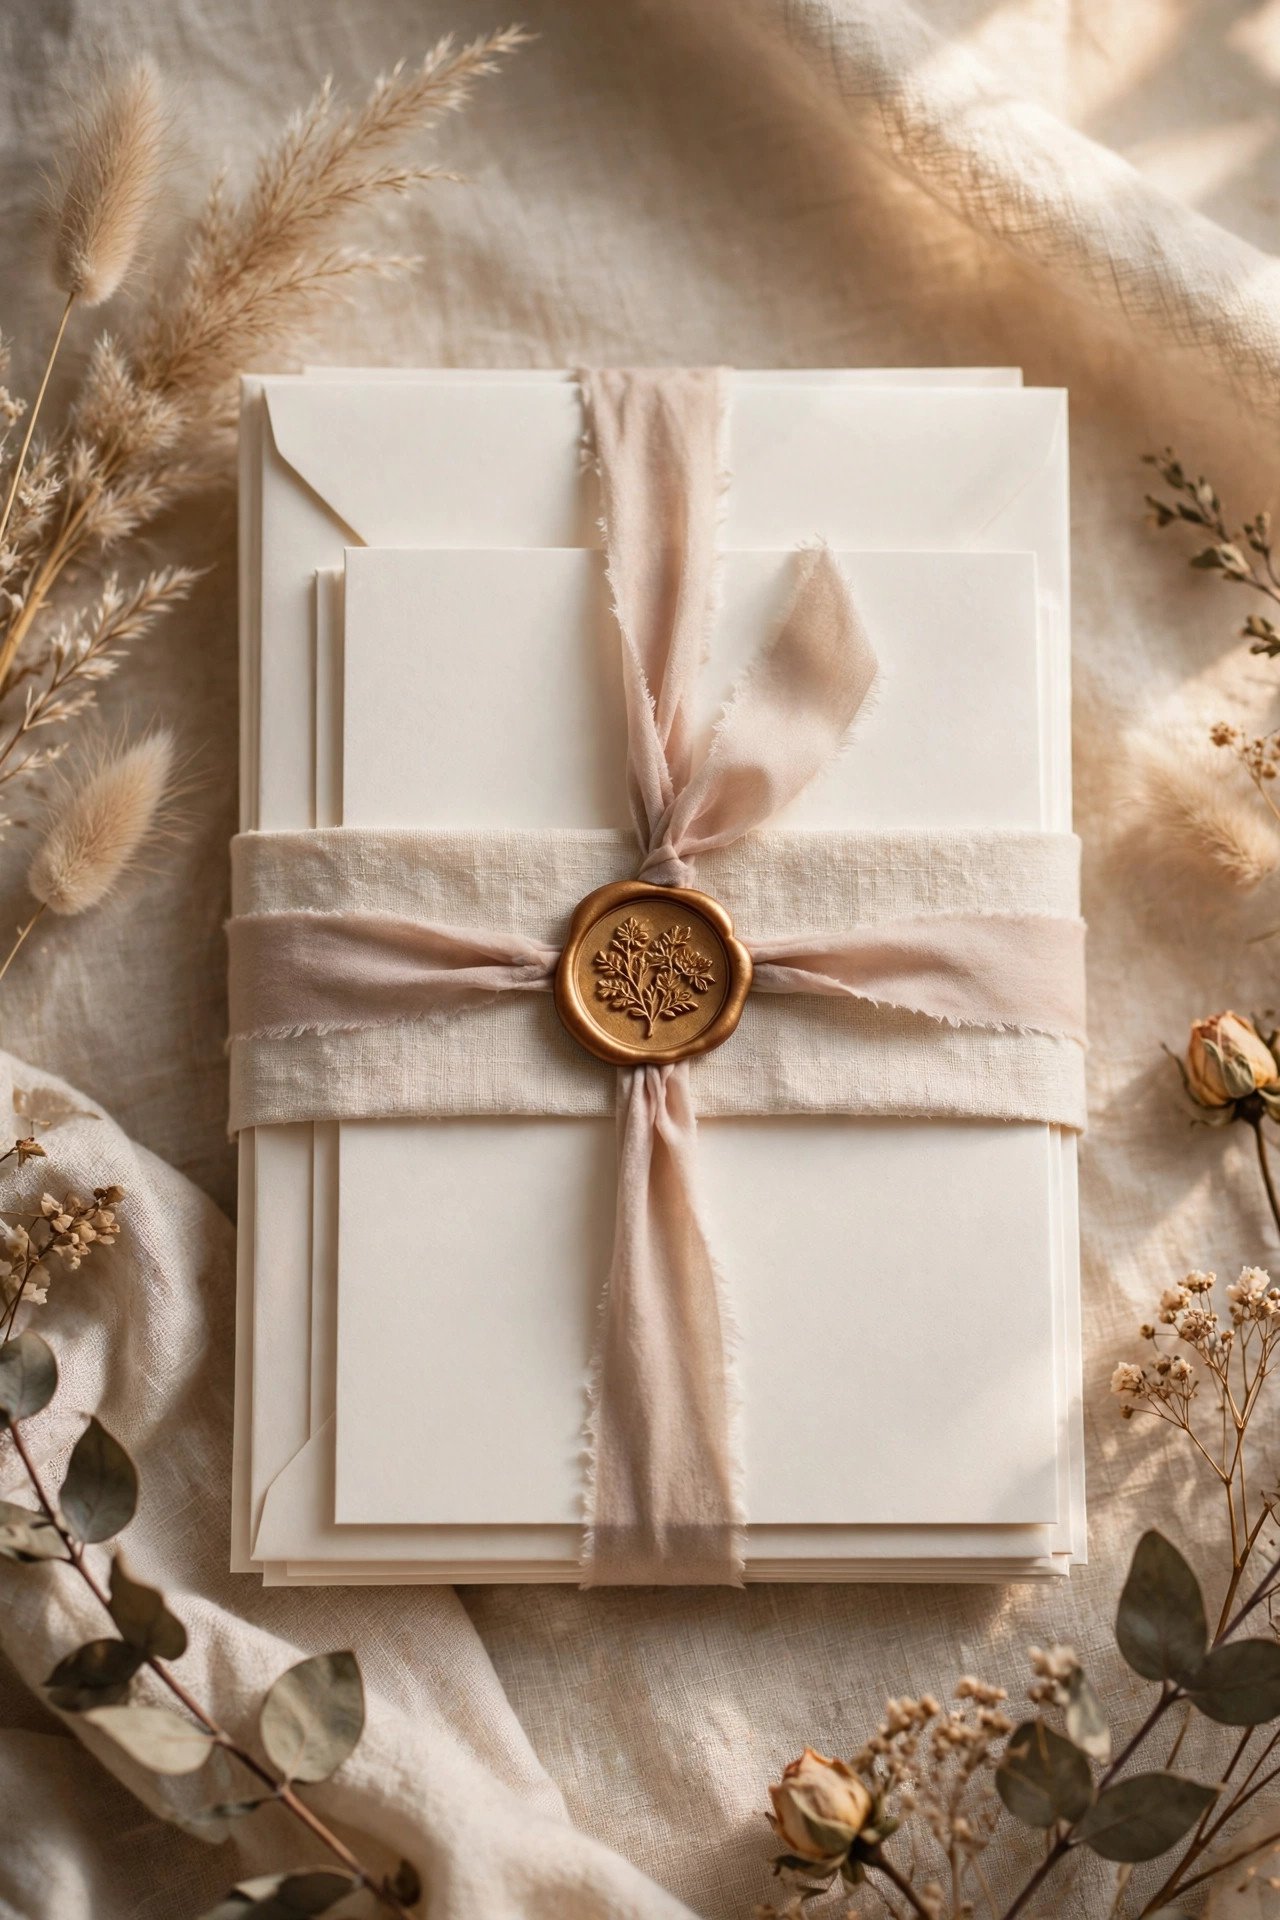
A seal over the join of a belly band is both decoration and function — it anchors the band and finishes the suite in one gesture. Use the adhesive method here: stamp onto parchment, peel, and press onto the band, because hot wax can soak through thin band paper and mark the invitation beneath.
Seals Beyond Invitations: Day-Of Details
 📌 Save
The same stamp earns its keep all wedding long: sealing menu wraps, favour bags and boxes, thank-you envelopes, vow books and the keepsake suite your photographer styles. Buying one good stamp and using it in five places creates a thread guests notice — your monogram becomes the day’s quiet logo.
Storage: Keeping Seals and Wax Safe
 📌 Save
Store unused sticks and pre-made seals flat, cool and out of sunlight — heat warps them and sun fades deep colours surprisingly fast. Keep finished spare seals between sheets of parchment in a rigid box so edges cannot chip, and label the box with your wax colour names for reorders and anniversary reuse.
Safety With Flame and Hot Wax
 📌 Save
If you use a candle and spoon, treat it like any open flame: stable holder, no trailing sleeves or paper piles nearby, never left unattended. Glue-gun wax runs at lower temperatures but still burns skin on contact. Work on a heat-safe surface, keep water nearby for comfort (not for the wax), and let children admire from a distance.
Low-Heat Glue Gun Method, Step by Step
 📌 Save
Load a sealing-wax stick into a low-temperature glue gun and let it warm fully. Dispense one measured pool onto your envelope or parchment, set the gun down, pick up the stamp, press, rest ten to twenty seconds, lift straight. Clean the nozzle with a quick extra squeeze onto scrap between colours, because the first pool after a colour change is always marbled.
Metallic Wax Tips
 📌 Save
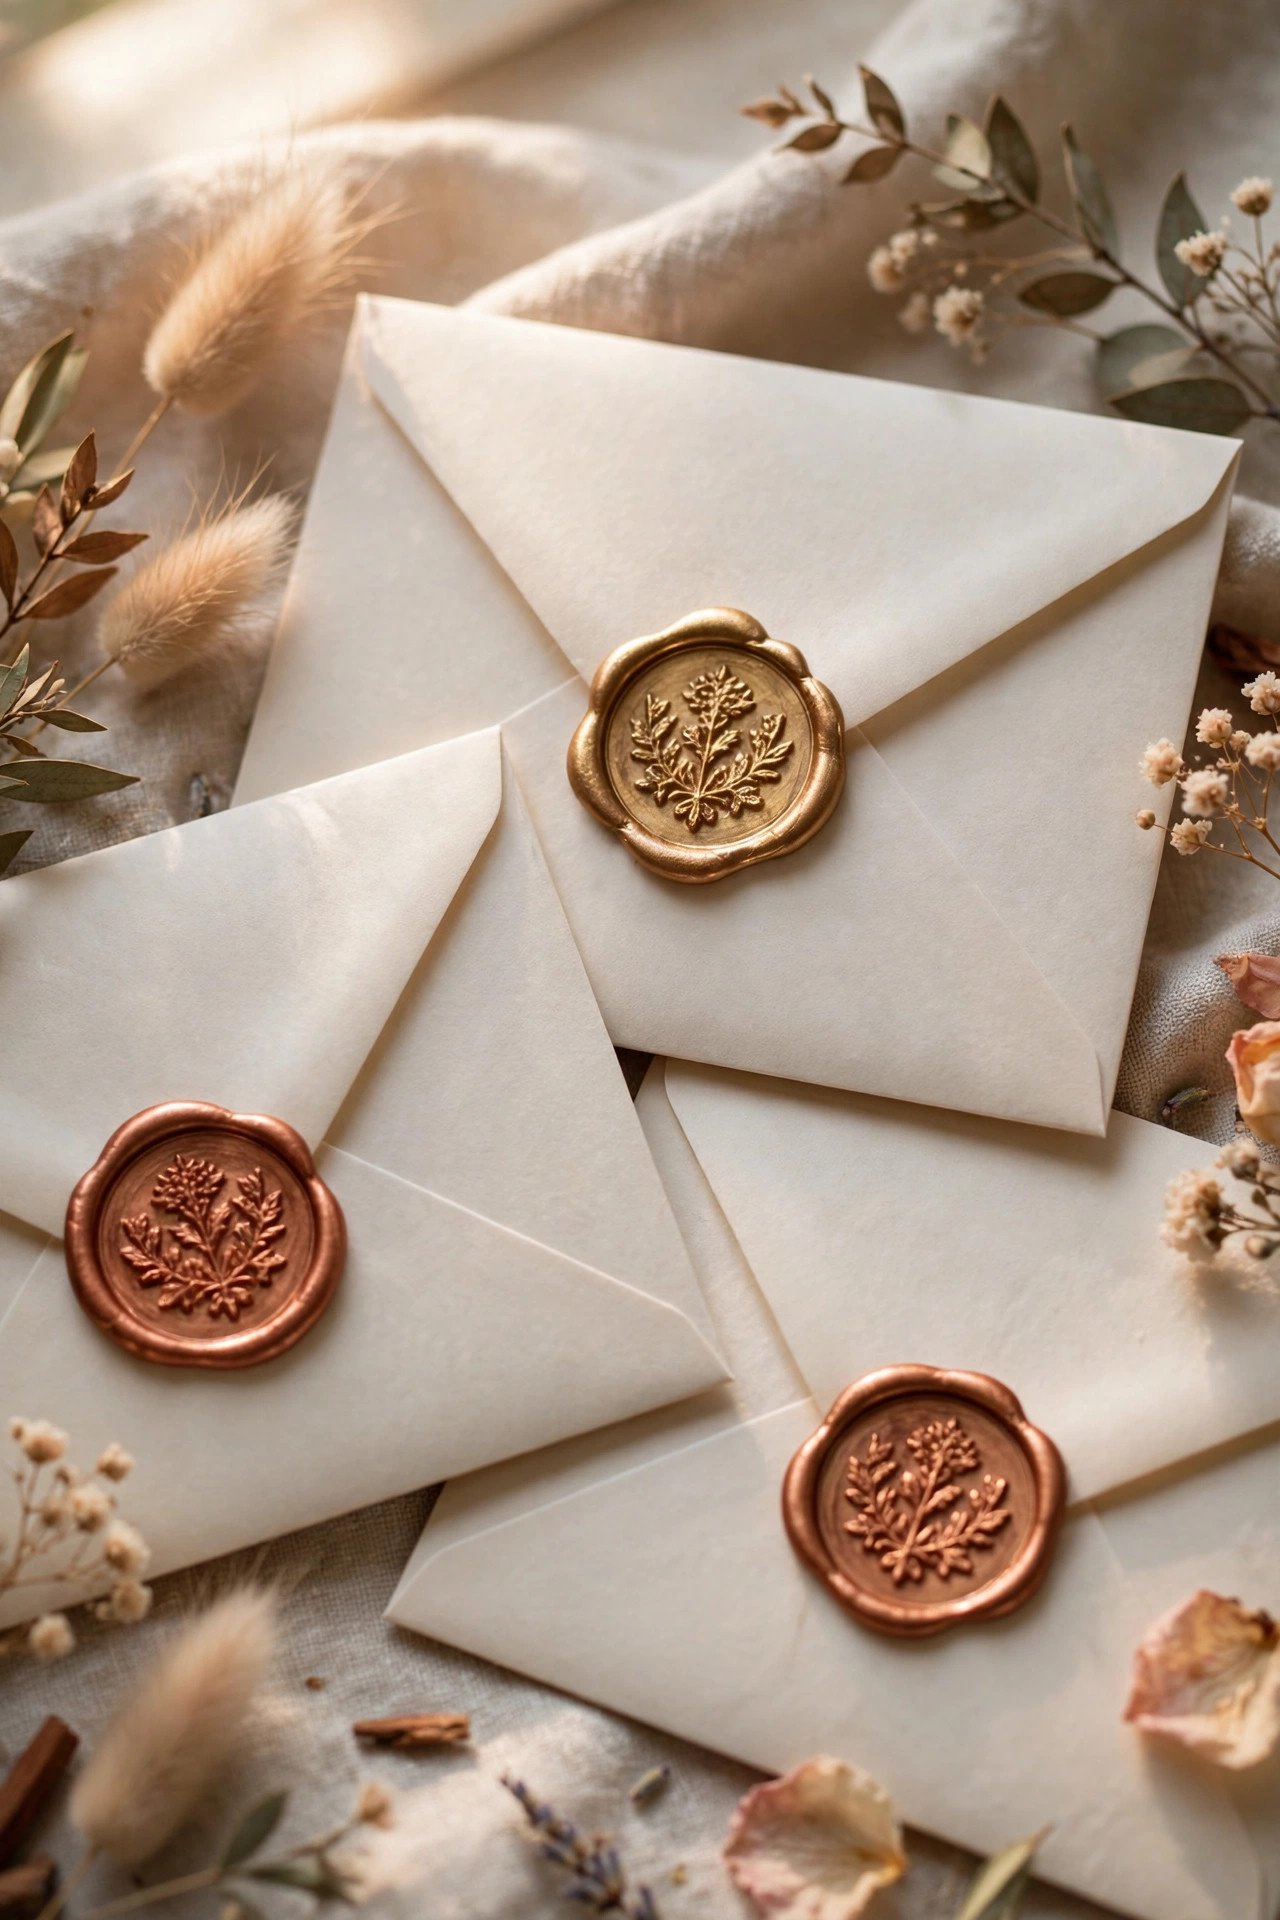
Gold, copper and pearl waxes are the most photographed and the most temperamental: they show fingerprints, stamp best when the stamp is cool, and reveal every bubble as a bright dot. Chill the stamp on a cold pack before each metallic seal, pour slightly cooler pools, and handle finished seals by their edges only.
Marbled and Layered Double Seals
 📌 Save
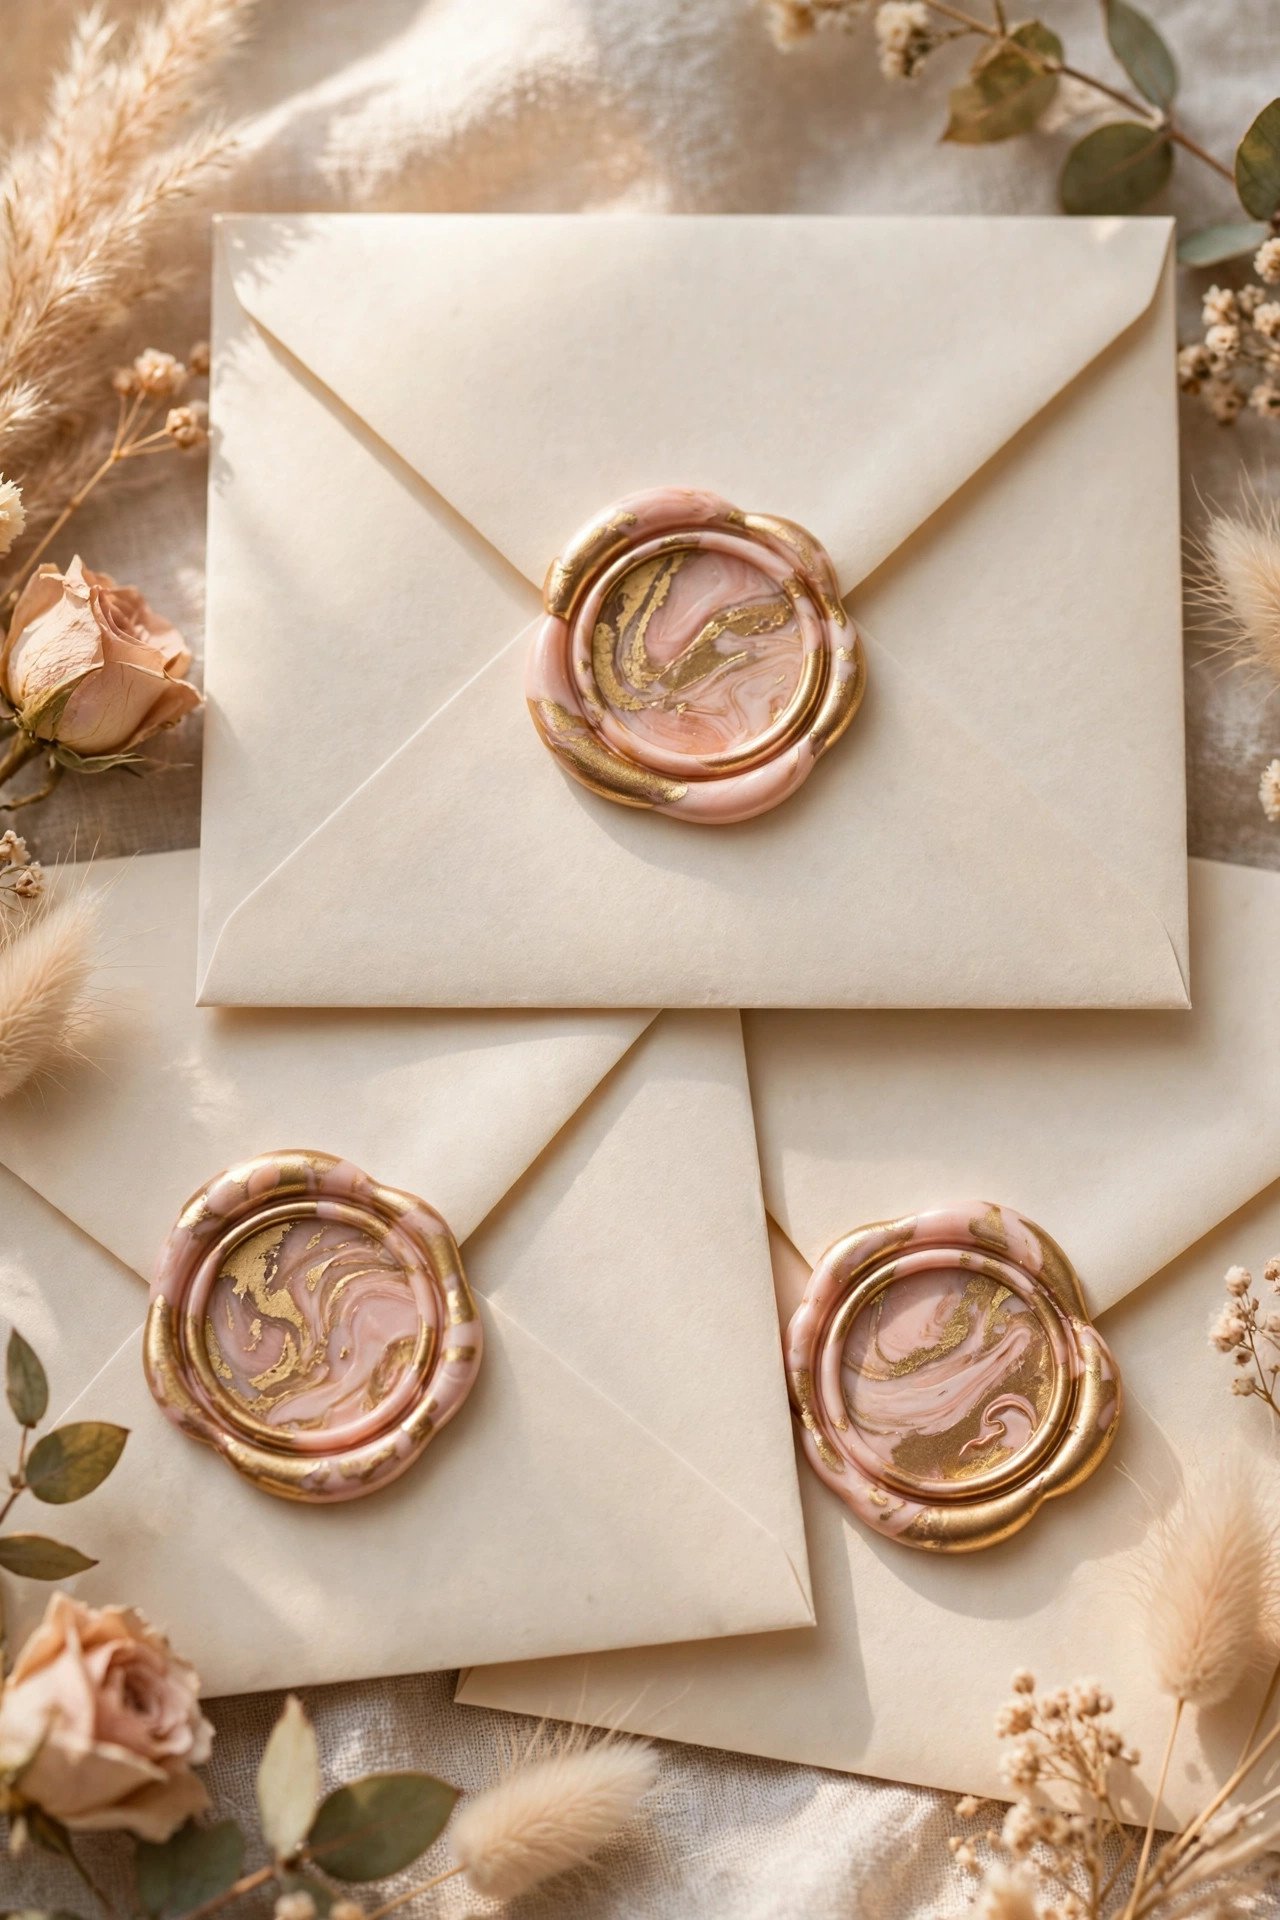
For a marbled seal, dispense two colours into one pool without stirring — the stamp’s pressure swirls them. For a layered seal, stamp a larger plain seal first, let it cool, then centre a smaller contrasting seal on top. Both techniques double your practice needs and halve your speed, so reserve them for top-table, family and keepsake copies if the full list feels daunting.
How Much Wax Do You Need?
 📌 Save
As a planning guide, one standard glue-gun wax stick typically yields roughly eight to twelve 25mm seals, and spoon-melted sticks go a little further with careful pouring — but your first session’s practice seals are part of the budget, not a surprise. Count your envelopes, divide by ten per stick, then add a third again for practice, seconds and day-of pieces.
Cost and Timeline Planning
 📌 Save
A stamp head is a one-time purchase you keep for life; wax and pre-made seals are the per-piece cost, with pre-made typically costing more per seal and saving hours of labour. Timeline-wise, an experienced hand seals an envelope in under a minute, but a first full run of a hundred takes an unhurried weekend afternoon — schedule it as a pleasure, not a deadline chore.
Wax Seals for Wedding Invitations: A How-To Guide FAQs
Can wax-sealed invitations go through the post?+
Yes, with care. Flexible modern wax survives mailing well, but an exposed seal usually makes the envelope non-machinable and subject to a surcharge, and machines can scuff it. The safest method is a sealed inner envelope or suite inside a plain addressed outer envelope — test-mail one to yourself either way.
How long does it take to seal 100 invitations?+
Plan a relaxed afternoon. Each seal takes under a minute once you have the rhythm — pour, press, rest, release — but cooling rows, colour changes and practice pieces stretch a first run of 100 to roughly three to four hours. Pre-made seals cut that to under an hour.
Are pre-made wax seals cheating?+
Not at all — they are the professional choice for large lists and tight timelines, and many stationers use them. They look consistent, apply in seconds and mail exactly the same way. Hand-poured seals have more organic edges; choose by your timeline and taste, not by guilt.
What size wax seal is best for wedding invitations?+
25mm is the classic invitation size and suits most envelopes; 30mm suits large or minimalist suites where the seal is the main embellishment. Remember the bigger seal uses more wax and adds more weight — weigh a finished envelope if your suite sits near a postage limit.
Can I reuse my wax seal stamp after the wedding?+
Absolutely, and you should — it is one of the few wedding purchases that keeps working. Use it on thank-you cards, anniversary and holiday cards, gift wrapping and letters for years. Store it clean and dry, and your monogram becomes a lifelong signature.
Key Takeaways
- Flexible, mail-safe wax only — brittle wax shatters in the post.
- Practise on parchment: pour, press, rest 10–20 seconds, lift straight.
- One seal per suite, on the flap or the belly band join.
- Mail sealed suites inside a plain outer envelope, or test-mail first.
- Budget roughly ten 25mm seals per stick, plus a third for practice.
Final Thoughts
Sealing invitations is one of the rare wedding tasks that feels as good as it looks — warm wax, a beautiful stamp, and a growing row of finished envelopes is a genuinely happy afternoon.
Set up your station, put on some music, and stamp your way to the most satisfying detail of your whole suite.






One Comment